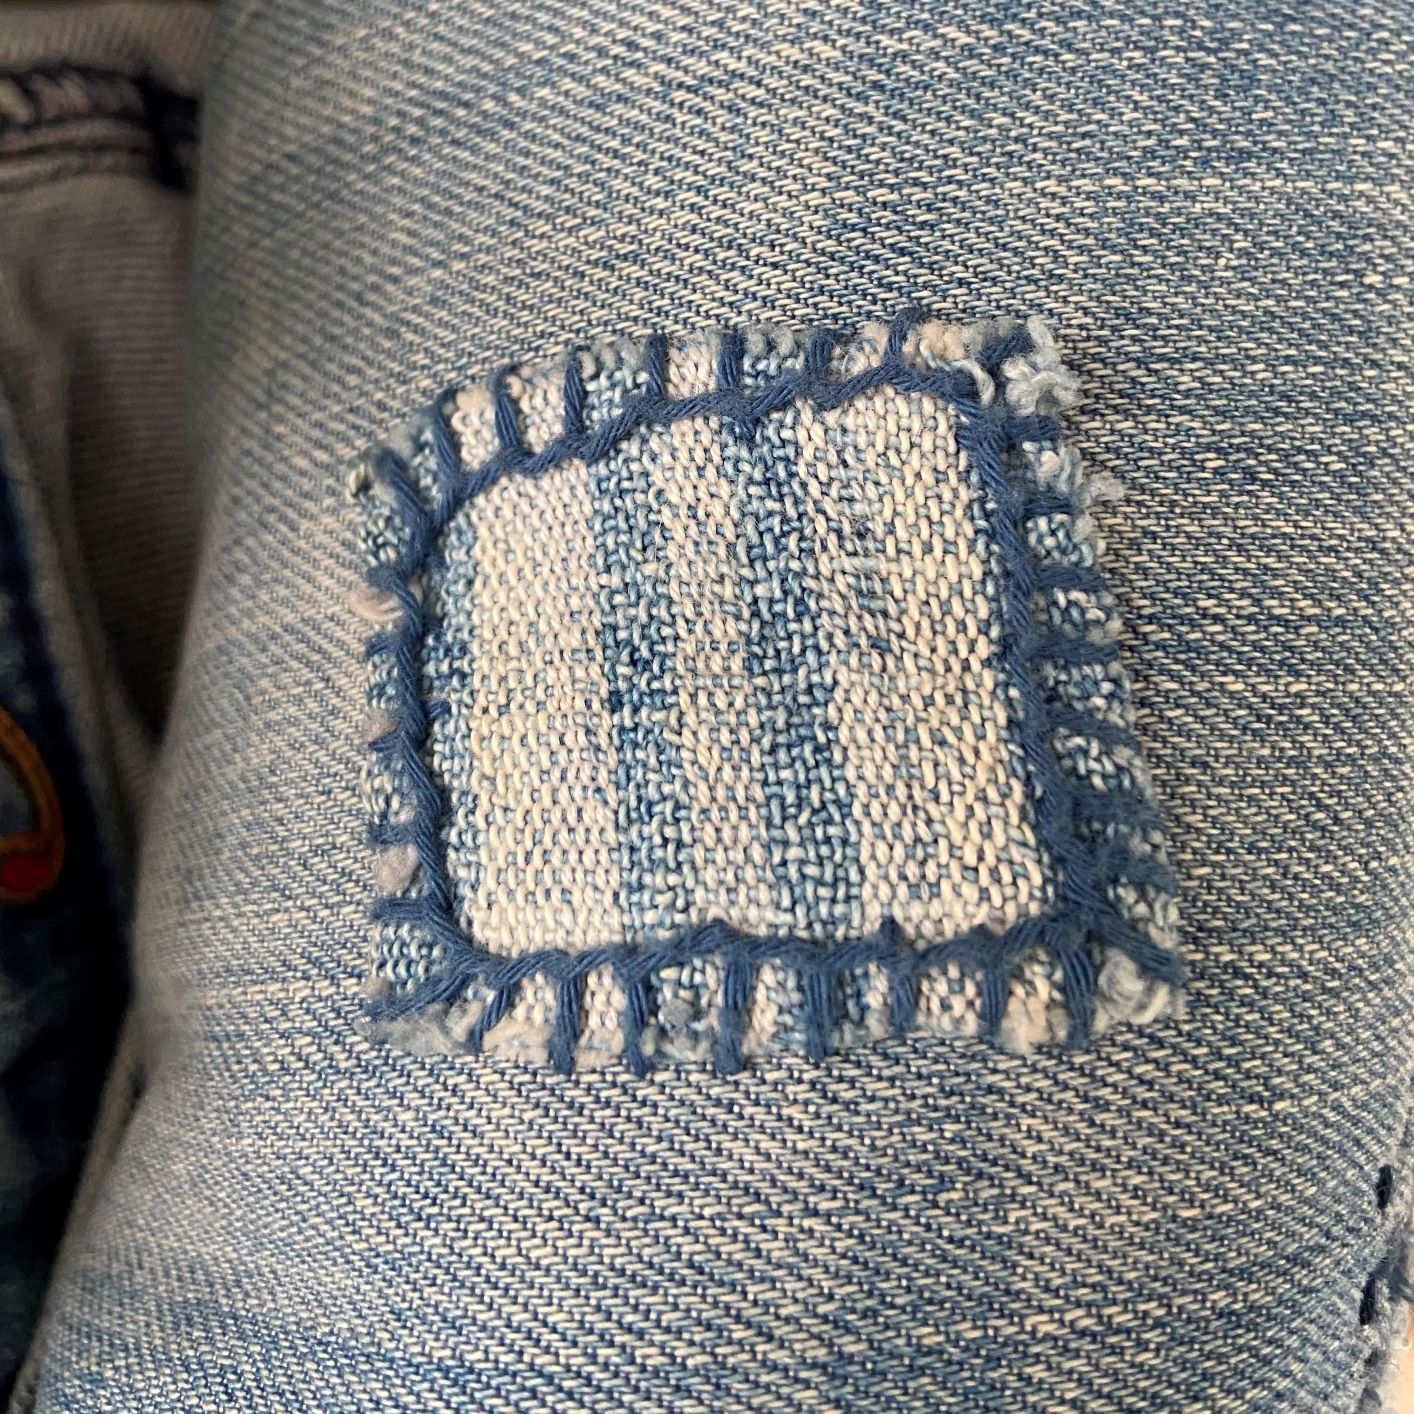
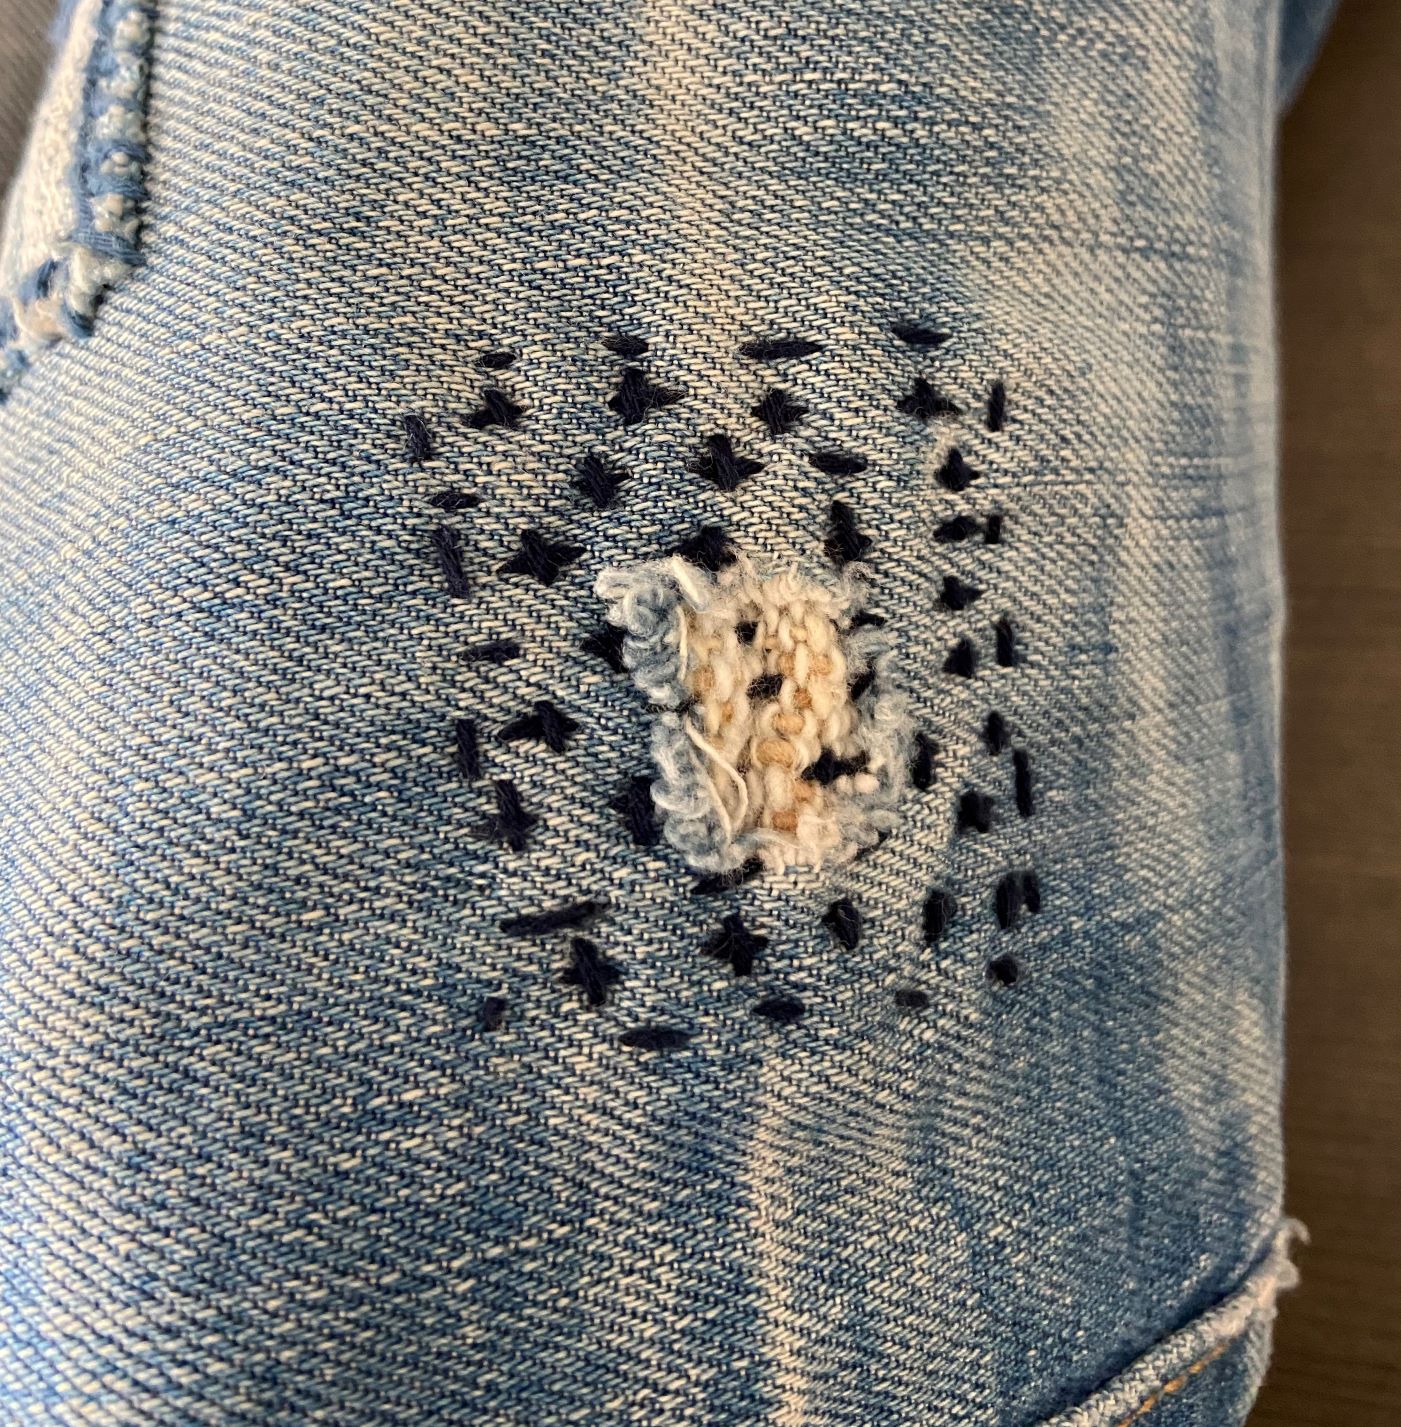
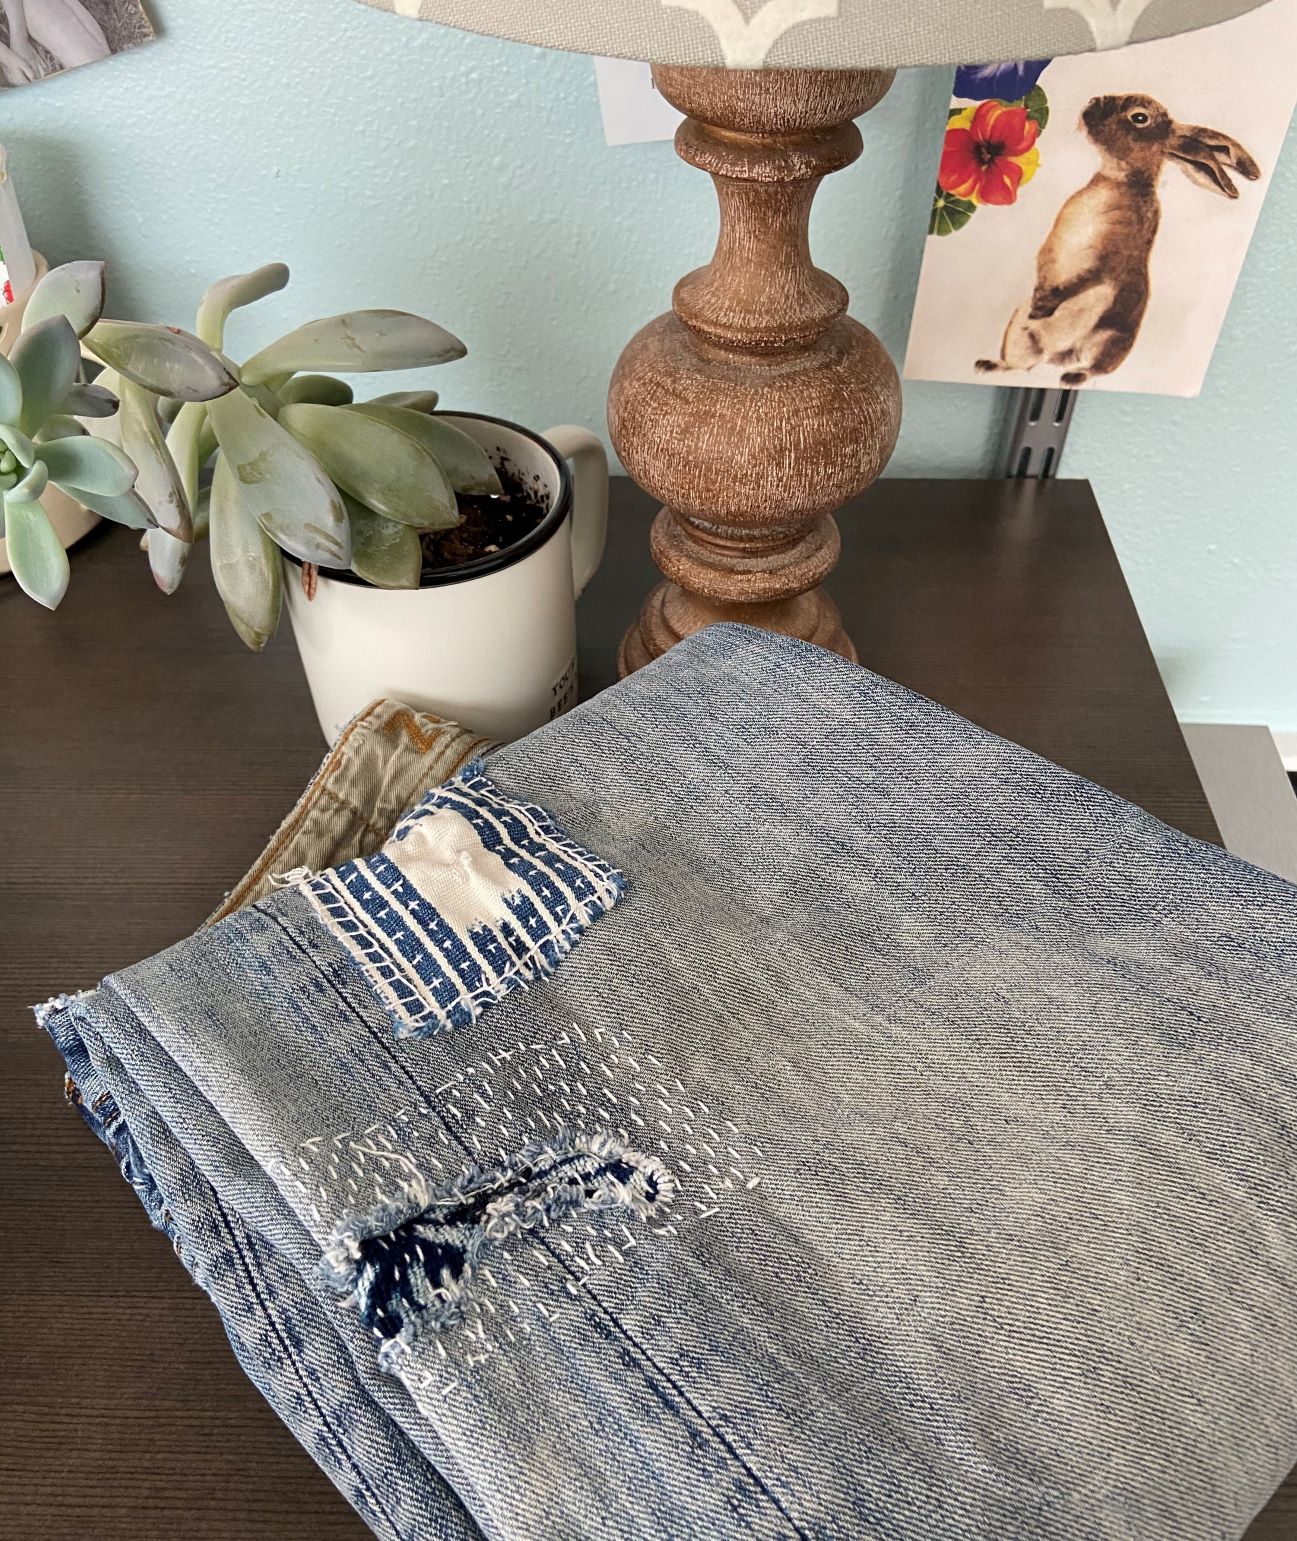
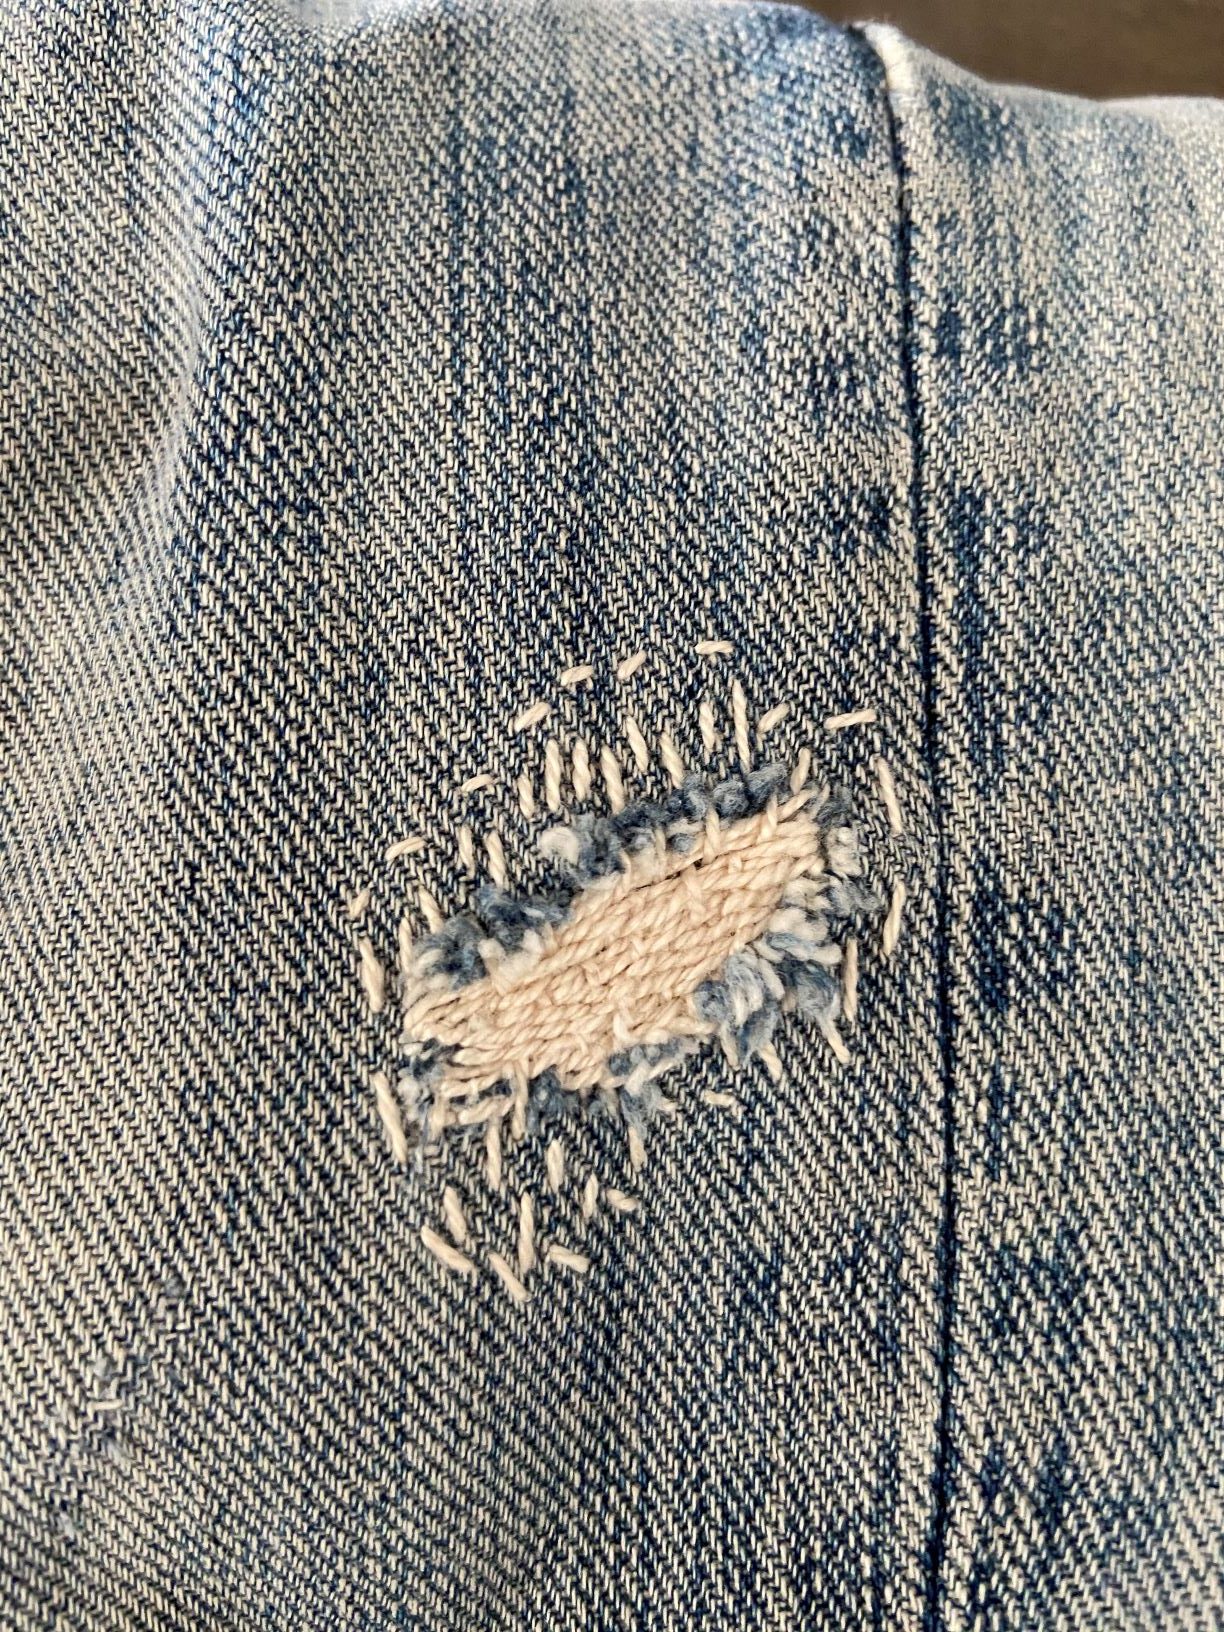
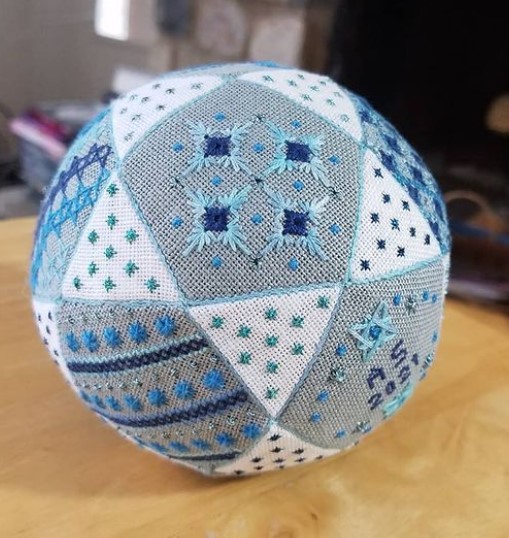
With the increased interest in upcycling, visible mending has become a popular way to avoid sending worn or torn items to a landfill. There are many ways to incorporate visible mending into your own life, and just as many crafting techniques can be used to fix snags, holes, and even cover up stains in virtually any type of fabric. Today we’ll introduce you to this technique and share plenty of inspiration and resources to help you give it a try!

What is Visible Mending?
Visible mending is an ornamental approach to repairing an item. Rather than trying to mask the area where the item was damaged, the goal is to highlight these imperfections in a creative, eye-catching way. A combination of techniques and materials can be used to extend the life of an item which is otherwise in good condition, save a small hole, rip or tear.
While visible mending is most commonly used to repair items of clothing that are otherwise in good condition, these techniques can also be used to repair upholstery, fabric or canvas bags, knitted or crocheted accessories or any other items that are constructed from fabric, denim or fibers.
Visible Mending vs. Invisible Mending
Historically, invisible mending techniques have been used to repair items; according to Wikipedia, invisible mending techniques were commonly used up until the 1970s. As the name would imply, the hole or worn area is impossible to spot once the areas is invisibly mended.
However, with the rise of Fast Fashion, most consumers find it easier to purchase a new item rather than using the labor-intensive weaving techniques needed to mask the original flaw. Invisible weaving often requires a higher level of skill – in fact, many dry cleaners or tailors offer this service for those who are willing to pay for their time and expertise.
By contrast, visible mending can be done by just about anyone using a few basic skills and simple materials. Depending on the complexity of your design, it can take less time than invisible mending (or more, if you want to be really fancy!).
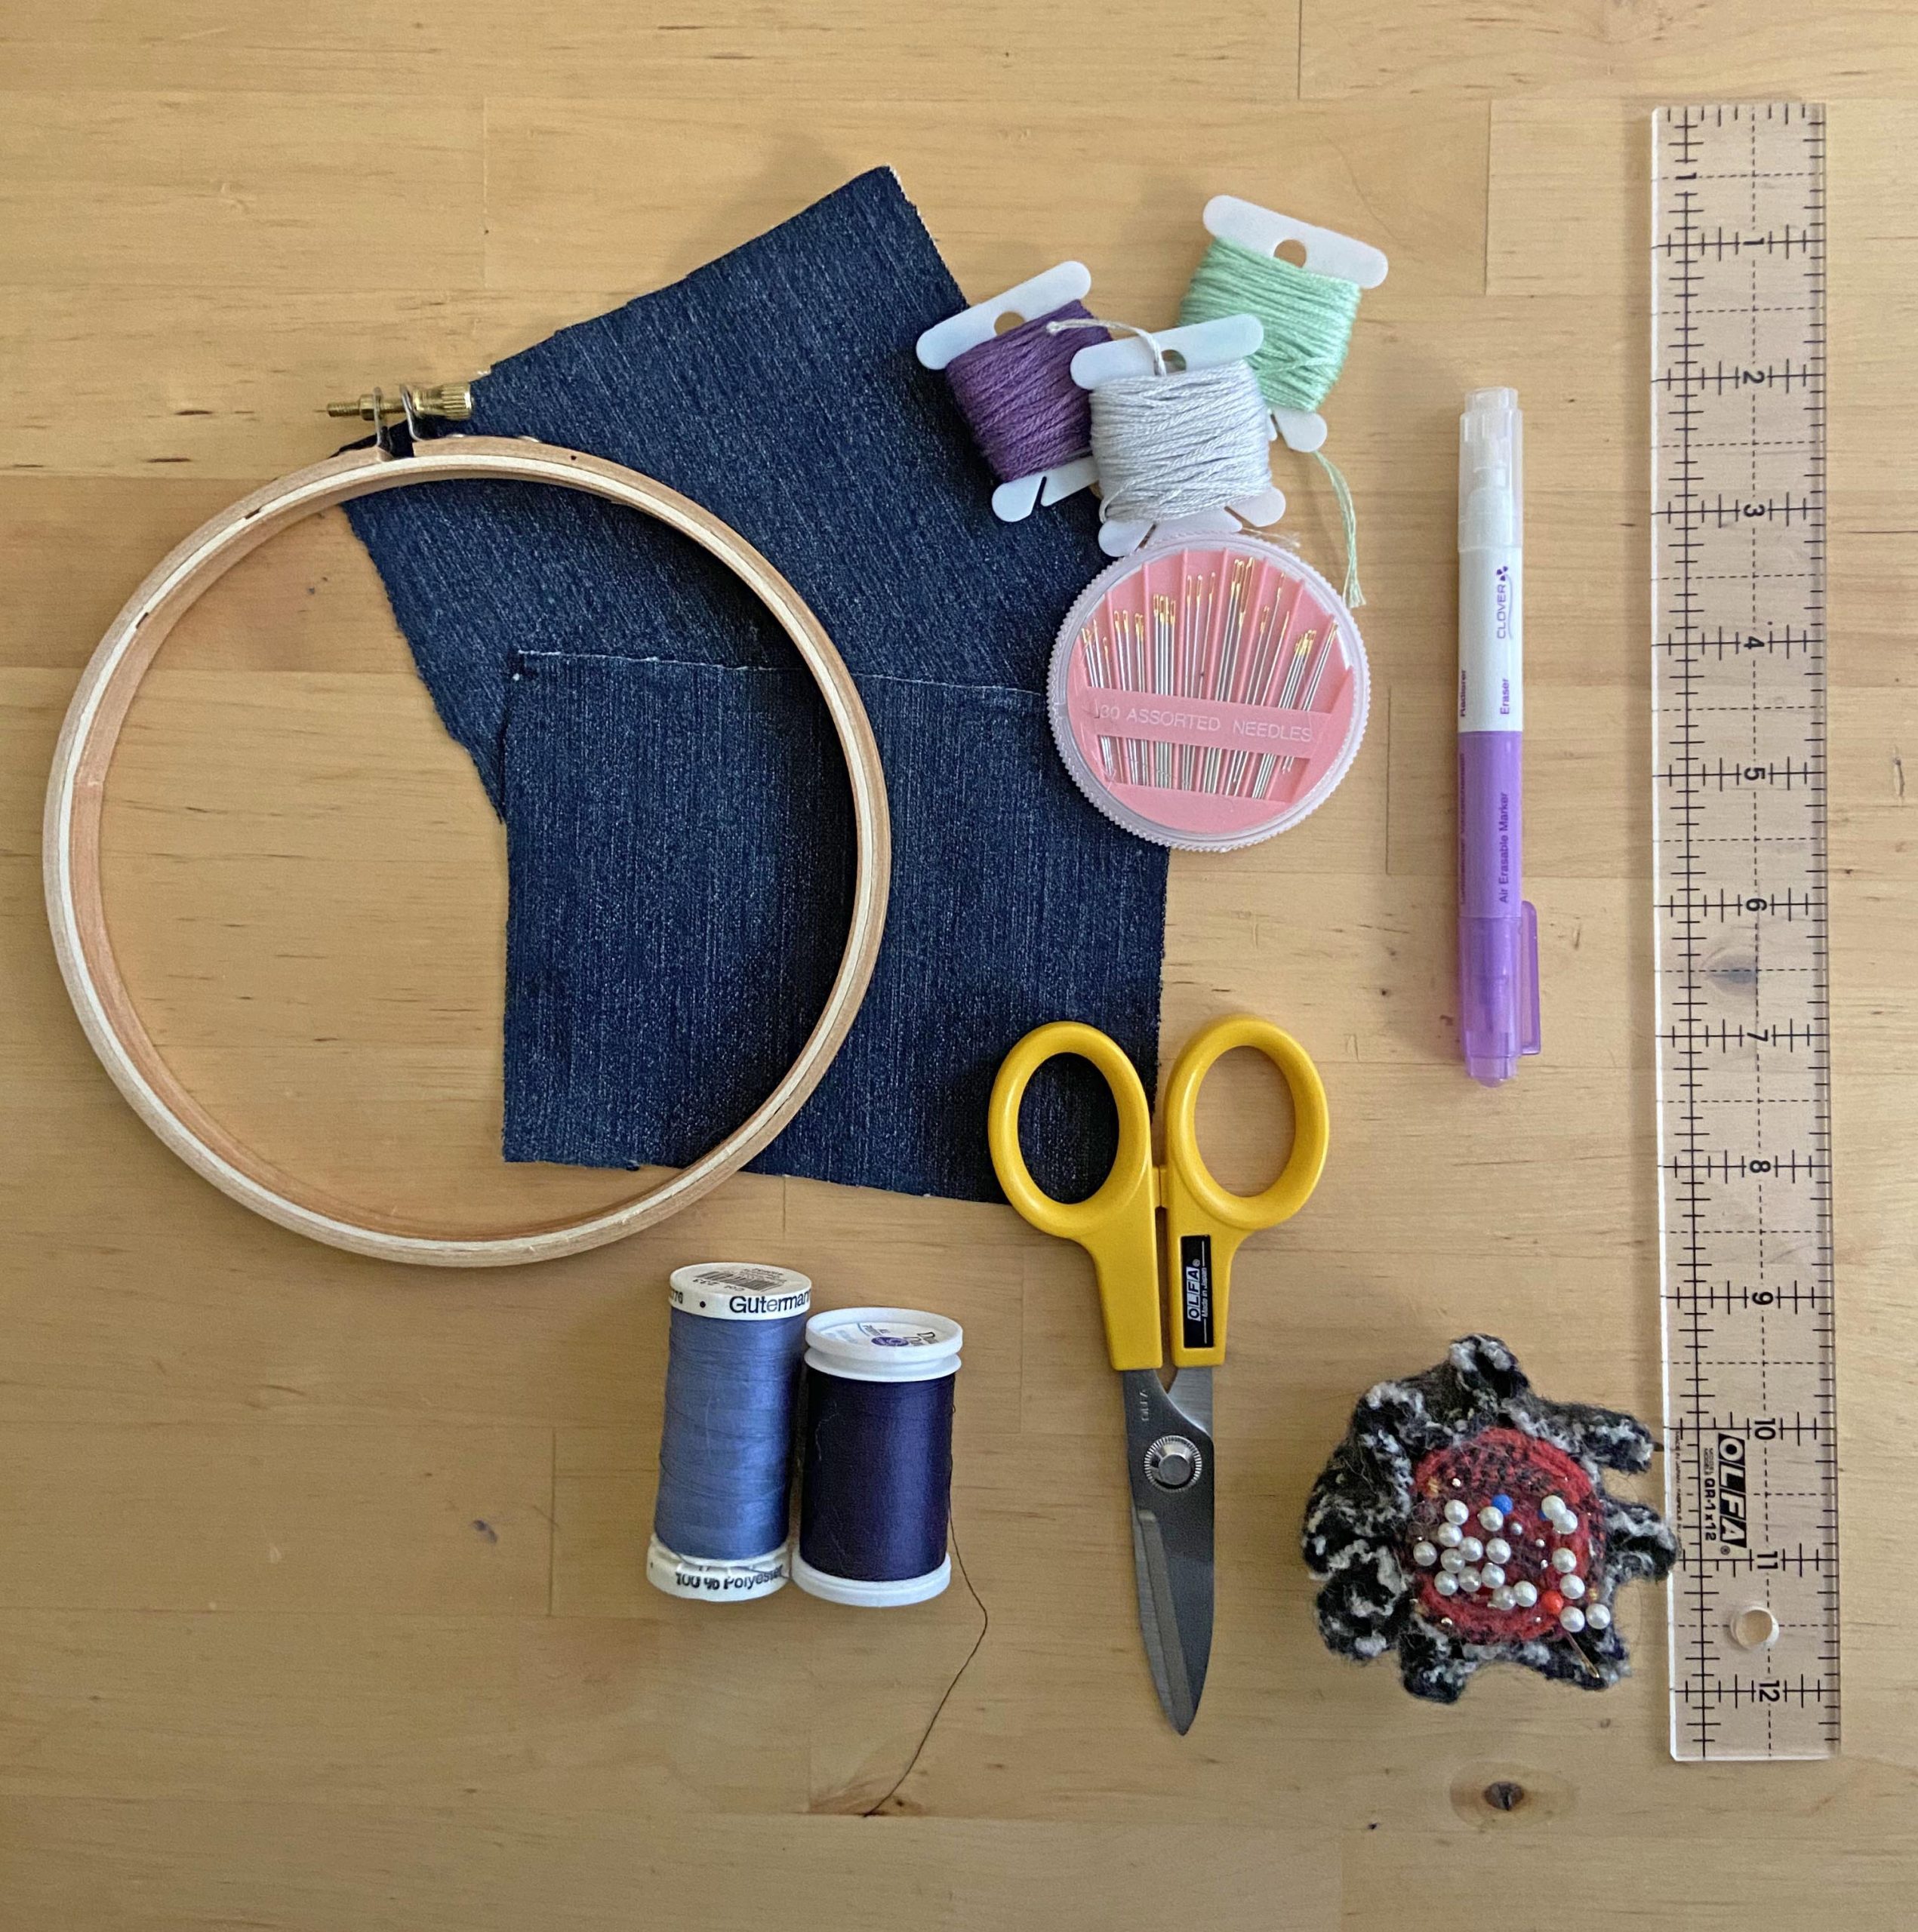
Supplies for Visible Mending
The good news is that you don’t have to invest in a lot of tools and supplies – visible mending can be done with whatever craft materials you have lying around. Here are some that you may find useful:
• Needles (sewing, embroidery, or darning)
• Pins (straight pins or quilting pins)
• Thread (sewing thread, embroidery floss, or even some yarns)
• Fabric (for patches)
• Scissors
• Fabric Pen or Chalk (for marking)
• Ruler
• Embroidery Hoop (for stabilizing fabric)
Visible Mending Inspiration
Currently, one of the most popular techniques for visible mending is Sashiko, the Japanese embroidery technique which uses geometric designs to reinforce and repair. However, just about any embroidery technique can be used to create unique and beautiful designs – you’re only limited to your imagination!
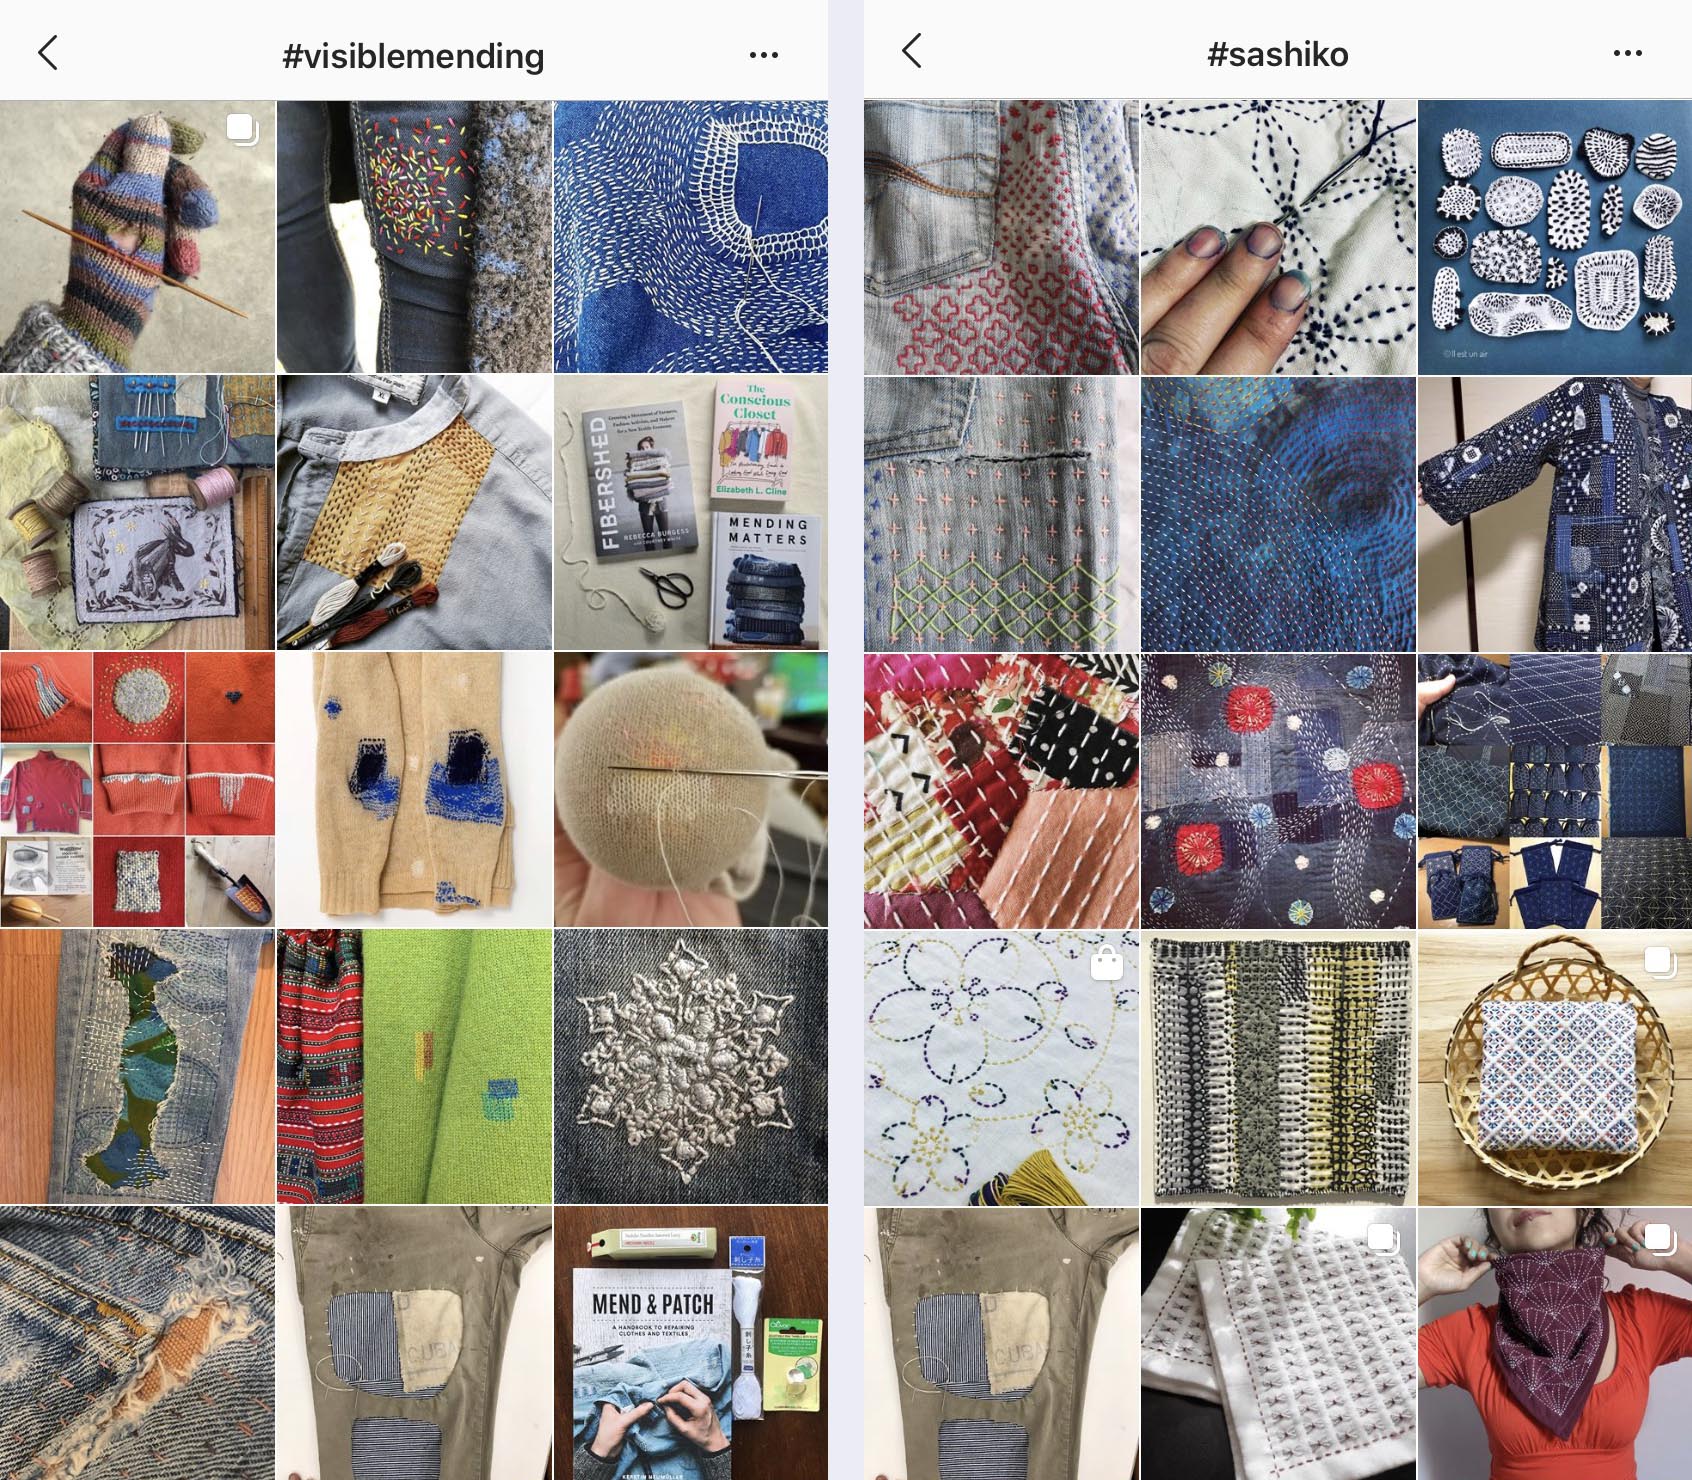
Just searching the #visiblemending and #sashiko hashtags on Instagram will provide you with quite a bit of inspiration, but you can also find more ideas and images on the Tom of Holland website, this article on beljacobs.com, and at VisibleMending.com.
Visible Mending Tutorials & Resources
There are a number of excellent resources and tutorials dedicated to visible mending techniques. Here are a few to get you started:
• Spruce Crafts: 10 Ways to Mend and Repair Clothes With Embroidery
• DIY Network: Sashiko Mending Tutorial
• Spin-Off Magazine: 7 Tricks to Know Before You Sew
• Spoonflower: Visible Mending 101
• YouTube Video: Visible Mending on Denim with a Sashiko Stitch
• YouTube Video: Boro Stitching Visible Mending Tutorial
We hope this post inspires you to use your embroidery skills to make do and mend! We have many more resources available here on our website. Non-members can access our PDF glossary of terms and projects for free; we also share information about scholarships and award opportunities, our monthly Stitch-Along, the EGA Library and more.
Like this post? Pin it!

