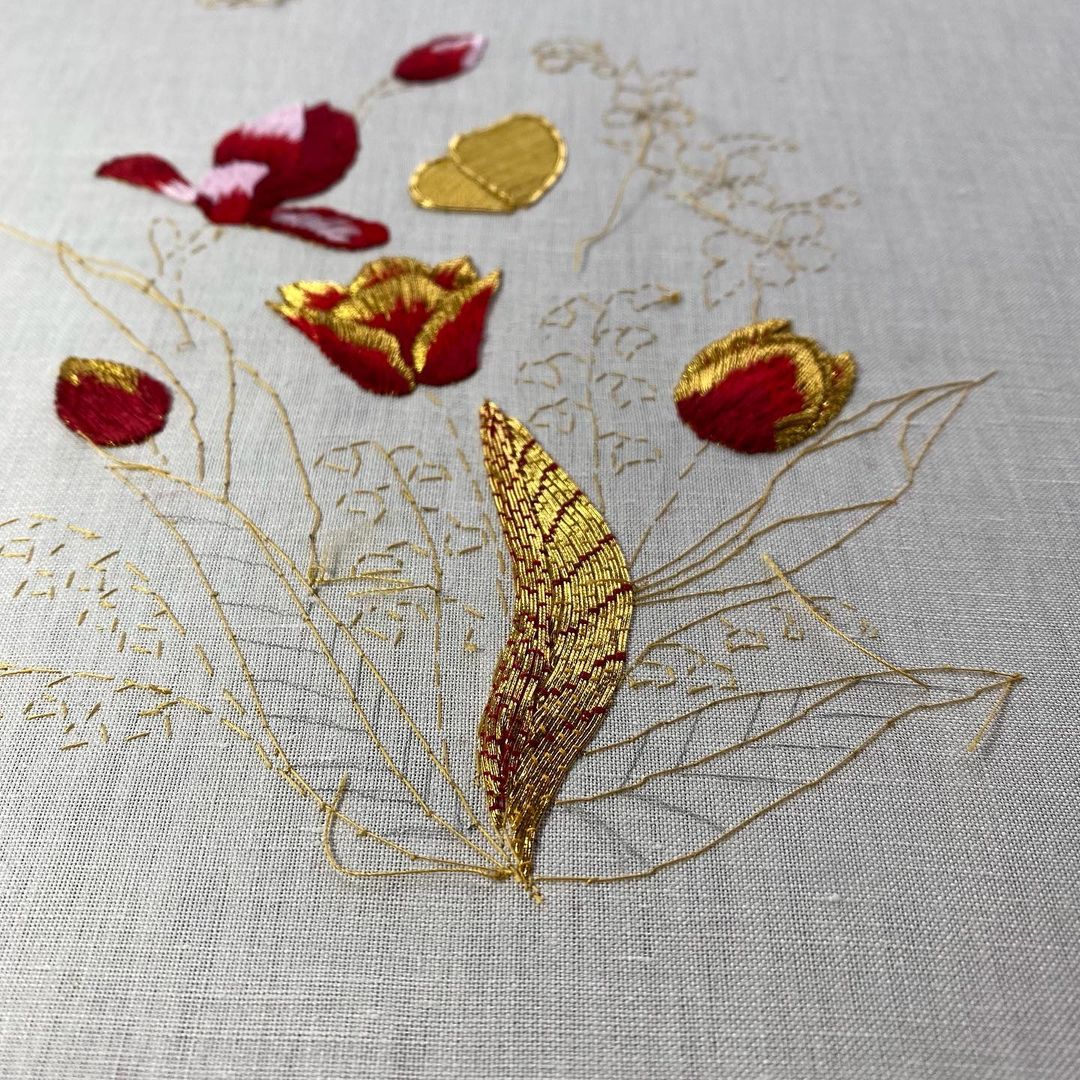
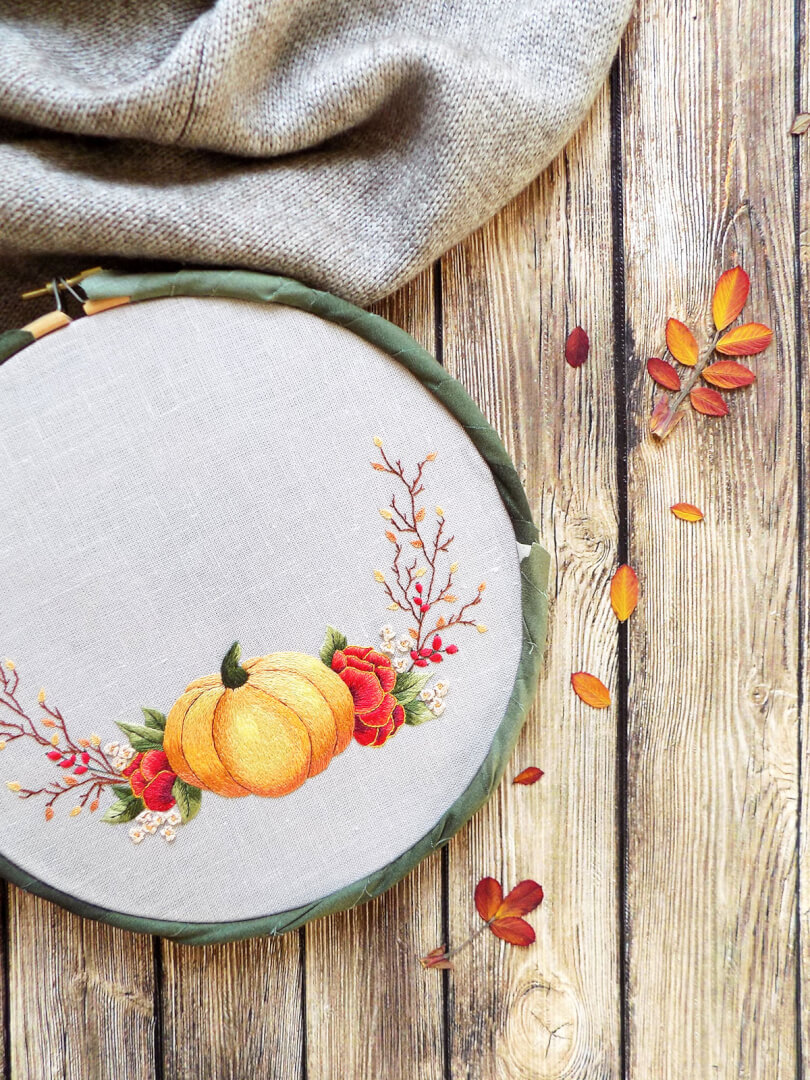
Most aspiring needle artists come to embroidery after seeing an amazing project that inspires them. But before you dive into that dream project, let’s take a few moments to cover some of the basic knowledge you’ll need for successful stitching from start to finish! On this Beginner’s Guide to Embroidery Floss, we’ll cover some of the frequently-asked questions new stitchers have about choosing, storing & using embroidery floss.
Types of Embroidery Floss
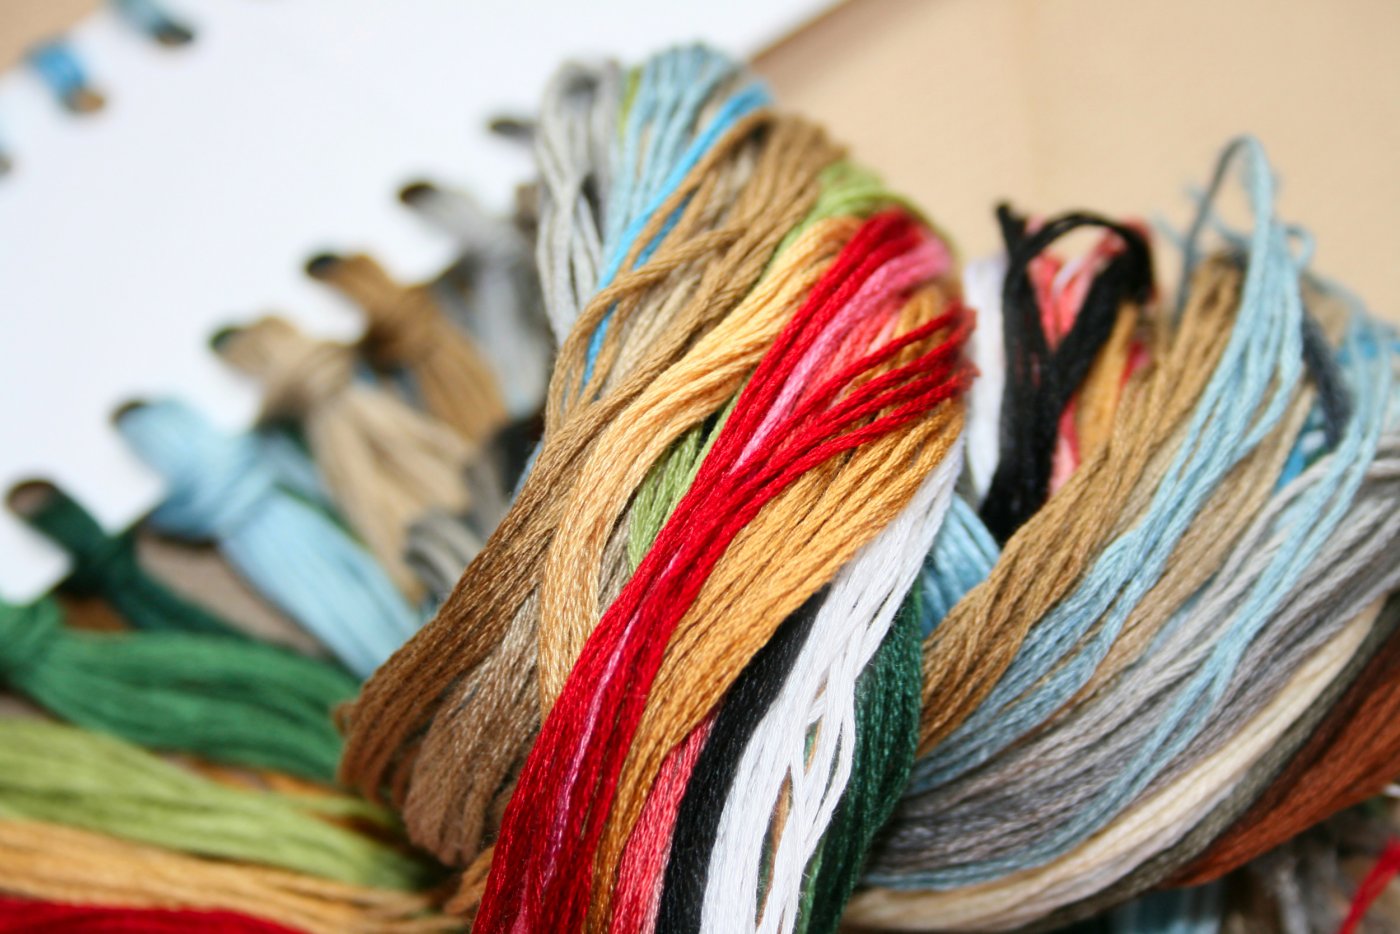
If you’re a crafter, you’ve probably already seen colorful skeins of embroidery floss that look like this:
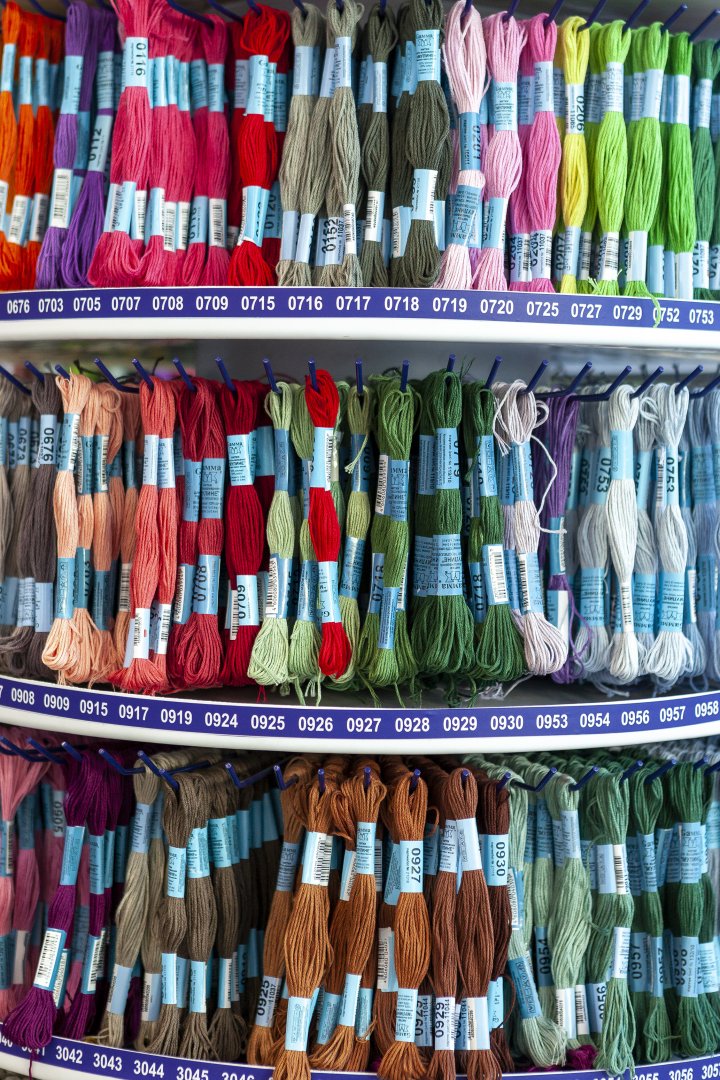
Also called six stranded embroidery floss, skeins like those shown above are one of the most commonly-used types of floss. But did you know that there are many other kinds of specialty floss, too? Rayon, silk, metallic, ribbon and even some wool fiber yarns can be used for embroidering. For beginners, we recommend working with 6-stranded cotton floss while you practice your skills. It’s easy to find, inexpensive, comes in a million colors and will help you master the basics before adding in more expensive or delicate materials. We also recommend sticking to the same floss manufacturer when purchasing colors for your project to ensure consistency, as the thickness of threads and other factors can vary from brand to brand.
Storing Floss
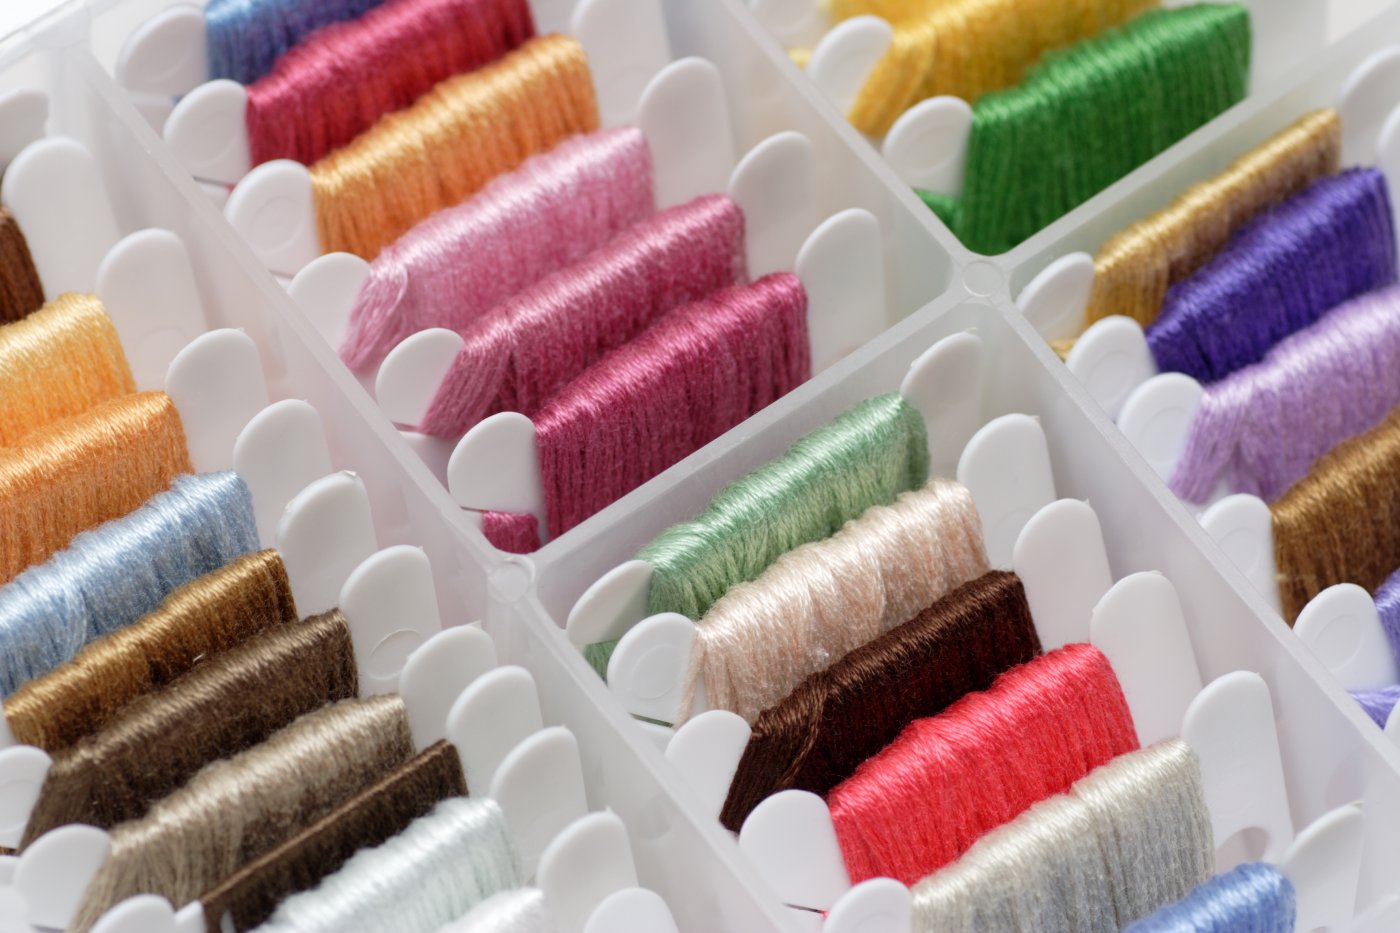
Each company uses a numbering system to identify colors, which can also help you keep your collection organized. Since floss comes in small skeins which need to be cut and unwound, you’ll be removing the labels from them. This could get messy quickly! The solution is to use bobbins: when you remove the labels from your skein, use a paper, plastic or specialty bobbin (such as those shown below) to wrap your floss around until you need to use it; make sure to also write the number of the floss on the bobbin with a permanent marker or small label so that you can easily identify it later.

There are many specialty containers created specifically for storing embroidery floss bobbins, but you can store them in virtually any drawer, box or container that works for you. Some crafters prefer to store their floss by color, while others sort by number. There is no right or wrong way – it simply comes down to a matter of personal preference.
Don’t be afraid to get creative! Here are a few more ideas for keeping your floss safe and tangle-free:
Use some heavy card stock and a hole punch to loop your strands of floss:
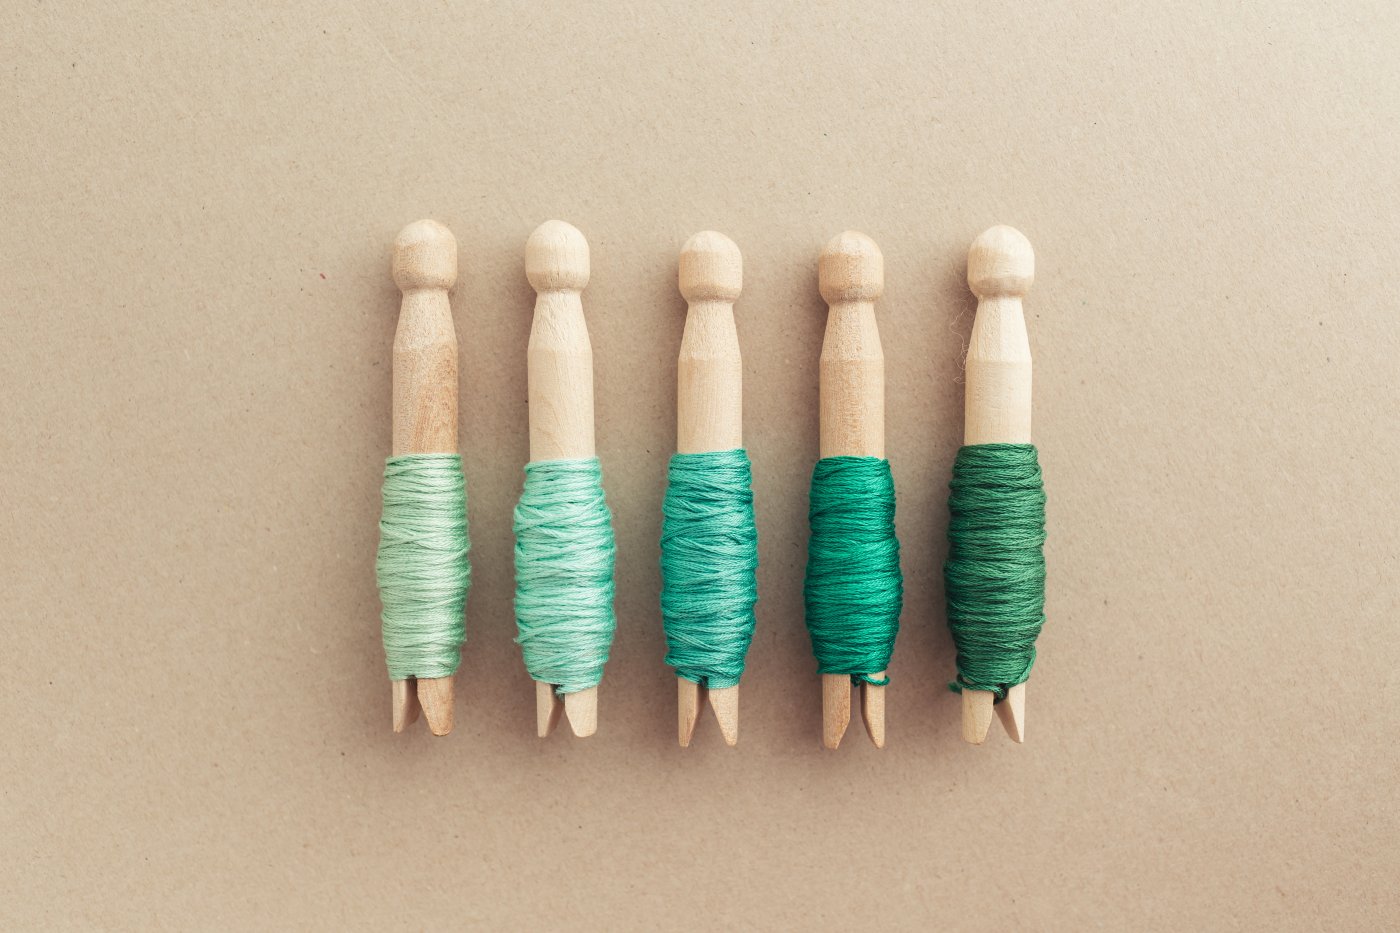
Repurpose items such as clothespins to create an eye-catching storage option:
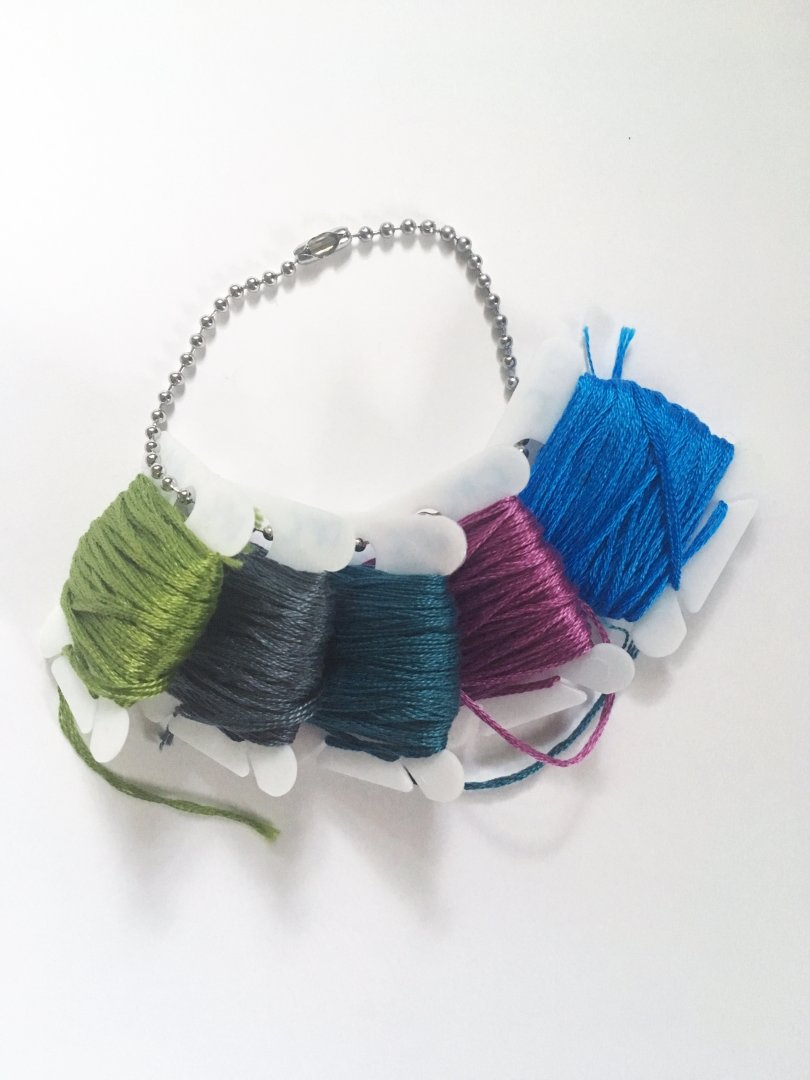
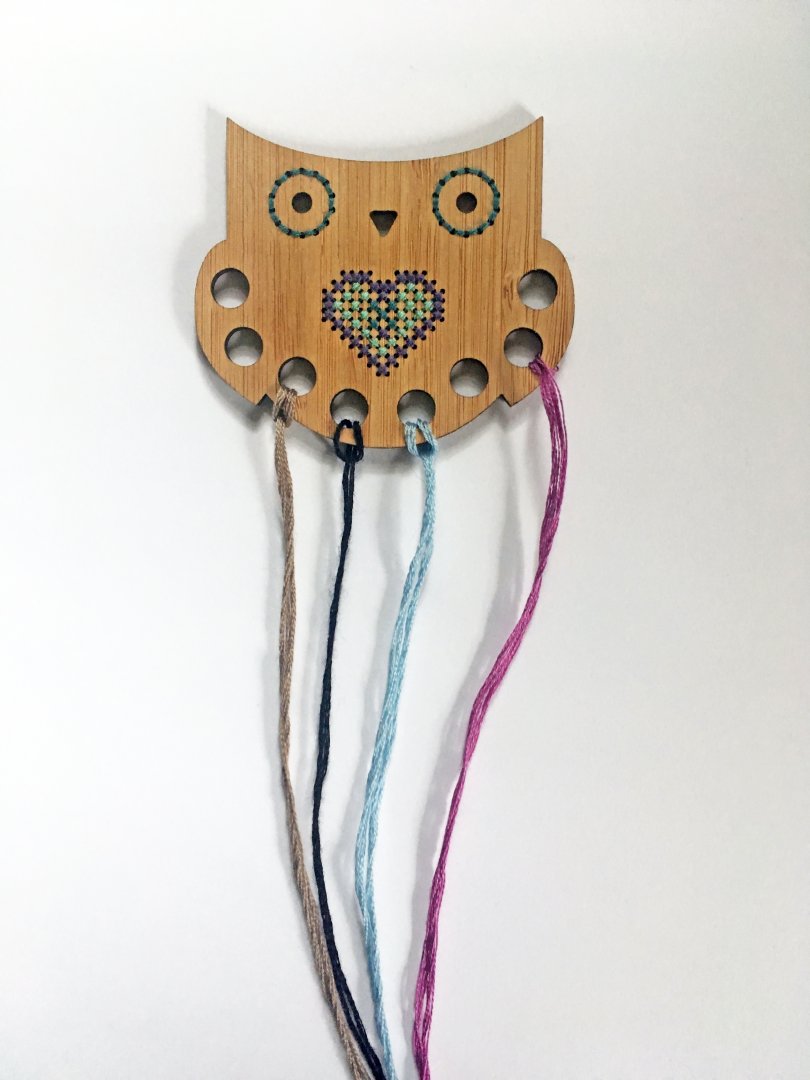
To keep a particular project’s floss colors together in one handy place, you can use a ring or chain to connect your bobbins:
Or, a specialty floss organizer can add a little fun to your stitching project:
The important thing is to find a storage solution that works best for you: not only will this keep your embroidery floss tangle-free and ready to use, it will also prevent you from buying duplicate skeins.
Preparing Your Floss For Stitching
Six stranded embroidery floss needs to be separated before use; typically, you will use 1-2 strands at a time, but this depends on your pattern, fabric count, and personal preference.
To separate the individual strands; start by untwisting a one-inch section on one end of the thread.
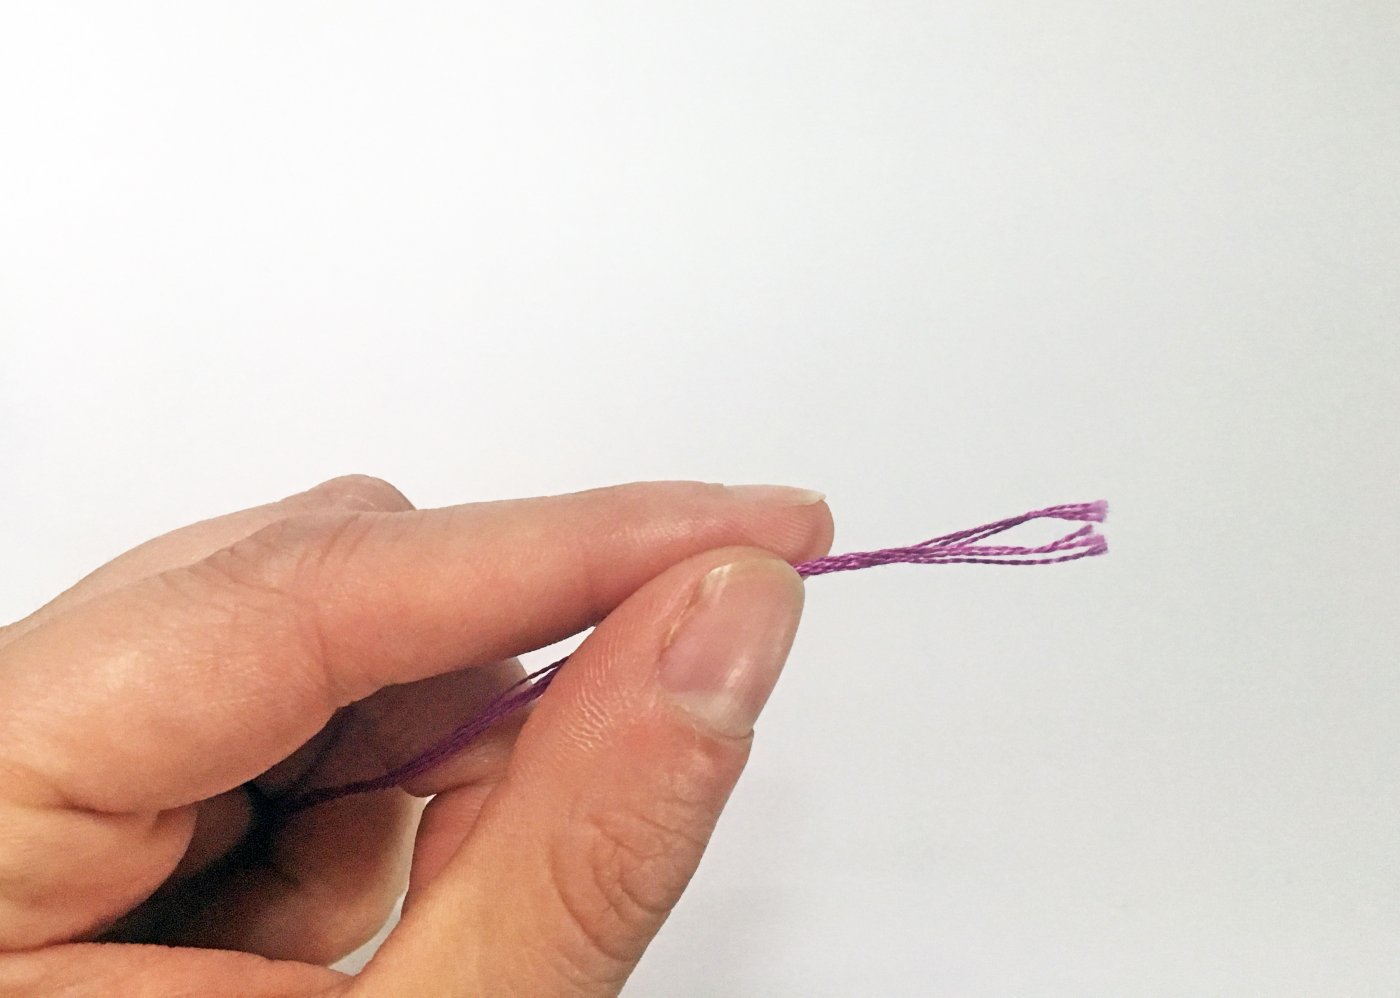
Securing the opposite end, pull 1 thread vertically in the opposite direction:
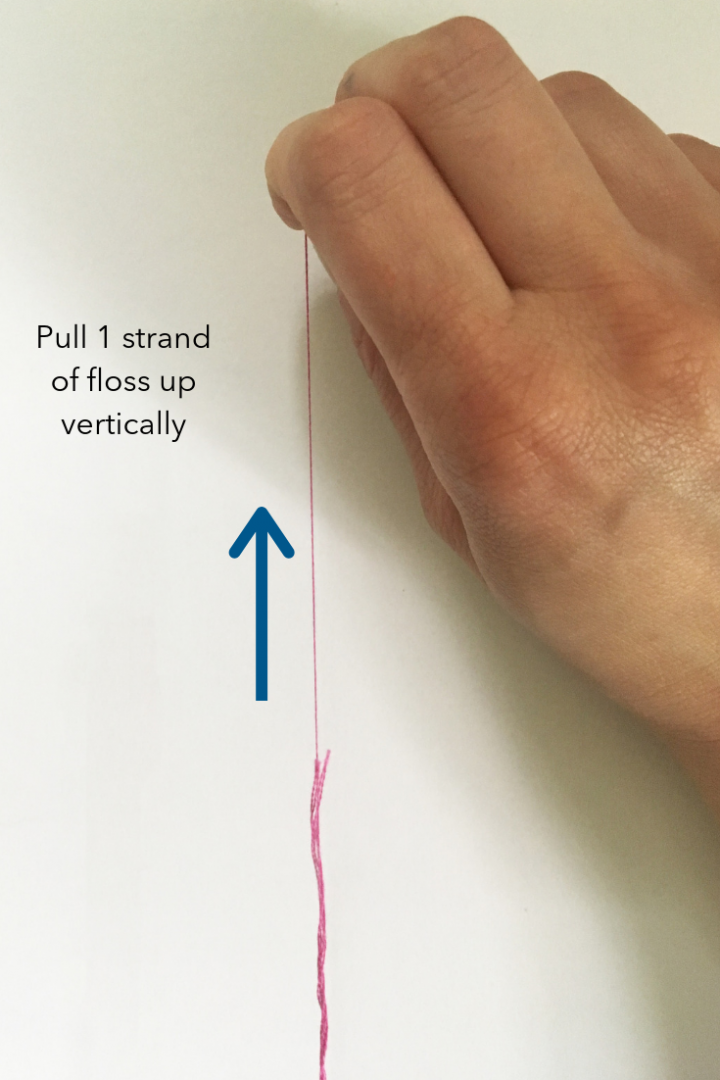
If it comes easily, you picked the correct end; if it resists, try this process on the other end of your floss.
We hope this post helps you get started in your new needlework hobby. For more information, we have many more resources available here on our website. Non-members can access our PDF glossary of terms and projects for free; we also share information about scholarships and award opportunities, our monthly Stitch-Along, the EGA Library and more.
Like this post? Pin it!