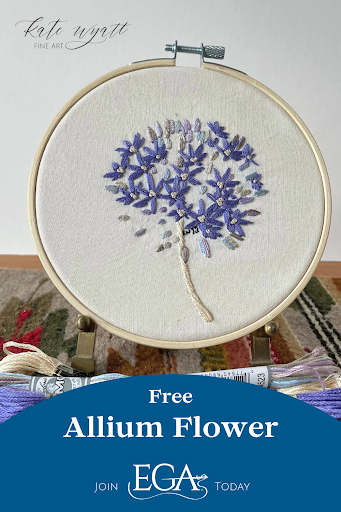
Stitch an Allium Flower with Kate Wyatt of Kate Wyatt Fine Art. This delicate Allium Flower uses only two stitches and three colors, making it a wonderful project for beginner embroiderers. Kate has kits on her website with everything an embroiderer needs to stitch one of her beautiful flower designs. Interested stitchers can purchase an Allium Flower Kit that includes all the materials below!
Materials and Instruments
- Allium Flower Design (sign up for the EGA newsletter to download!)(Members can download the pattern from the Member Publications page)
- 5-inch wooden hoop
- Linen cotton canvas, or similar tightly woven fabric
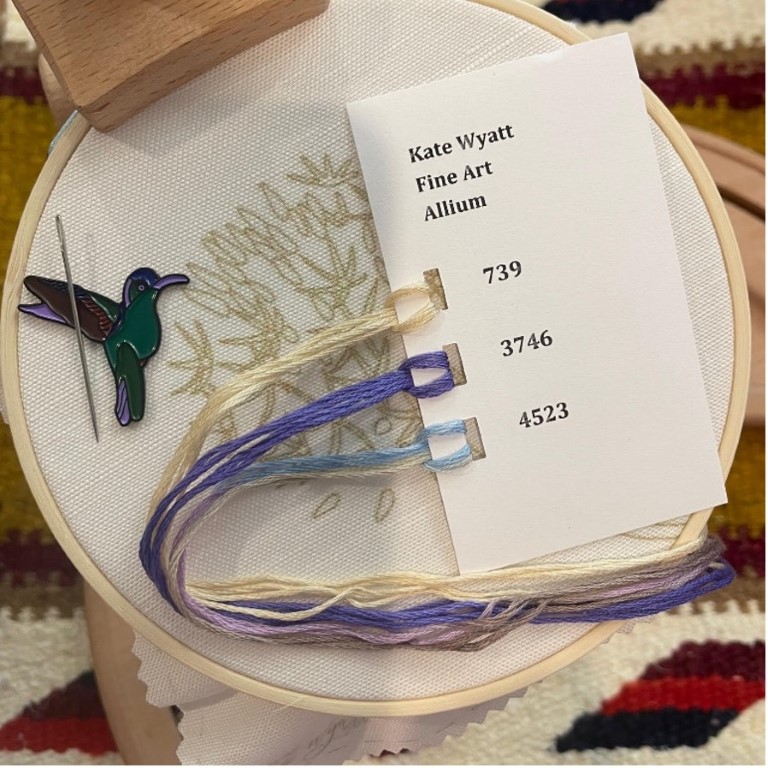
- DMC 100% cotton embroidery floss in 739 Tan – Ultra Very Light, 3746 Blue Violet – Dark, 4523 Cloud Nine
- DMC size 5 embroidery needle
- Scissors
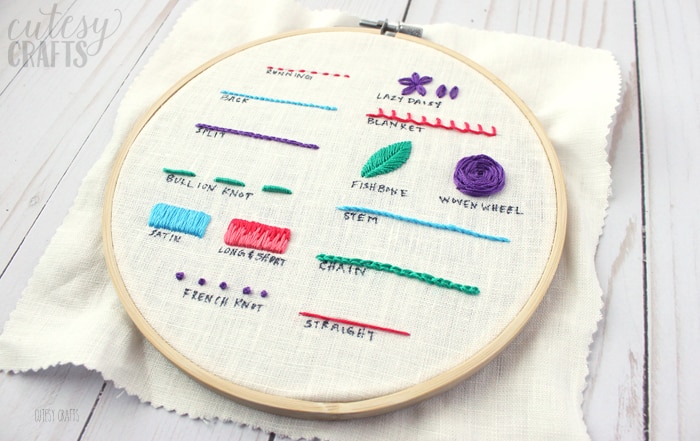
Stitches You Will Use (See the reference guide at the end of this post)
- Satin stitch
- French knot
Instructions
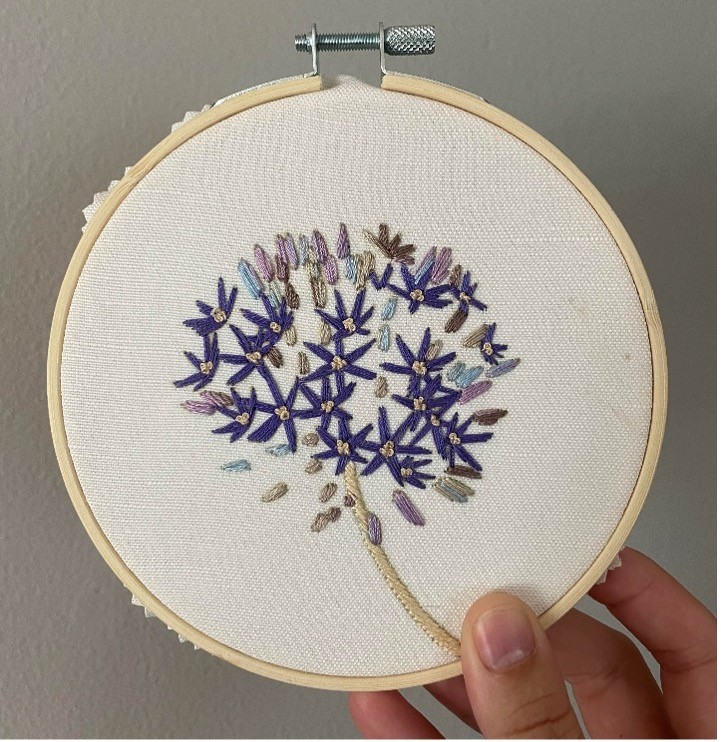
Transfer the design to your fabric using your preferred method. Stretch the fabric taut in the wooden hoop, centering the design in the hoop. Use the thumb screw at the top of the hoop to tighten. You want your fabric to sound like a drum when you tap on it. Continue adjusting slowly and tightening the thumb screw as you go until it’s nice and tight.
The first section will be the purple flowers (DMC 3746). DMC colors are noted on the floss card above, as well as in the materials list.
Cut a two-foot length of floss (see my Instagram reel on how to use a floss card!). DMC embroidery floss is comprised of 6-strands, and is very thick to work with if you do not make it thinner. Separate 2-strands from the 6-strand group, wrapping the extra 4-strands around the remaining floss (or a separate floss card) for organization. You will have enough floss for this pattern provided you use 2-strands. Using additional strands may require additional floss.
You will develop a preference as you go, but use the two-foot length as a starting point and adjust (longer/shorter) based on your preference. Too long and you will have to pull a lot of floss through the fabric, making your arms tired. Too short and you’ll constantly be re-threading.
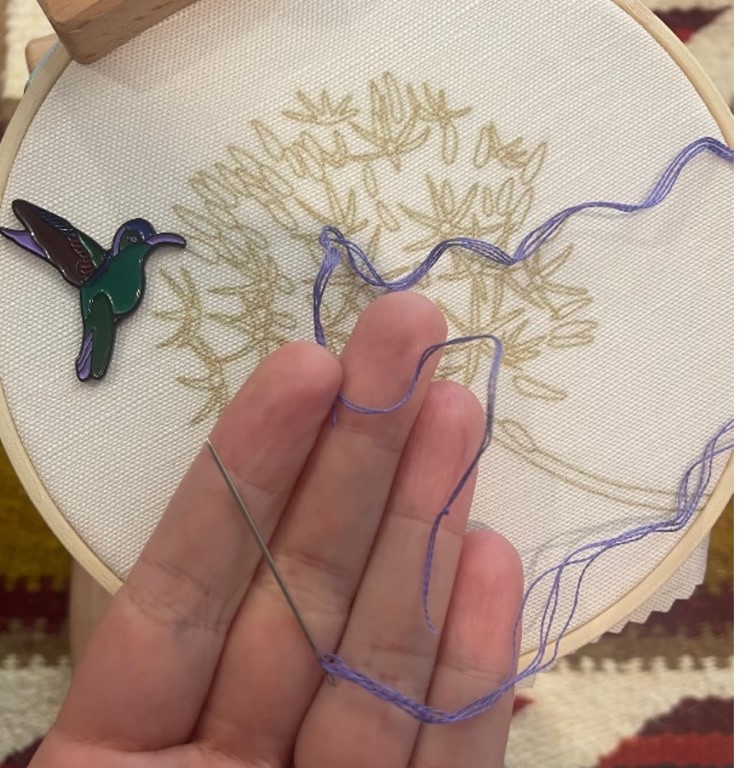
Knot the end of your 2-strand floss 1/2” to 1” from the end. Do this twice (knot on top of the first knot) to ensure the thread doesn’t pull through the fabric. You don’t want too much tail on the knotted end as it can get in the way while stitching.
Thread your needle on the opposite end of the 2-strand floss you just knotted. Leave a small tail, ensuring it is shorter than the working floss section; otherwise the extra floss will get tangled. As you stitch, you’ll discover that you will “pull” some of the tail into the working section to give you more length to stitch with. This is OK. As long as the tail is shorter, you won’t run into any issues. This will be more intuitive as you go, I promise!
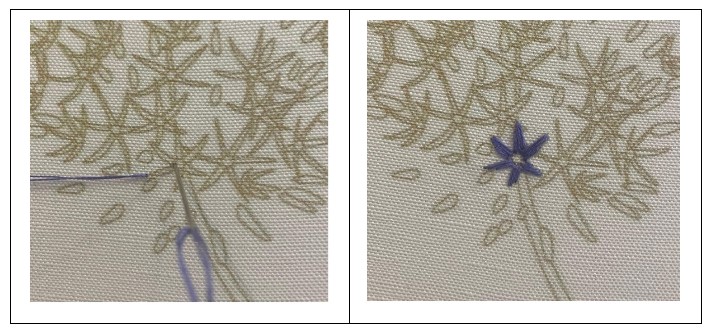
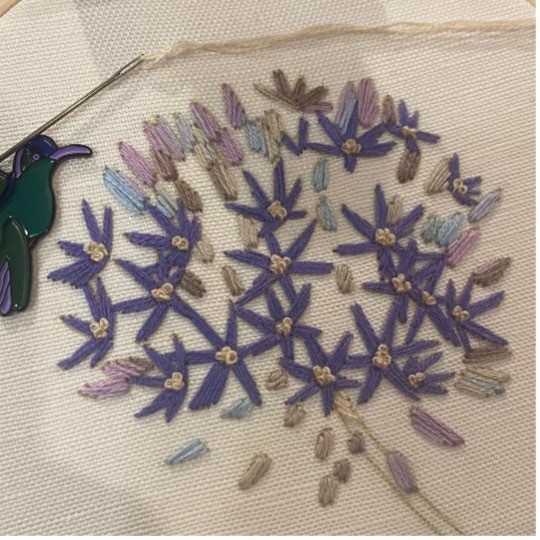
To start the first satin stitch section (see stitch instructions below for details), thread DMC 3746. Start at the tip of one of the flowers and orient your stitches towards the center of the flower. Bring your needle up through the fabric from the back side of the fabric to the front. Your knotted end will catch/remain on the back side of the fabric. Continue infilling all purple flower areas with satin stitch.
Tip: Make sure there is no extra floss on the back side as you’re working (i.e. pull your floss/stitches tight to the fabric after each one), otherwise you’ll end up with uneven tension and floss that gets in the way/tangled with your working floss/needle.
Tip: When you have about 3” left of floss, knot your ends off on the back side before beginning your next section of floss. To knot the floss on the back side of the fabric, (with the needle/thread on the back side) grab a few strands of floss with your needle and bring the needle/floss through the strands. You’ll see that you’re creating a small loop as you bring the floss through. Before that loop is gone, bring your needle through the middle of that loop and slowly tighten until a knot is created. Once a knot is formed, snip the floss with a ½” tail. Too much extra will get caught in the other sections as you embroider. It’s best to keep this as short as possible. Use this method if you run out of floss in the middle of a section as well.
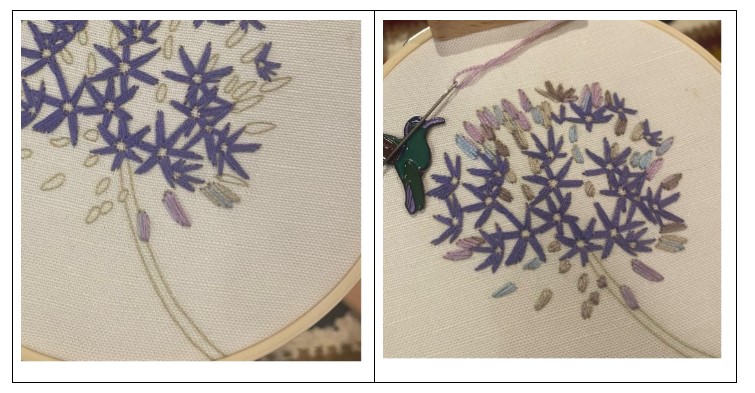
For the next part of the bloom, you will use a satin stitch (see stitch instructions for details) with DMC 4523 and infill the remaining elongated sections, orienting your stitches towards the center of the bloom. Continue until the rest of the bloom areas are filled in.
Tip: This is a slow, meditative craft. The process is meant to be fun! There is no race. If you’re not enjoying it, put it down and come back another time. Don’t put pressure on yourself or get discouraged. It’s about the process. Nothing will go awry if you set it down for several weeks (or months) and come back to it.
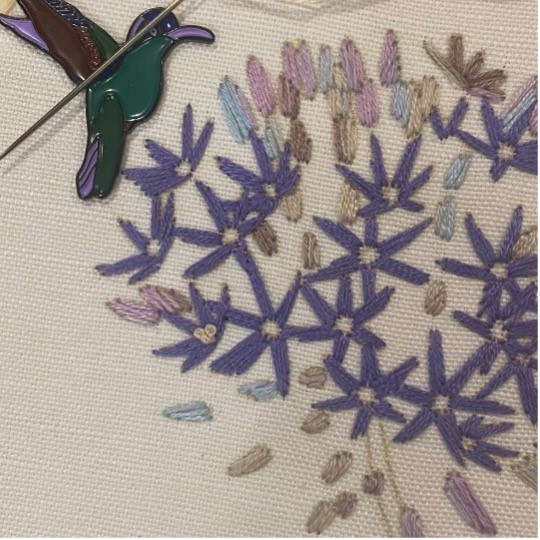
For the center of the purple flower, use a French knot (see stitch guide below for reference) with DMC 739. Infill each center with several French knots until the entire area is filled in.
Finally, use satin stitch (see stitch guide below for reference) for the stem area with DMC 739. Start just outside one line of the stem and stitch slightly over the opposite line of the stem so that the lines are completely covered with your stitching. Orient your stitches at a 45 degree angle.
To finish your hoop, center the finished piece and re-tighten the fabric in the hoop. Cut down the corners of the fabric to leave about 1” around the hoop after the design is in the final position. Cut about two feet of floss (any color you have left over will work!) and thread a needle, knotting the very end as described in previous steps.
Along the edge of the fabric, stitch a simple stitch (also called a basting stitch in sewing) with about ¼” length stitches about .5” from the outside edge of the fabric. Once you’ve gone around all edges of the fabric, gently pull the floss tight until the extra fabric folds onto itself (on the back side of the hoop). With floss remaining tight so the fabric stays in place, knot the floss tightly onto the fabric/other floss so the folds stay in place. Trim extra floss.
I hope you enjoyed this pattern!
Stitch Guide
Satin Stitch

- For ease of keeping your floss orientation aligned to where you want it (ex. North/South, towards center of flower, etc.), start in the center or widest part of the section.
- Come up from the back through the fabric to the front side (A), needle on top of the black printed line. This might take several tries to see that the needle point is where you want it. Poke up a small amount, adjust as necessary until your needle is coming up where you want it to. Pull floss to front of fabric, making sure it’s tight on the back.
- Bring the needle down on the far side of the section (B), keeping the orientation you want in mind, from the top of the fabric down through to the back side of the fabric.
- To start the next stitch, repeat steps 2-3 (C-D). Make sure to bring your needle as close to the previous hole (created in step 2) so that your floss coverage is very even. You should not see any white fabric between the stitches.
- Repeat, keeping stitches evenly side by side.
French knot
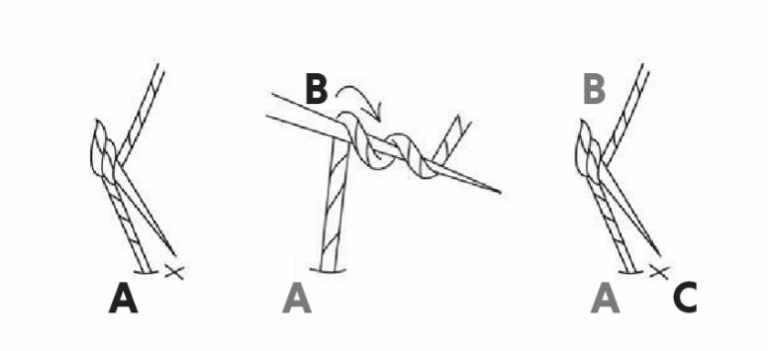
* This is a hard stitch and takes practice! Don’t be discouraged if it doesn’t work or takes a few tries.*
- Come up at A, twist floss twice around needle (B), holding the extra floss tight with your non-dominant hand. Keep the two twists on the needle near the end of the needle. Holding the extra floss tight will ensure the twists remain intact.
- Return needle very near to the original hole (C), slowly pulling the extra floss you’re holding with your non-dominant hand through to the back side of the fabric. Do not go through the same hole you came up with (C≠A) as the twisted floss won’t have anything to hold it on top of the fabric.
- Repeat, beginning subsequent stitches close to previous stitches so that the entire area is colored in (no white showing through).