The summer season is in full swing. It’s time to start thinking about vacation and the projects we’d like to make on our trips!
But first, it’s important to take stock and fully prepare for embroidering on vacation. As embroiderers, we’re working with small instruments and items that are easy to lose track of. We must account for all the needles and canvas, beads and sequins, and floss and threads when embroidering on the go. No one likes to pack a vacation project only to find an integral item missing!
In today’s post, we’re offering seven tips for embroidering on vacation. We hope these tips help make vacation embroidering a breeze!
Keep it Small + Simple
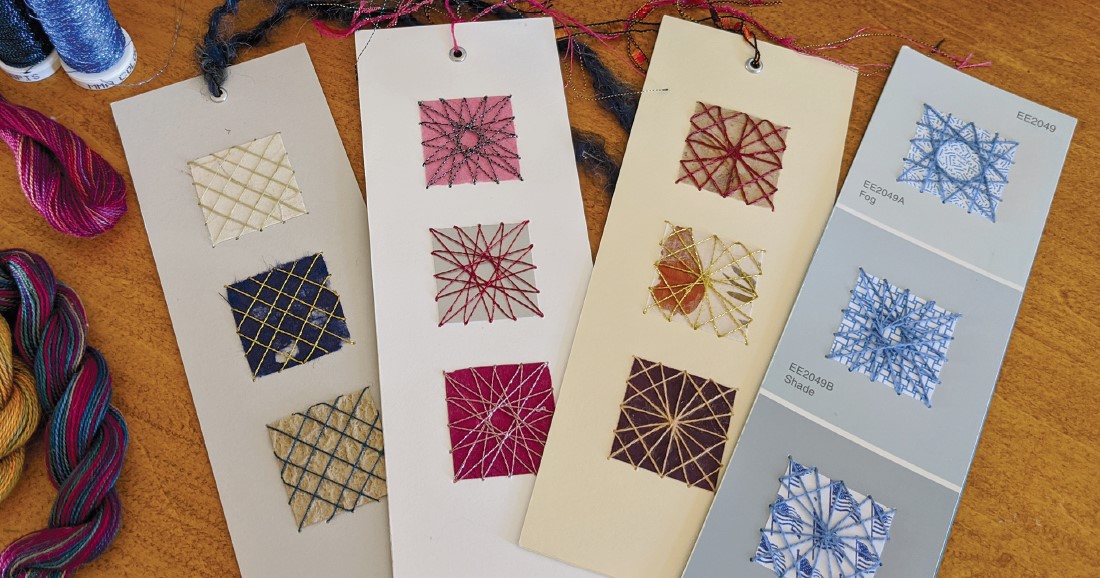
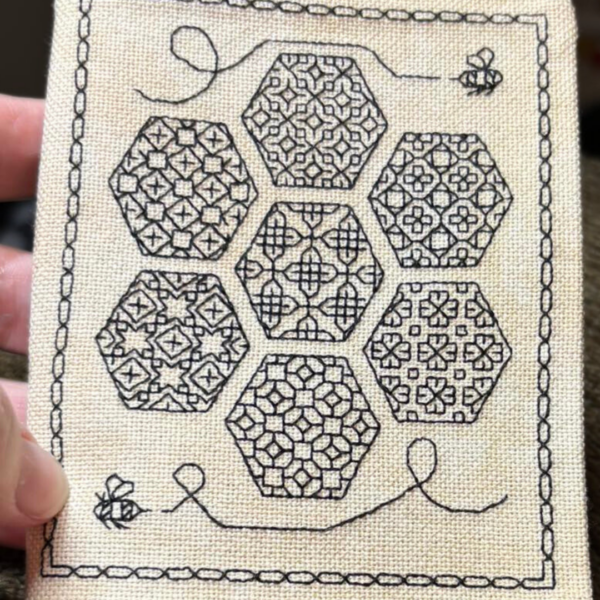
This first tip is an easy one. When choosing an embroidery project for vacation, aim for something small and simple. Aim for an in-the-hoop project, or a project that utilizes a small canvas, if you’re working on something like cross stitch. A simple embroidery project like the above Sampler Bookmarks from Needle Arts Magazine is a great project for embroidering on vacation—and even better if you’re a reader, as it will prove useful with any books you take with you!
Browse the free projects on our website here for more ideas. Great options include projects like Take Heart, the Pumpkin Embroidery Project, and the Gift Tag Sampler, among others.
EGA members should also consider the Petite Projects library, which features more than 70 small, often portable projects great for vacation stitching.
Make a List

There’s nothing worse than settling into your trip, opening your project bag, and realizing you forgot something at home. Making a comprehensive list of necessary project items relieves that stress.
We created the above template for stitchers to ensure they remember everything before they leave home. We left it blank because we know every project has different needs, but consider the basics: needles (include types), thread (include colors), scissors, thimble, embroidery hoop, needle book, pattern, embellishments (beads, sequins, metallics, buttons, etc), fabric or canvas, etc.
Be sure to print out a checklist for each project you’re bringing with you. It may be helpful to copy over the materials directly from the pattern, then fill out the remainder of the checklist knowing other items you might need.
Download the EGA Vacation Project Checklist here.
Pack Project Bags
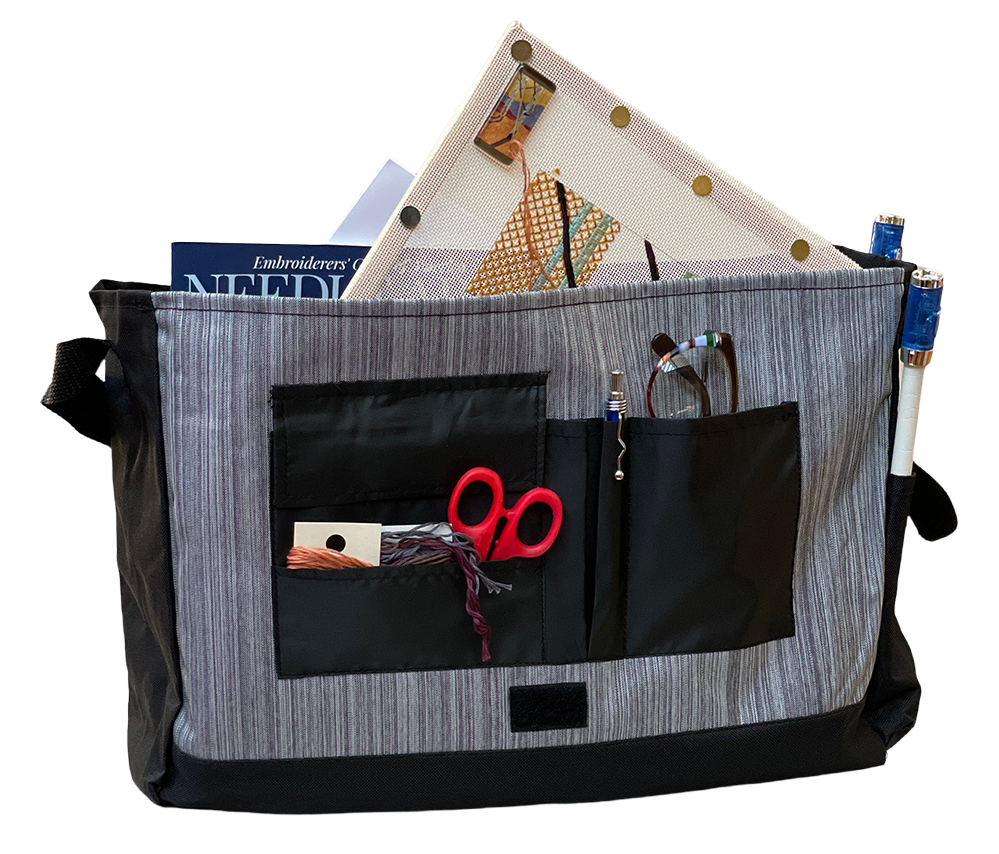
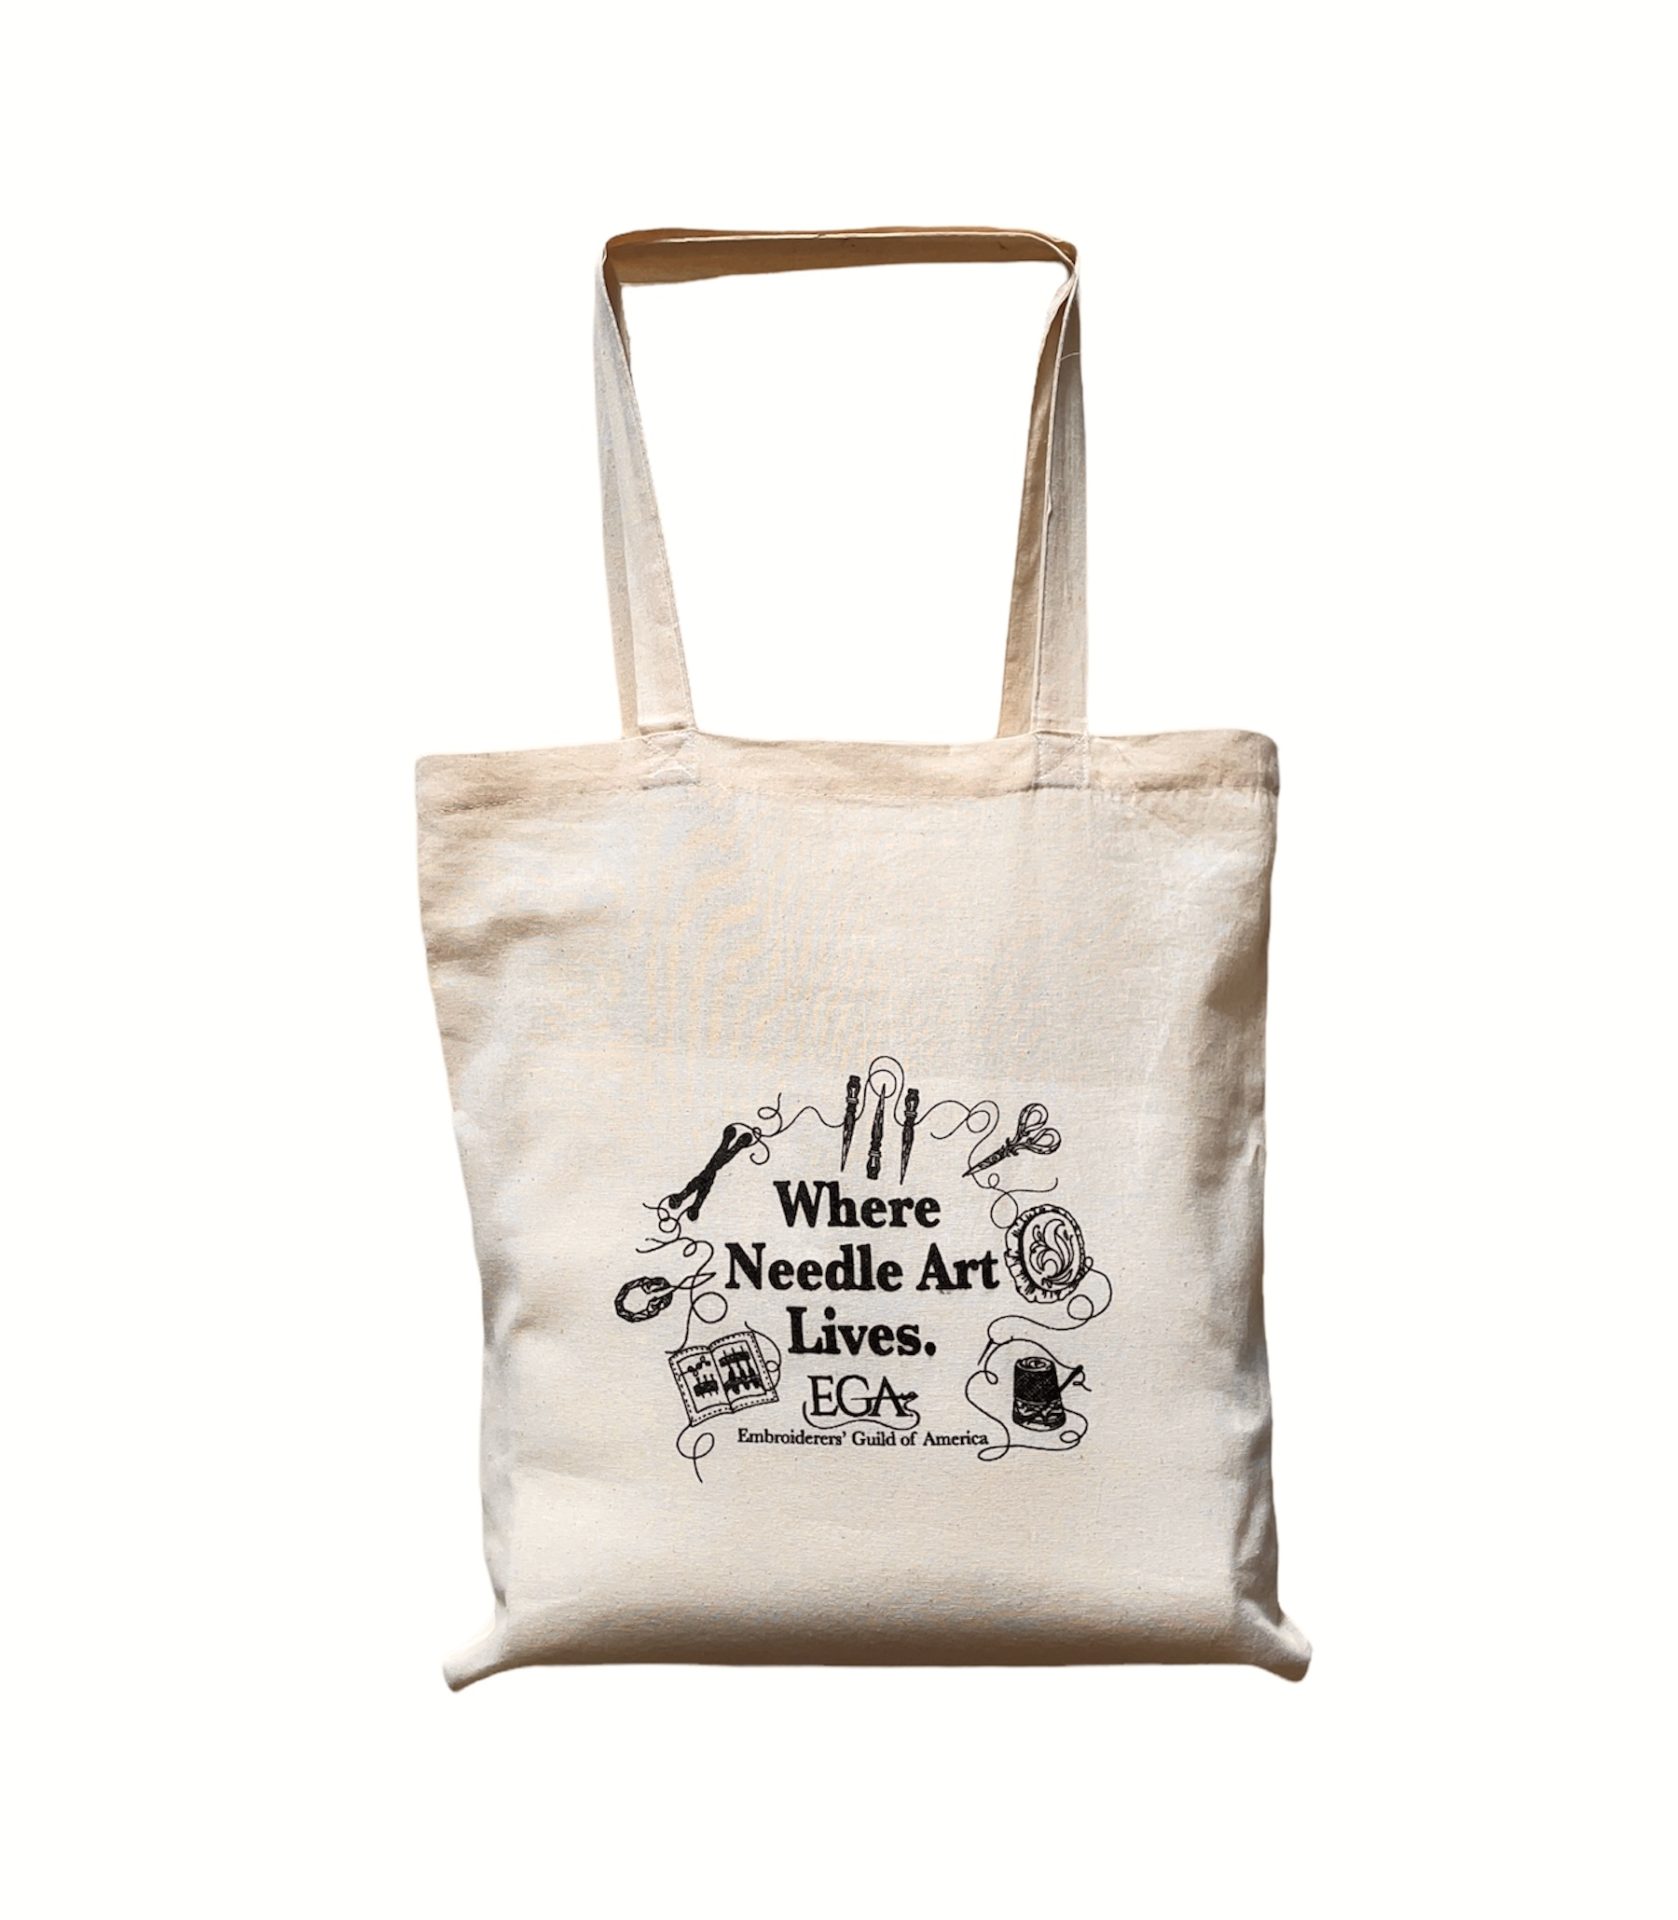
To keep yourself organized, pack a dedicated bag for your projects. Our Where Needle Art Lives tote bag and our EGA Messenger Bag are great for keeping track of all your project items.
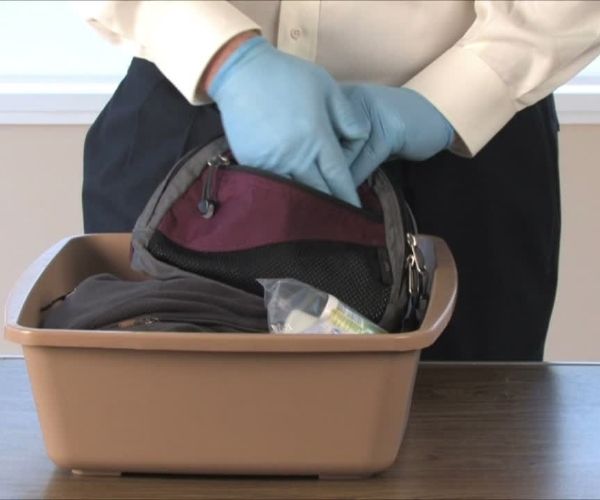
If you’re bringing more than one project on vacation with you, consider packing each project into its own clear, sealable bag, like a gallon ziploc bag. This way, you can see your projects at a glance without opening anything up. Then, place all your projects inside the tote. You’ll thank yourself later on your trip if you keep everything very organized!
Prepare Projects Ahead of Time

We highly recommend doing as much prep work as you can before you leave. This includes transferring your pattern to your fabric, cutting, pressing and setting your fabric in the hoop, and winding thread on bobbins. We love the above idea an embroiderer posted to Reddit for carrying bobbins on a key ring. Consider purchasing a key ring for each project you’re working on to keep each project’s threads organized. Our Beginner’s Guide to Embroidery Floss also has fun ideas to store and carry your floss. Also, something as simple as threading your needles beforehand can make travel crafting so much easier. No bumpy rides or turbulence disrupting your ability to thread your needle!
Bring a Needle Book
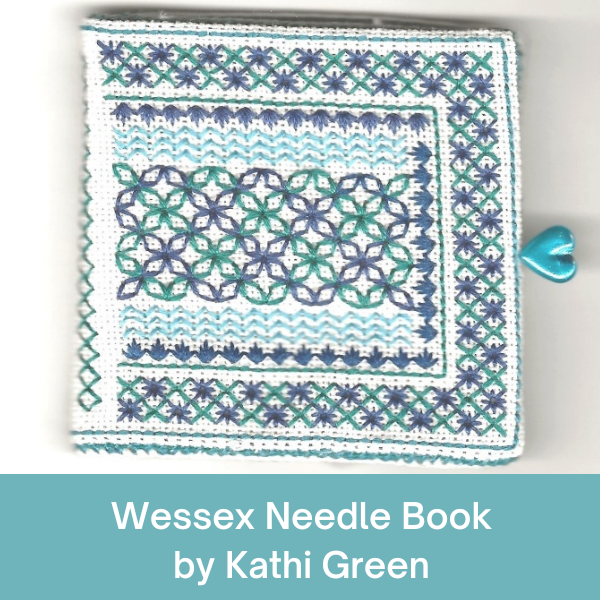
Traveling with needles can be a fiddly affair, so make sure you pack a needle case or needle book to keep them safe and tidy. In a pinch, something like an empty mint tin will do. But, if you have time, consider making something like the Wessex Needle Book by Kathi Green, one of the free projects on the EGA website. A simple needle book secures all your needles so they’re ready for travel.
Check with TSA
If you’re flying, remember to check the TSA website as well as your specific carrier’s website for their rules around allowed and prohibited items on planes. Things like scissors need to be less than 4 inches from the pivot point to be allowed in carry-on luggage. Something like a seam ripper might only be allowed in checked baggage. Using the small sharp end of a dental floss container can also double as a thread snip if you’re really desperate!
Invest in Portable Tools
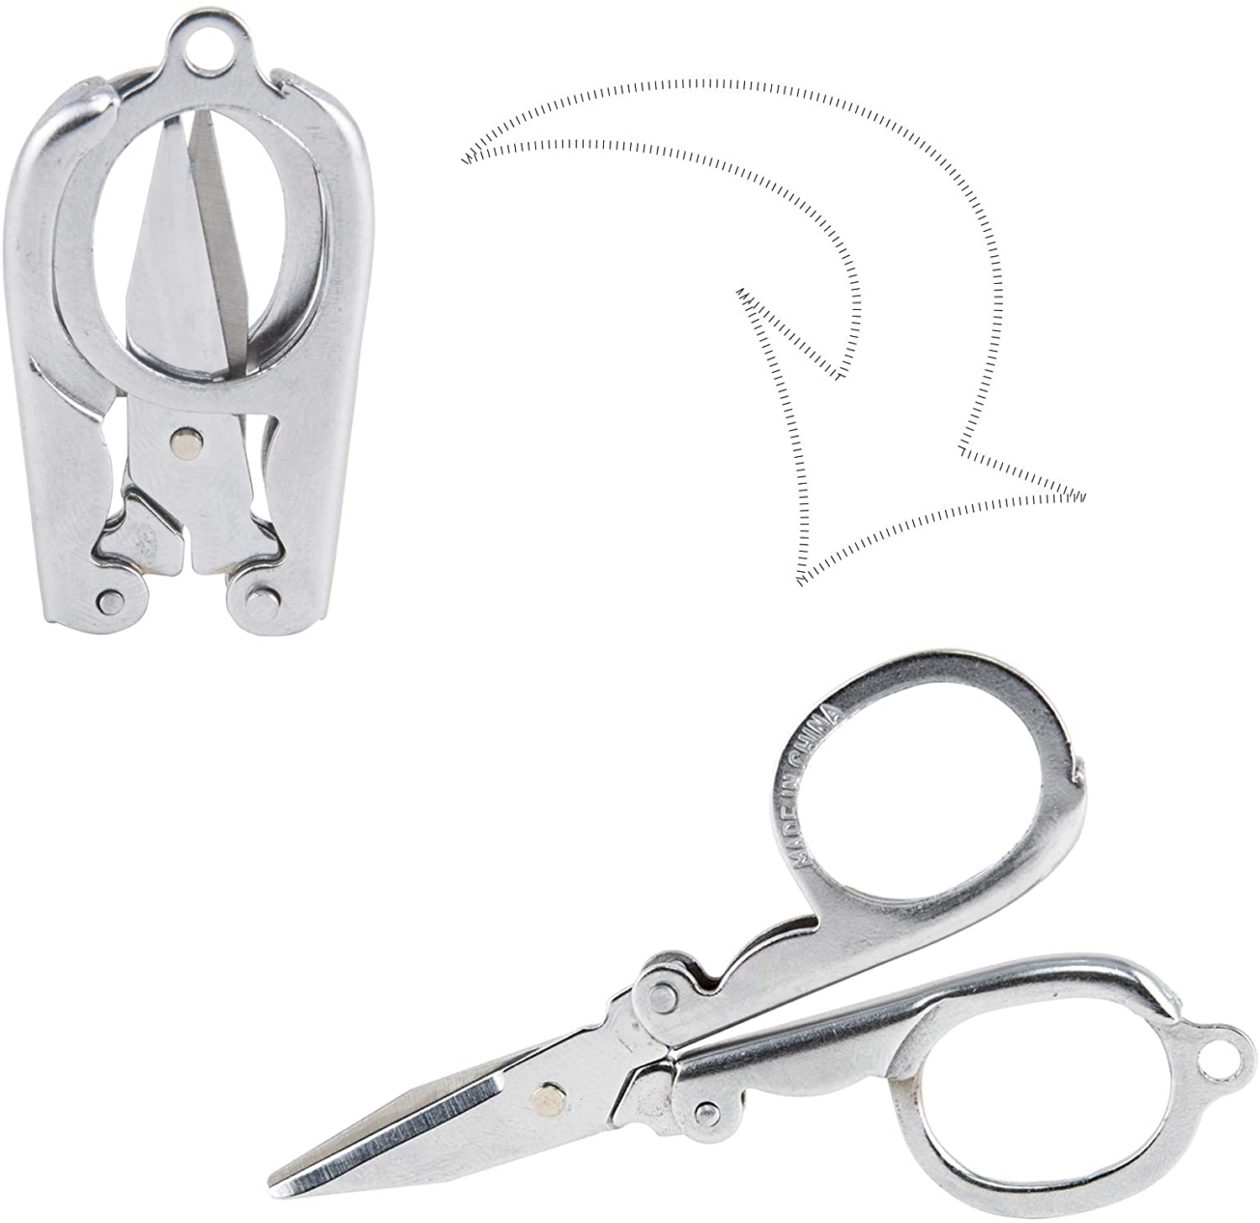
There are many portable tools on the market. Not only are they designed to comply with travel rules, but they’re also handy to have in general, should you ever take your embroidery with you on shorter jaunts. Research foldable scissors, like the ones seen above from Singer. Having several foldable scissors you can leave in bags and around the house is more helpful than you might think.
We hope these 7 simple tips help you successfully pack embroidery projects for your next vacation. Remember to tag your projects on Facebook and Instagram with #EGAStitchers so we can see what you’re making on your trips this summer!