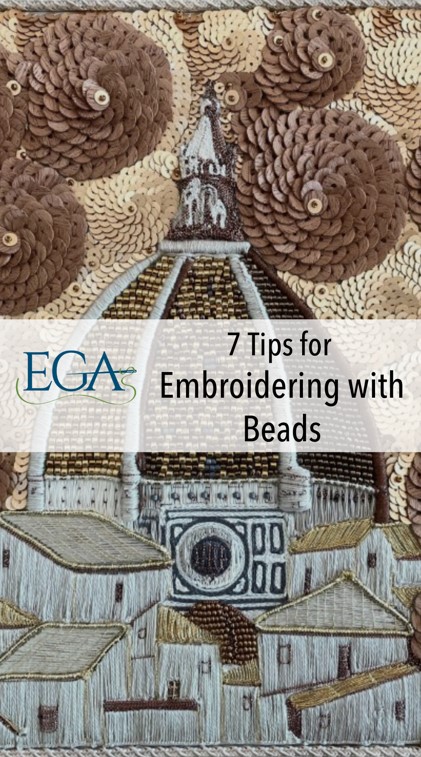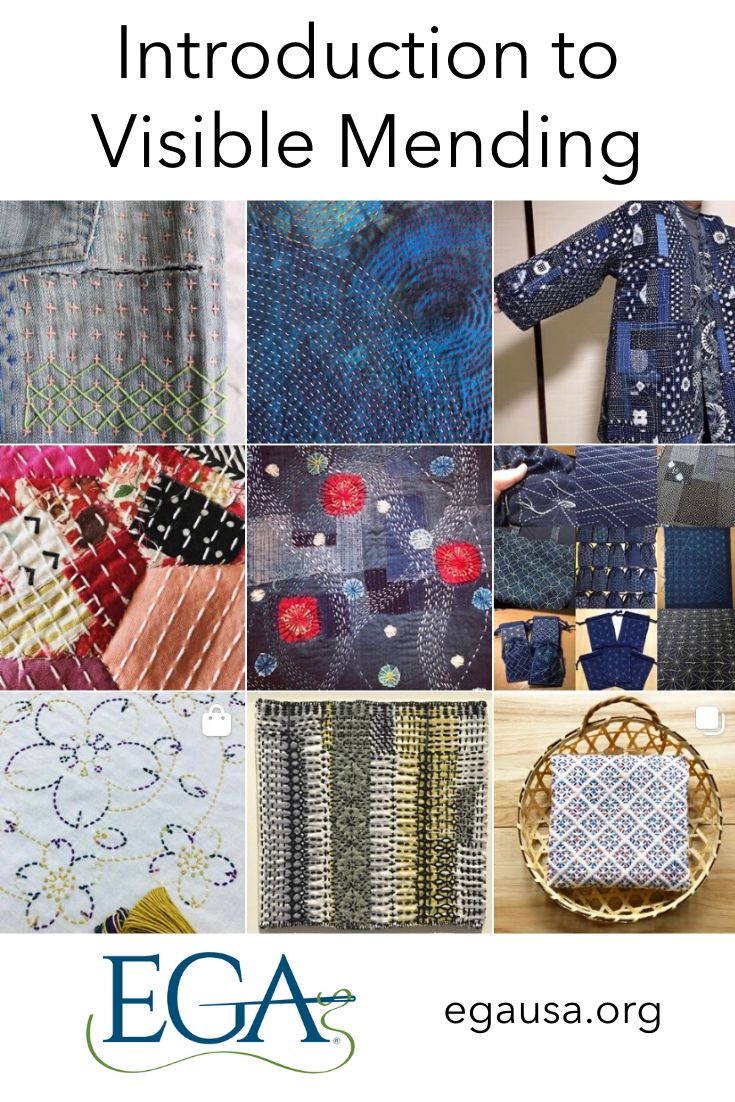
Have you tried adding beads to your embroidery? Incorporating beads into your surface embroidery work adds shine, dimension, and opportunities for creative and unique design interpretations. Think of layering beads to create scales on a fish, or using beads for an animal’s eye, or splaying beads in a star formation to create flower petals. There are many different ways to incorporate beads into surface embroidery that can elevate the finished work.
Invest in a Beading Needle
This may seem obvious, but depending on the size of the beads, investing in an embroidery beading needle will make it much easier to incorporate beads into your embroidery. Milliner and bead needles are good options (learn more about different embroidery needles here!). It’s an extra tool that you may only use for working with beads, but it’s worth it. Beading needles are longer, slimmer and uniform in their width, sharper, and generally more flexible than embroidery needles, making them much easier to work with beads.
Map Bead Placements Before Stitching
It’s important to have a proper understanding of spacing and placement before you begin stitching beads, especially if you want them to lie flush with your embroidery design (as opposed to on top of your embroidery design).
Assuming that you are working from a design transferred onto canvas, place the beads inside the areas where you plan to stitch them. This preliminary step will ensure that you aren’t overcrowding or underfilling with beads. You can also use a washable marker or pencil to outline the boundaries of your beaded zone so you know where to stop stitching. It will be easy to lay down fill stitches around your beading if necessary, so keep that in mind if you stitch your beads and see any gaps.
Choose the Right Fabric
It’s very important to choose the right fabric when embroidering with beads. Do you plan to add a lot of beads to your embroidery design? Are you planning to use a delicate fabric, like silk? Using beads that are too heavy, or using too many beads in one area, can ruin silk fabric. Once you become more familiar with embroidering with beads, you can begin experimenting with finer and more delicate fabrics. At the start, stick to durable fabrics like cotton or felt.
Choose the Right Beads
Some beads are more suitable for embroidery projects than others. Using beads that are too heavy may distort your fabric or the design.
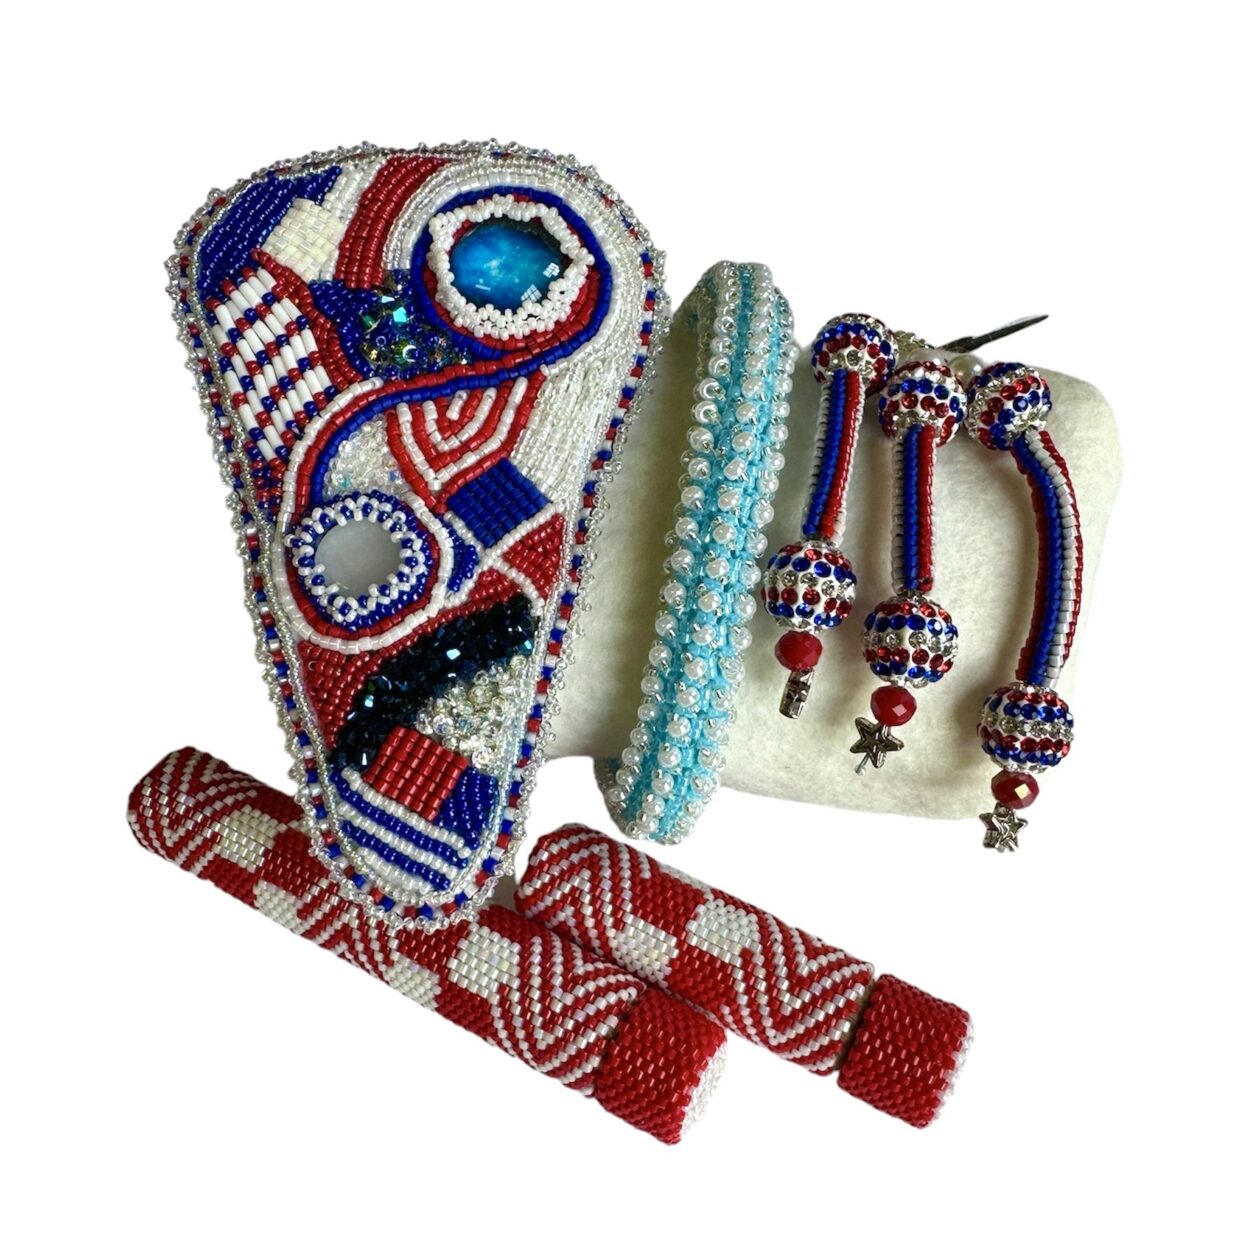
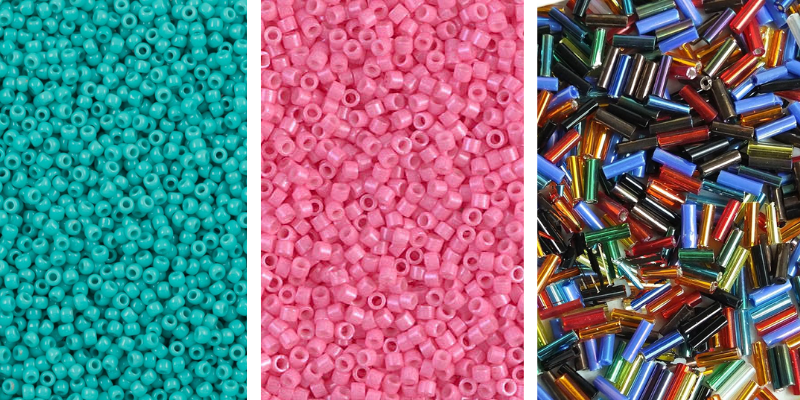
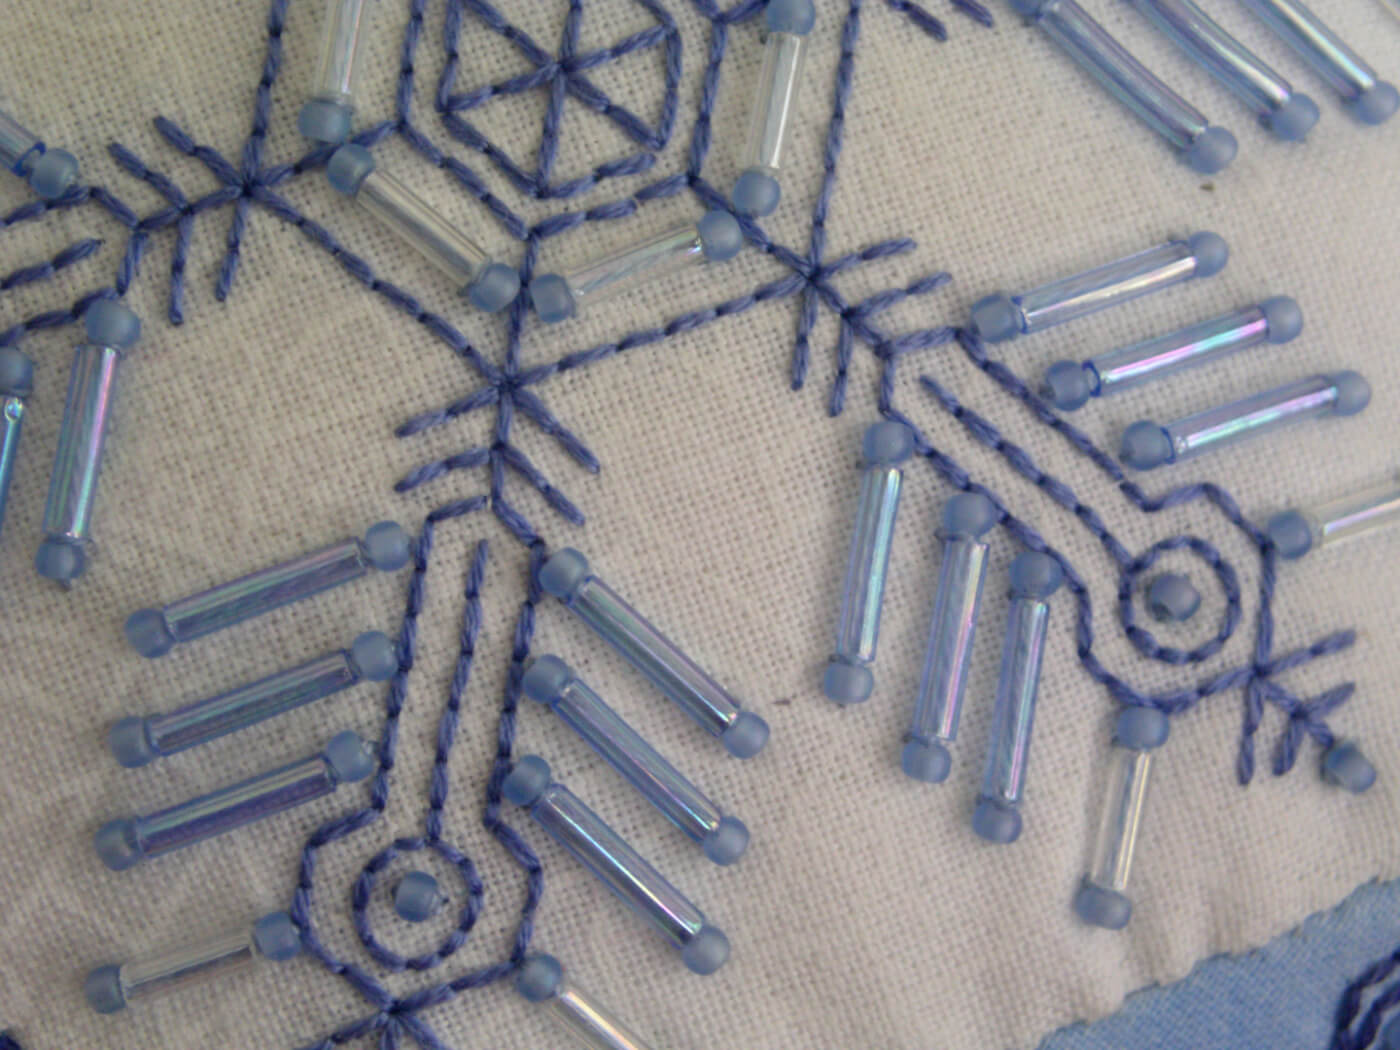
Glass seed beads are one of the most popular choices, primarily size 11/0 and size 15/0 (the smallest size). Glass seed beads have a rounded shape. Cylindrical-shaped beads, called delicas, are another popular choice in the 11/0 and 15/0 sizes. Bugle beads (as seen in the Snowflake Balls above) are long, thin, and usually made from glass or acrylic.
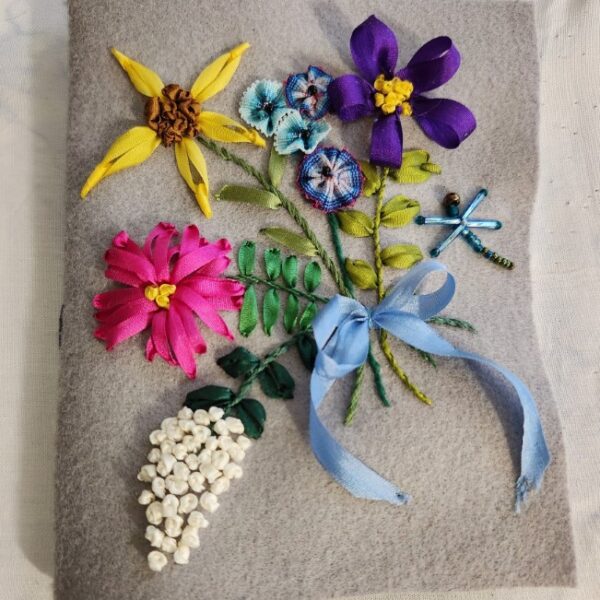
Stone, wood, ceramic, crystal, and acrylic beads as well as pearls—if not too weighty or large—can also be stitched into embroidery designs.
With all beads, beware of sharp edges or corners, as these can tear your fabric and thread!
Choose the Right Thread
You can use the same embroidery floss for both bead work and embroidery work, with some slight modifications. For instance, you may use 2 or more strands of floss for your surface embroidery. For beading, you will likely only use one strand. Using the same floss for both embroidery and beading will maintain your color palette so everything matches.
However, if you want the beading to appear invisible, opt for a nylon beading thread. Nylon beading thread is strong, durable, and fairly invisible. Fishing line also works in a pinch!

Keep Beads Organized
Most of the beads you will use for embroidery will be small and round, so storage and organization will be very important—both as you’re working on a project, and for safekeeping later.
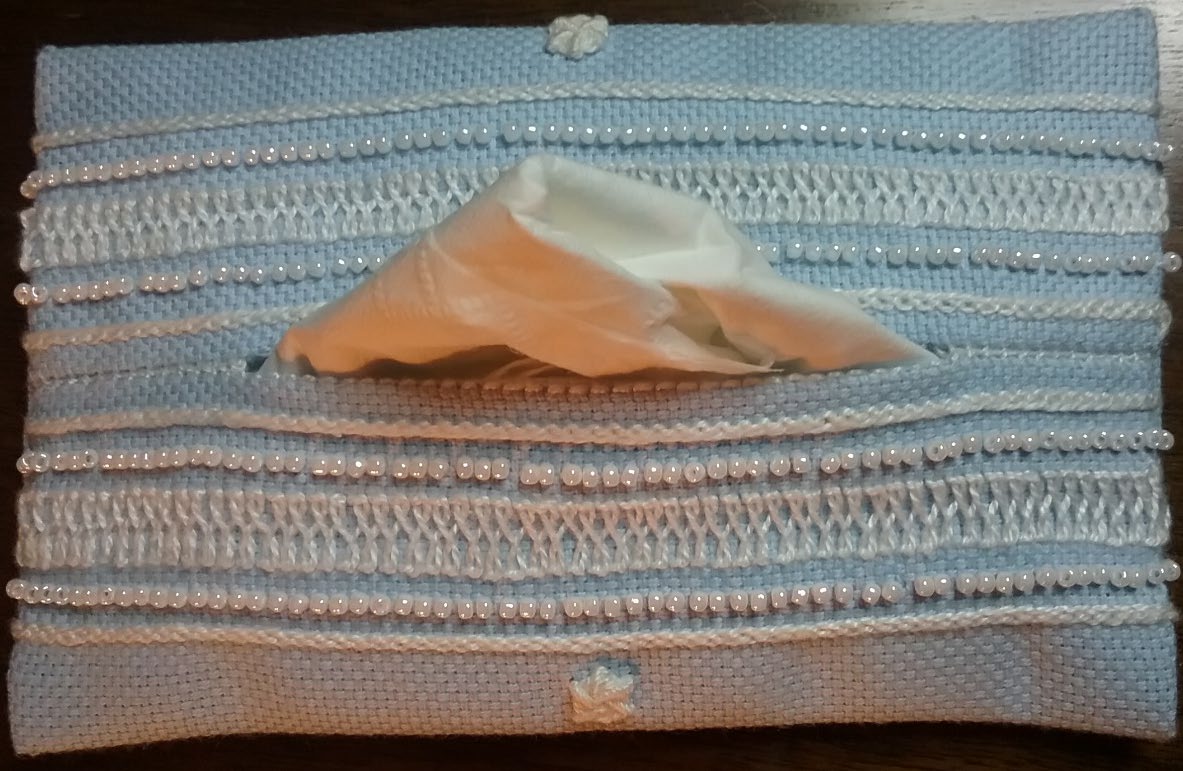
For actively working on a piece, consider a bead tray with separate slots for the different beads you will use. The smaller the beads, the more difficult it will be to separate them once they’ve mixed together. A small tray or dish with a flocked or felt surface (as seen above) will also help prevent beads from rolling around. As seen above, some bead trays come with covers, so you can both access and store your beads later.

Start Small
This is one of our favorite pieces of advice for anyone exploring a new embroidery technique. While bead embroidery has many commonalities with surface embroidery, there are certain elements that are very different and that require practice. Different surface embroidery stitches influence the way a bead may lay against the canvas in different ways. For instance, seed stitch and running stitch will position a seed bead on its side, whereas back stitch will position a seed bead so that the hole lays flat on the fabric.
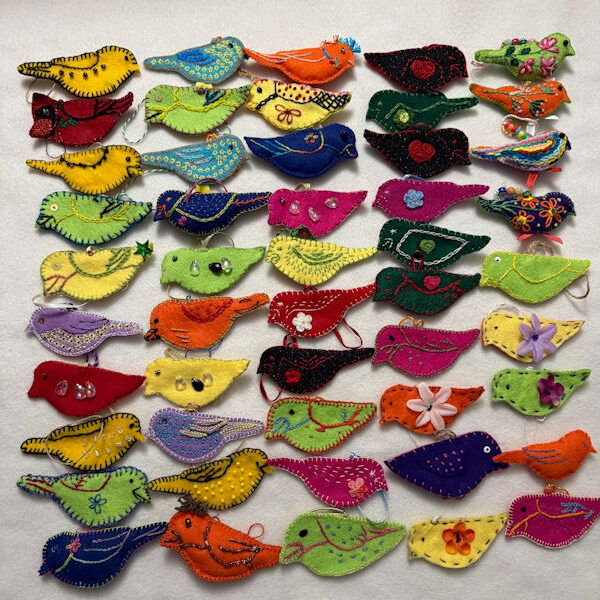
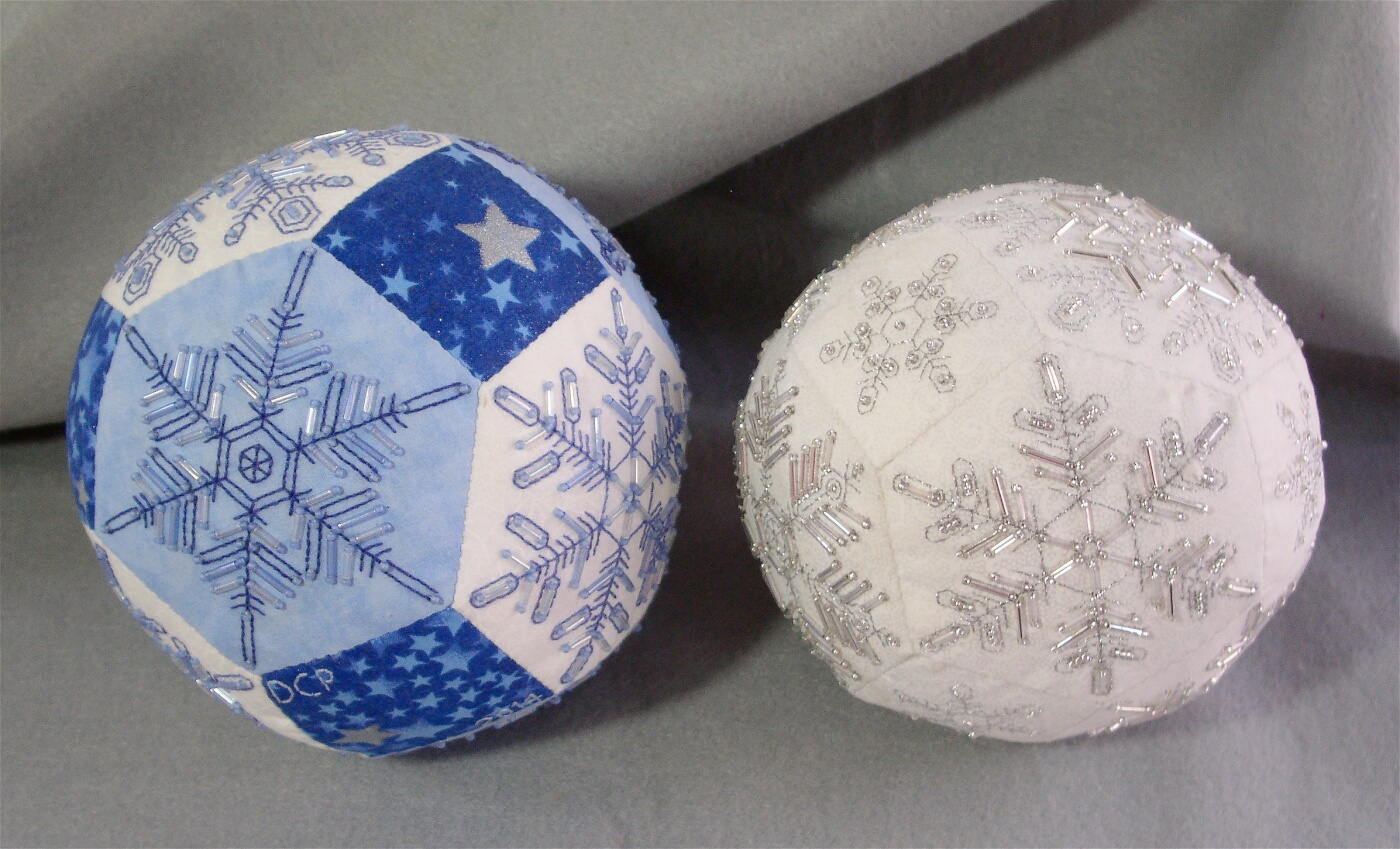
To start embroidering with beads, we recommend practicing different stitches by creating a bead embroidery sampler. This will help familiarize you with different stitching methods and techniques for working with beads. The free Holiday Ornaments from The Floss Box (shown above) are a good place to start as well!
We hope these tips have helped you feel more comfortable with adding beads to your embroidery. EGA offers several ways to explore embroidering with beads and beadwork, like the free Elizabethan Strawberry Embroidery Project with Margaret Kinsey, the free Colorful Beaded medallions project from Lisa Yang, the free Silk and Metal Beaded Dolphin, and classes like Keeping in Shape and Baby Steps with Gwen Nelson and the Beading Master Craftsman program.