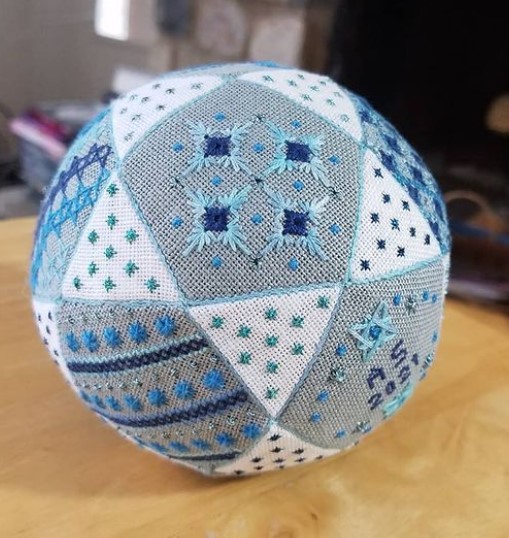
EGA collaborated with Emily Wilmarth of The Floss Box to create a series of holiday ornaments perfect for the winter season. The ornaments feature beaded hanging loops, easy finishing techniques, and a diverse range of stitches. The Floss Box’s ornaments are great for practicing your stitchwork and make lovely holiday gifts!
Embroidery Level
Intermediate
Materials and Instruments
- Bottle cap patterns – Pomegranate, Christmas Rose, Holly Leaves & Berries
- 4” embroidery hoop
- White fabric of your choice
- Scissors for needlework and fabric
- Chenille #24 needle
- DMC 6-strand cotton floss (colors noted in instructions for each ornament)
- Petite Treasure Braid PB03 gold thread
- Beads in assorted colors (about .25” diameter, smaller will also work)
- Glass beads 40557 Gold
- 1.5” plastic disc, button, or cardboard
- Quilt batting
- Craft glue
- Sewing thread
- Glass beads
- Felt
Stitches You Will Use
- Fishbone stitch
- Straight stitch
- Fly stitch
- French knot
- Woven wheel
- Detached chain stitch
- Whipped chain stitch
- Satin stitch
- Padded satin stitch
- Herringbone stitch
- Running stitch
Work features either 2, 3 or 6 strands of thread, noted throughout. Click any of the above stitches to learn how to perform the stitch via the Royal School of Needlework’s Stitch Bank.
Holly Leaves and Berries Instructions
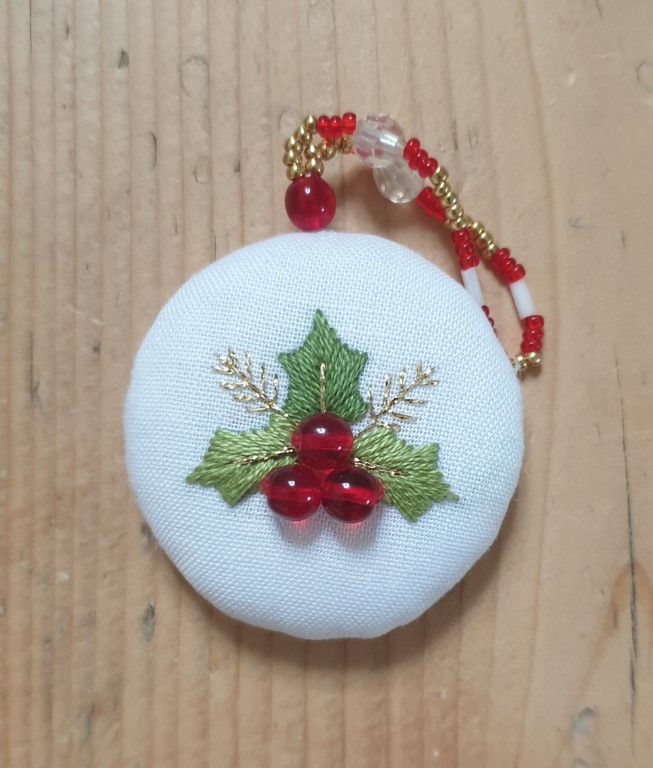
First, stitch the holly leaves using Fishbone stitch. I used three strands of DMC 471 for the two side leaves and three strands of DMC 3347 for the center leaf.
Make a Straight stitch down the center of each leaf to create the vein of the leaf using PB03 gold thread.
Stitch the fronds between the leaves with Fly stitch in PB03 gold thread.
Stitch 3 red beads at the center of the three leaves for the berries.
Christmas Rose Instructions
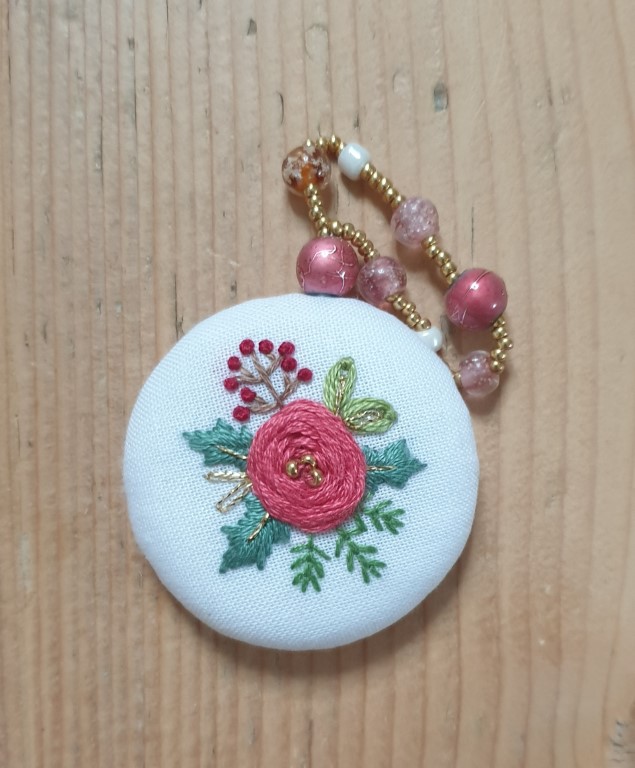
Begin by stitching the holly leaves using Fish bone stitch with DMC 502 (3 strands). Make a straight stitch down the center of each leaf with PB03 gold thread.
To create the branch, stitch a central stem in Straight stitch in DMC 840 (2 strands), then add Straight stitches branching out from the central stem as shown. Add a French knot to the end of each stem with DMC 304 (2 strands).
Stitch the fronds beneath the Christmas rose with Fly stitch in DMC 988 (2 strands).
For the central rose, stitch Woven wheel in DMC 3832 (6 strands). Add 3 gold seed bead knots to the center.
For the smaller leaves, use Detached chain stitch in DMC 471 (6 strands). Add smaller Detached chain stitches in PB03 gold thread over the green leaves just stitched, then add two small leaves on the opposite side of the rose between the two holly leaves, again using Detached chain stitches in PB03 gold thread.
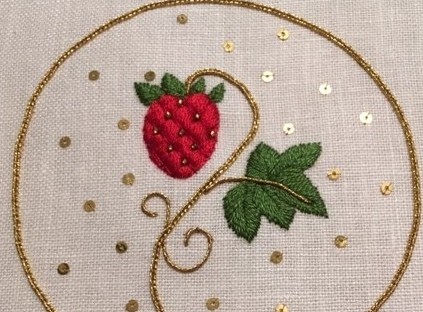
Pomegranate Instructions

Begin by stitching the arching stem using Whipped chain stitch: make the chain stitch with DMC 3347 (3 strands), then whip it with DMC 3347 (2 strands).
Stitch the leaf with Fishbone stitch using DMC 471 (3 strands).
Make two detached chain stitches on the stem with DMC 3350 (6 strands).
To stitch the pomegranate, create the two halves of the fruit using Padded satin stitch (split stitch padding) in DMC 3350 (3 stitches).
Fill in the fruit’s center with Satin stitch in ECRU (2 strands), then make Herringbone stitch over the satin stitch using PB03 gold thread.
For the leaves at the top of fruit, stitch Detached chain stitch in DMC 471 (3 strands).
Using PB03 gold thread, make 3 small straight stitches at the bottom of fruit.
Add 4 gold seed beads to the end of the stem, and one between the Detached chain stitches.
Assembling the Ornaments
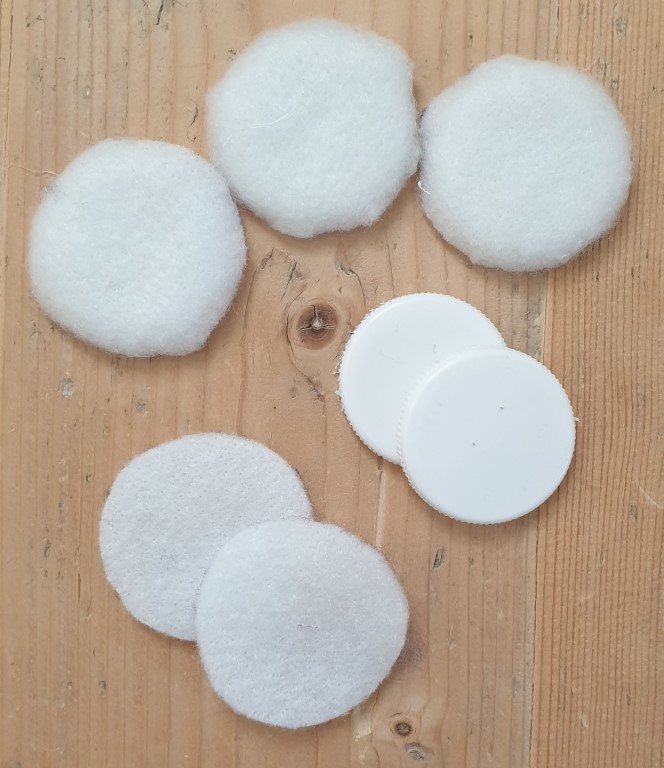
Cut circles of felt or batting slightly larger than your 1.5” disc (plastic, bottle cap, button, or cardboard) and glue the felt or batting to the top. The felt or batting should go over the whole disk, but not hang over the back side, so you may need to trim to adjust the size to match the size of disk you are using. Allow to dry completely.
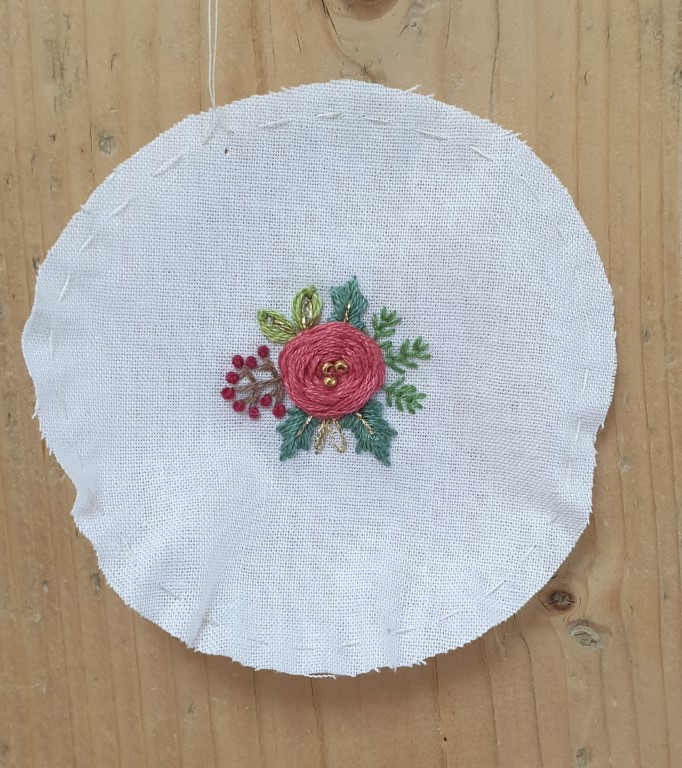
Trim the fabric around the embroidery to a circle with approximately 3.5” diameter (be sure to adjust the size if your disk is a different size), centering embroidery. With a long strand of white thread, stitch Running stitch around the edge of the circle with a seam allowance of about ¼ inch (see above). Do not tie off the Running stitch.
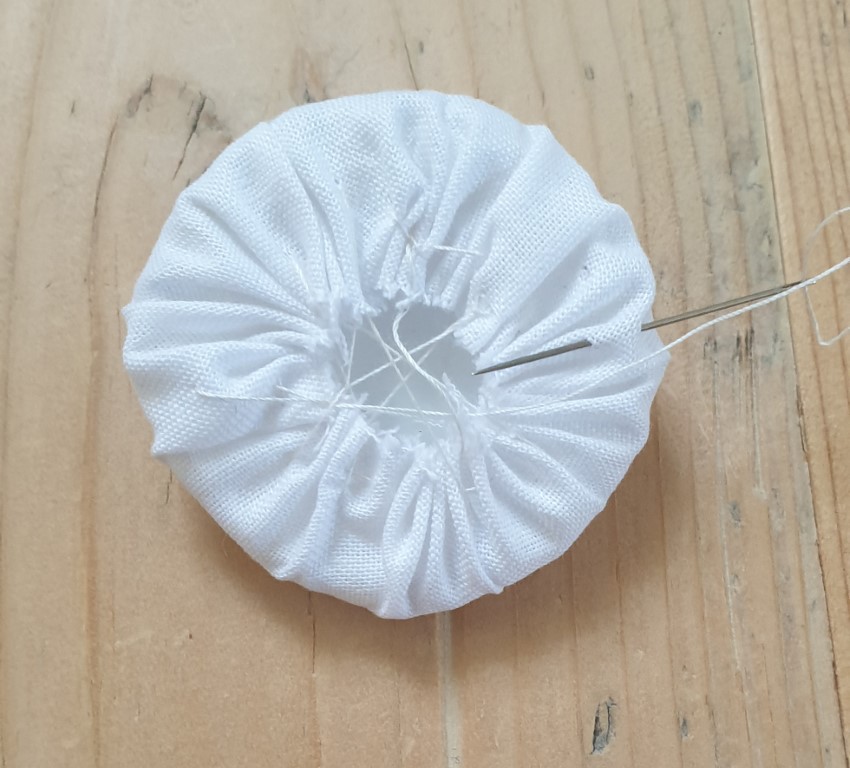
Put the fabric around the bottlecap and pull, gathering the threads and tie off, making sure to center the embroidery on the bottle cap.
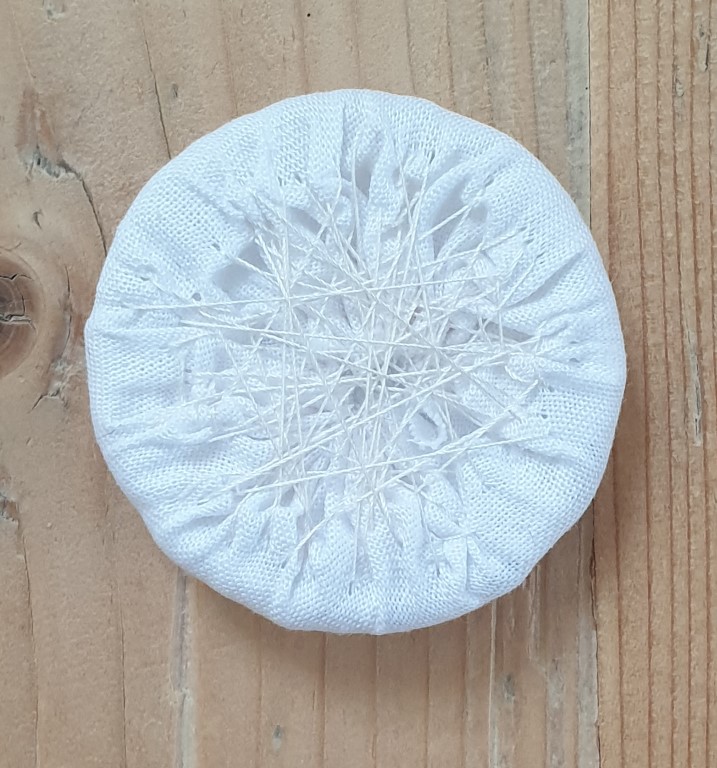
Then, lace the fabric in place on the back. Ease the folds around the edge, so they are evenly spread out.
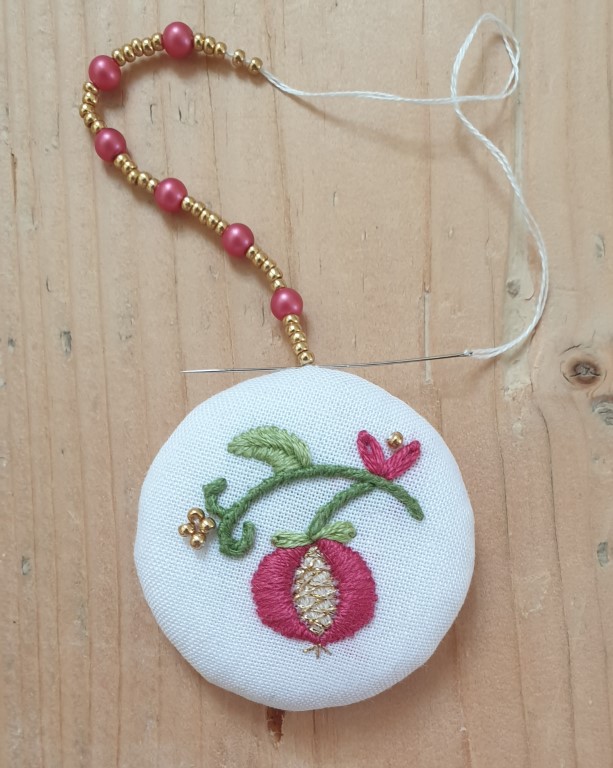
For the beaded hanger, use strong thread doubled. Attach it firmly to the back and bring up at the top along the edge of the ornament. Thread on beads as desired. Then securely attach the thread to the back of the ornament.
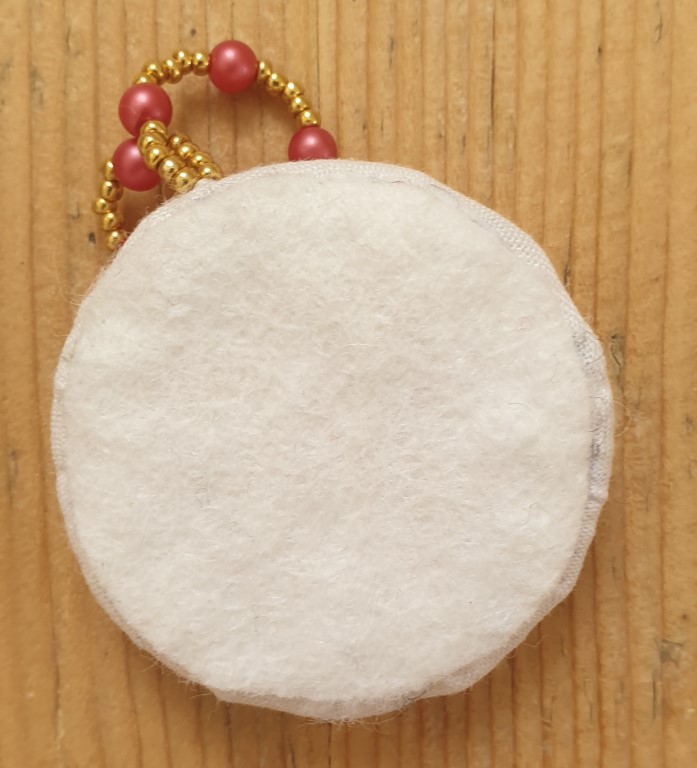
Cut a piece of felt and glue to the back of the ornament. Allow to dry.