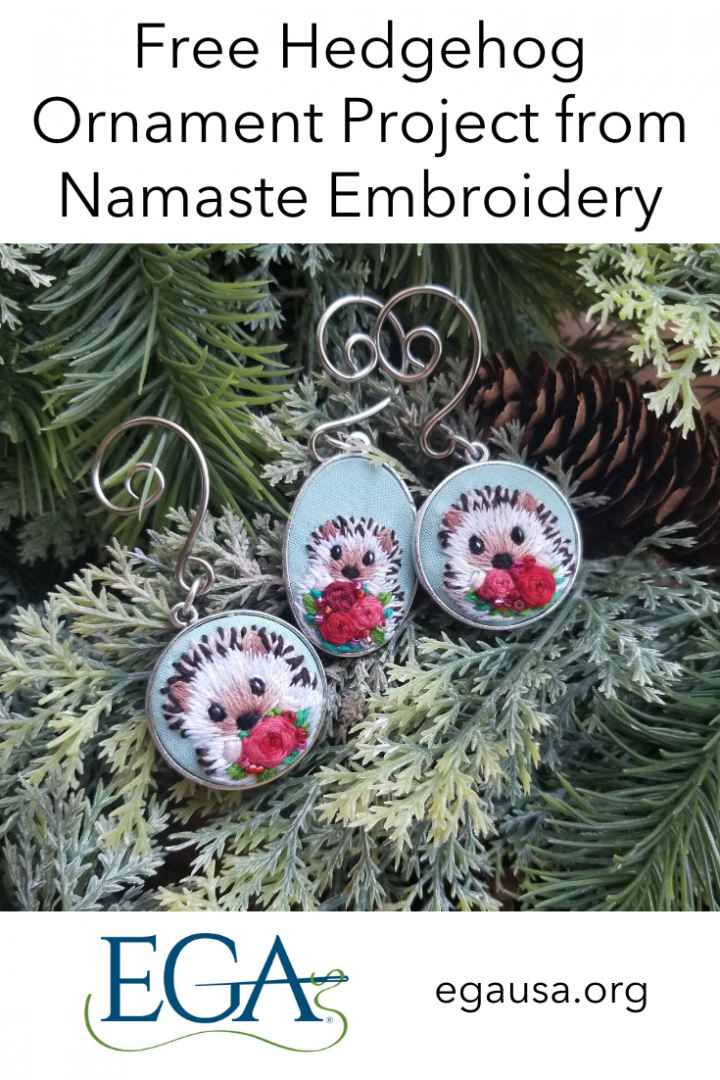
This month, we welcome Jessica from Namaste Embroidery, who has created a delightful ornament project just for our readers! In this tutorial, you’ll learn how transfer any embroidery design to your fabric as well as how to turn the finished embroidery work into holiday ornaments. Jessica’s sweet hedgehogs are perfect for year-round decor, but you can let your imagination run wild with your own designs once you master these steps!
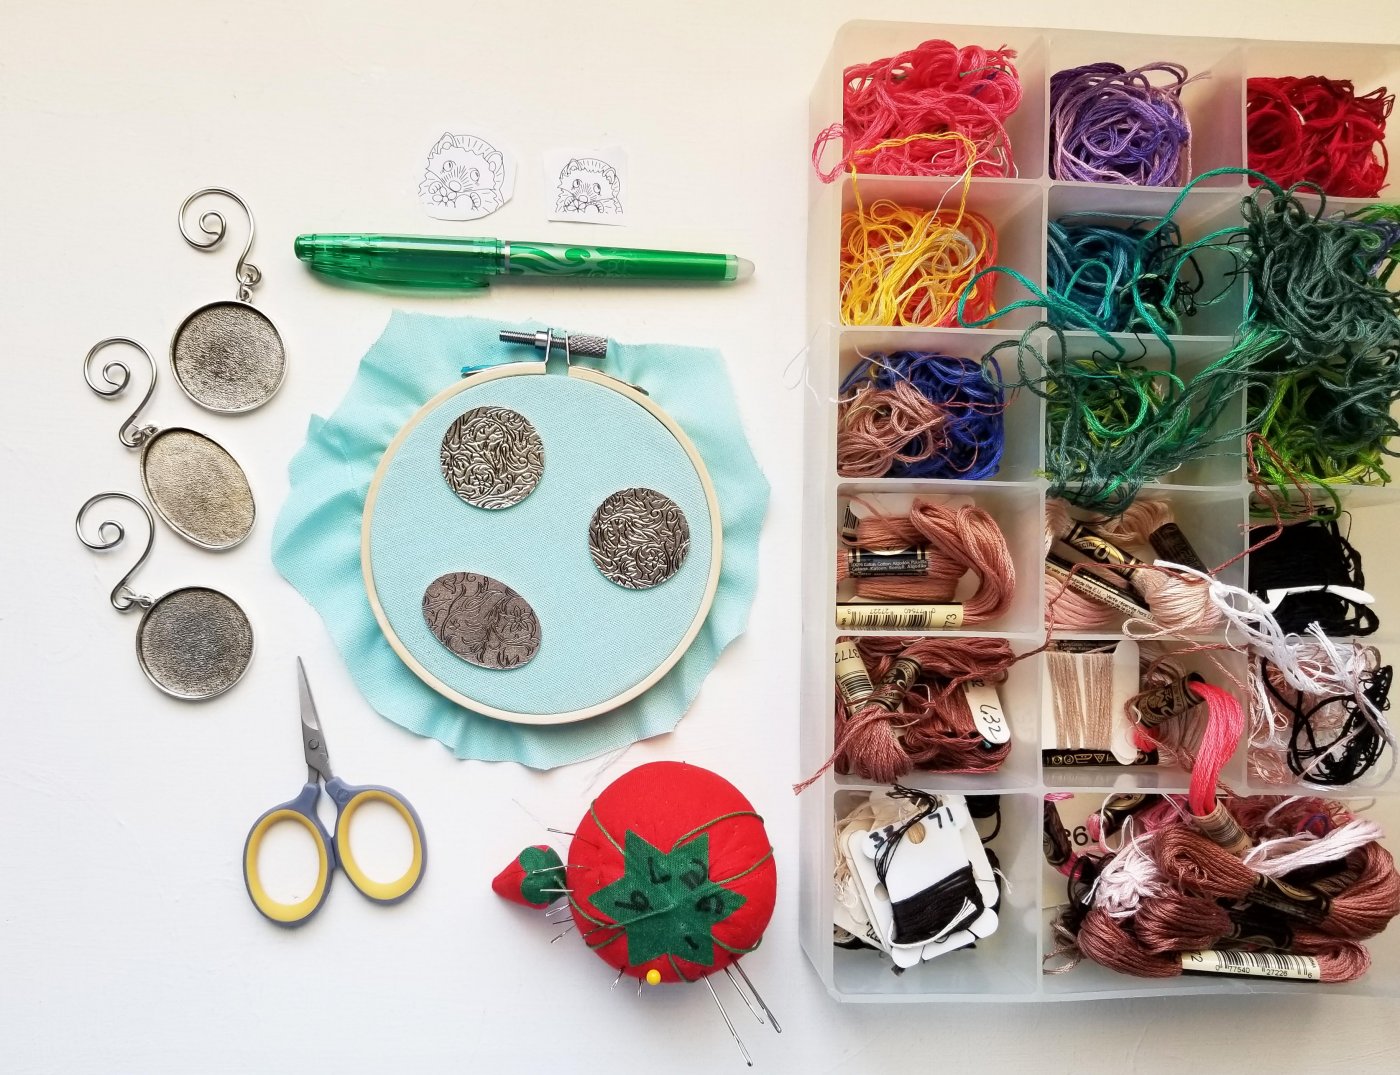
Materials:
-
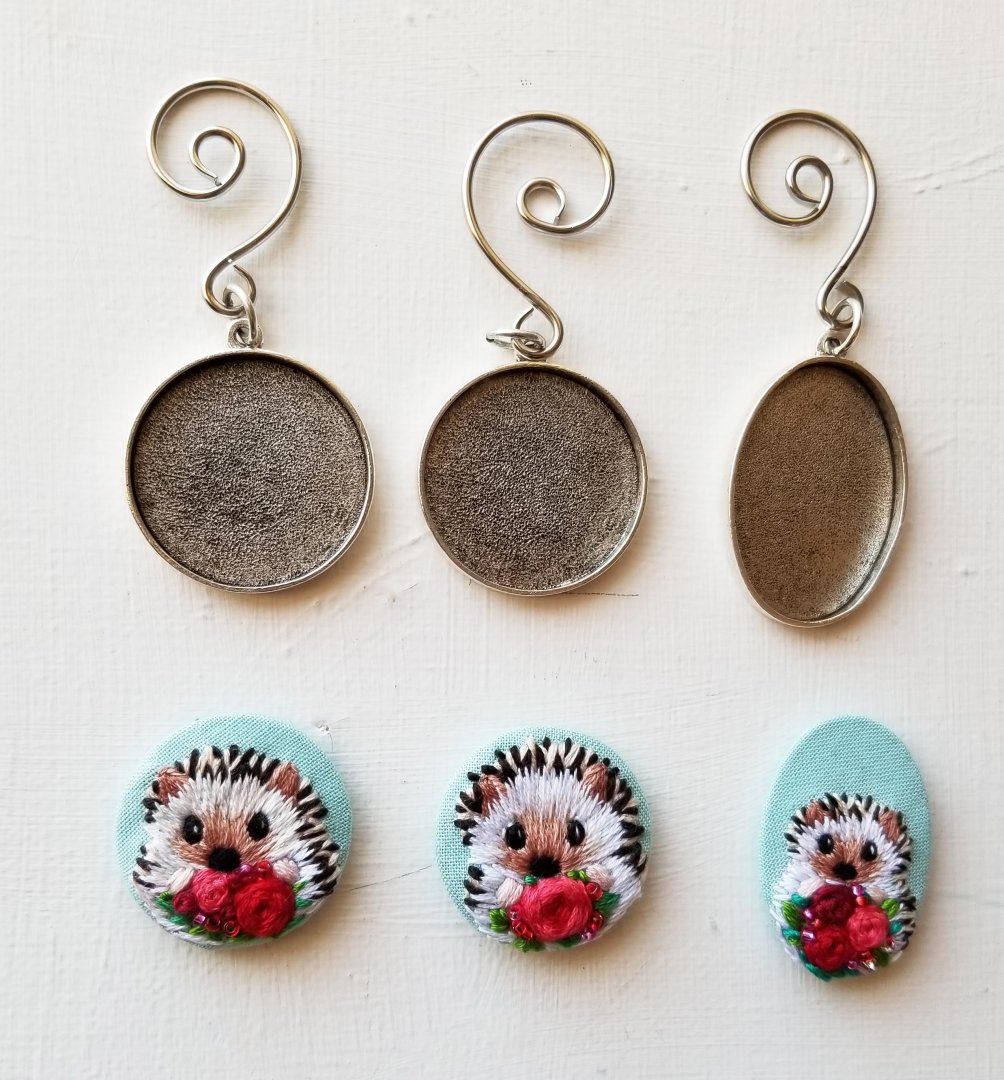
- • Nunn Design Jewelry Kits for Embroidery – Ornaments
• Fabric (I used a light blue cotton)
• Embroidery needles
• Embroidery hoop
• Embroidery design or pattern, resized as needed to fit ornament kit
• Desired colors of embroidery floss (I used my Hedgehog pattern)
• Fabric pen or other pattern transfer method (I used a Frixion heat erasable pen)
• E6000 Glue
• Q-tip or wooden stick for glue application
• Scissors
• Craft clamps
- • Nunn Design Jewelry Kits for Embroidery – Ornaments
Making the Hedgehog Ornament
1. Using a fabric pen, trace the edges of your metal tags onto the hooped fabric. Be sure to leave at least 3/4’” between the tags if you will be stitching more than one on this piece of fabric.
2. Print and trim your embroidery design (shrink if needed) and tape it behind your fabric, lining up with your traced circle. Hold your hoop up to a bright window or light and trace your design onto the fabric. Remove the taped design when complete.
![]()
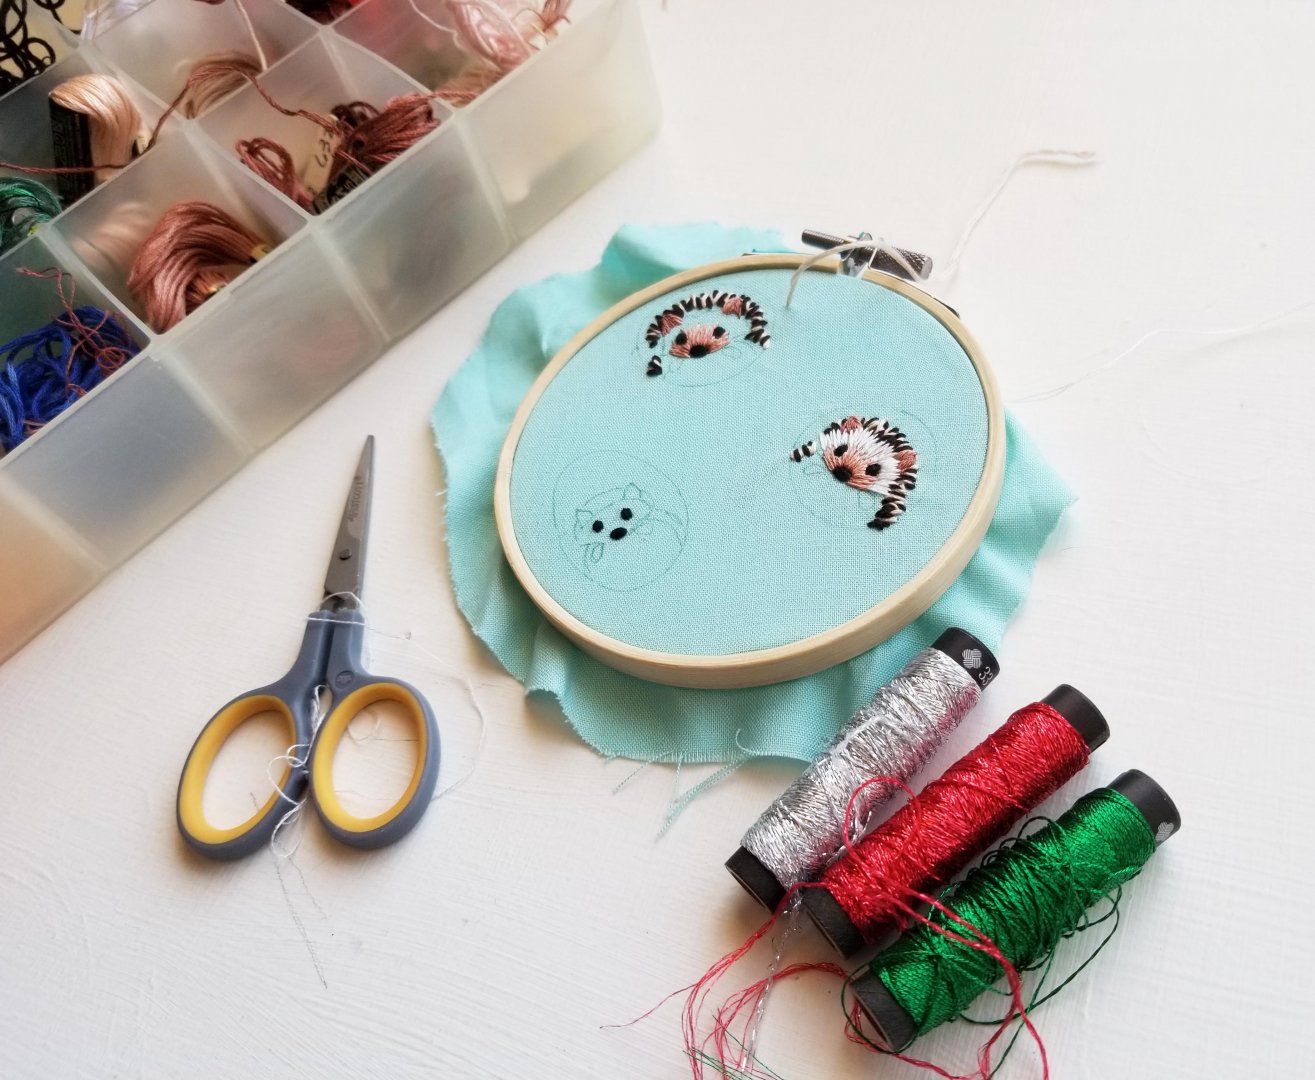
3. Stitch up the design per the pattern instructions or use your imagination to create a unique ornament. When shrinking a pattern like I did you may need to skip some details to adapt it for this small format.
I also decided to add some beads to my hedgehogs to add a little extra shine for the holidays. Using metallic floss and sequins can also add some sparkly holiday spirit to your work. Try to keep the back of your work tidy and trimmed.
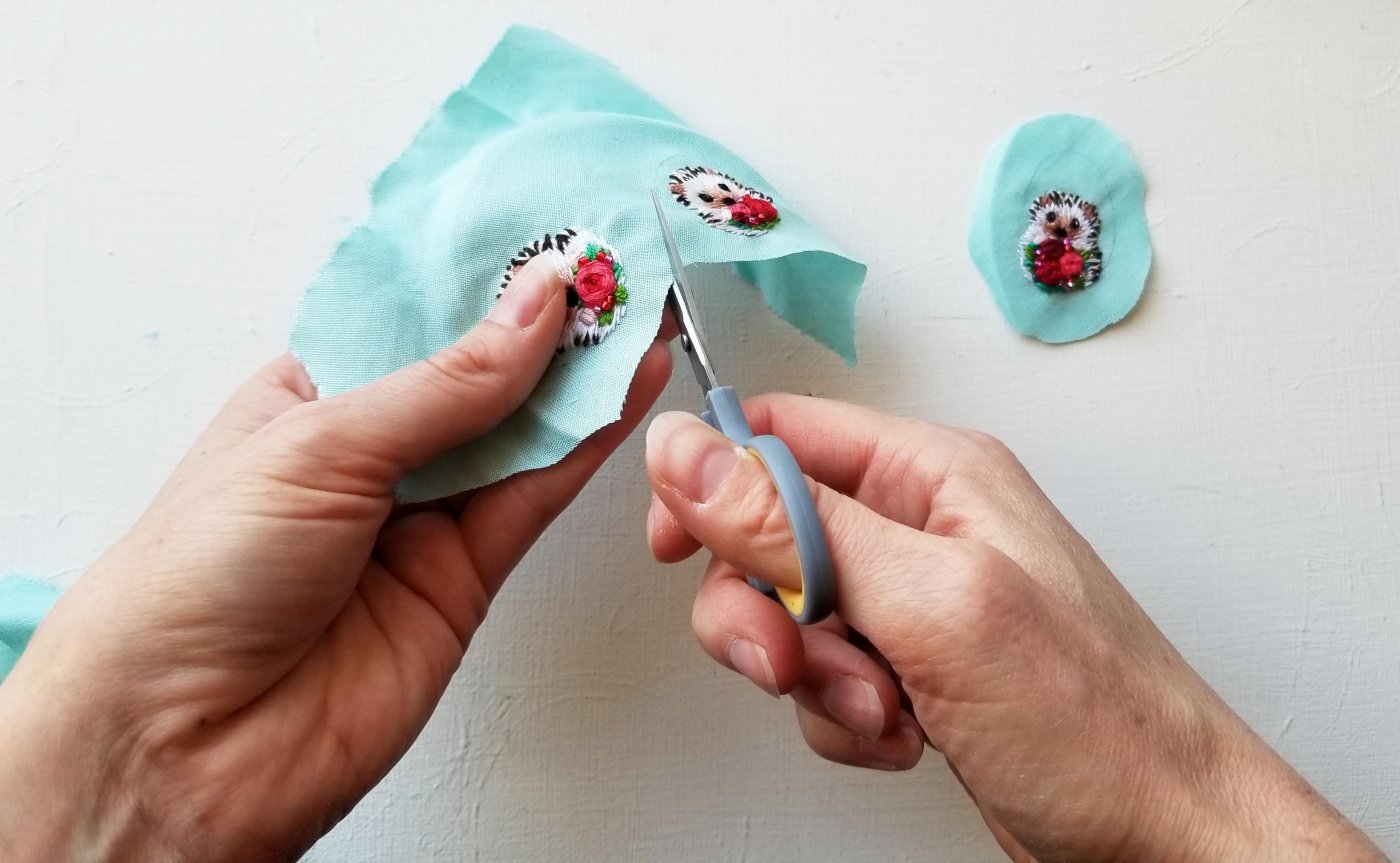
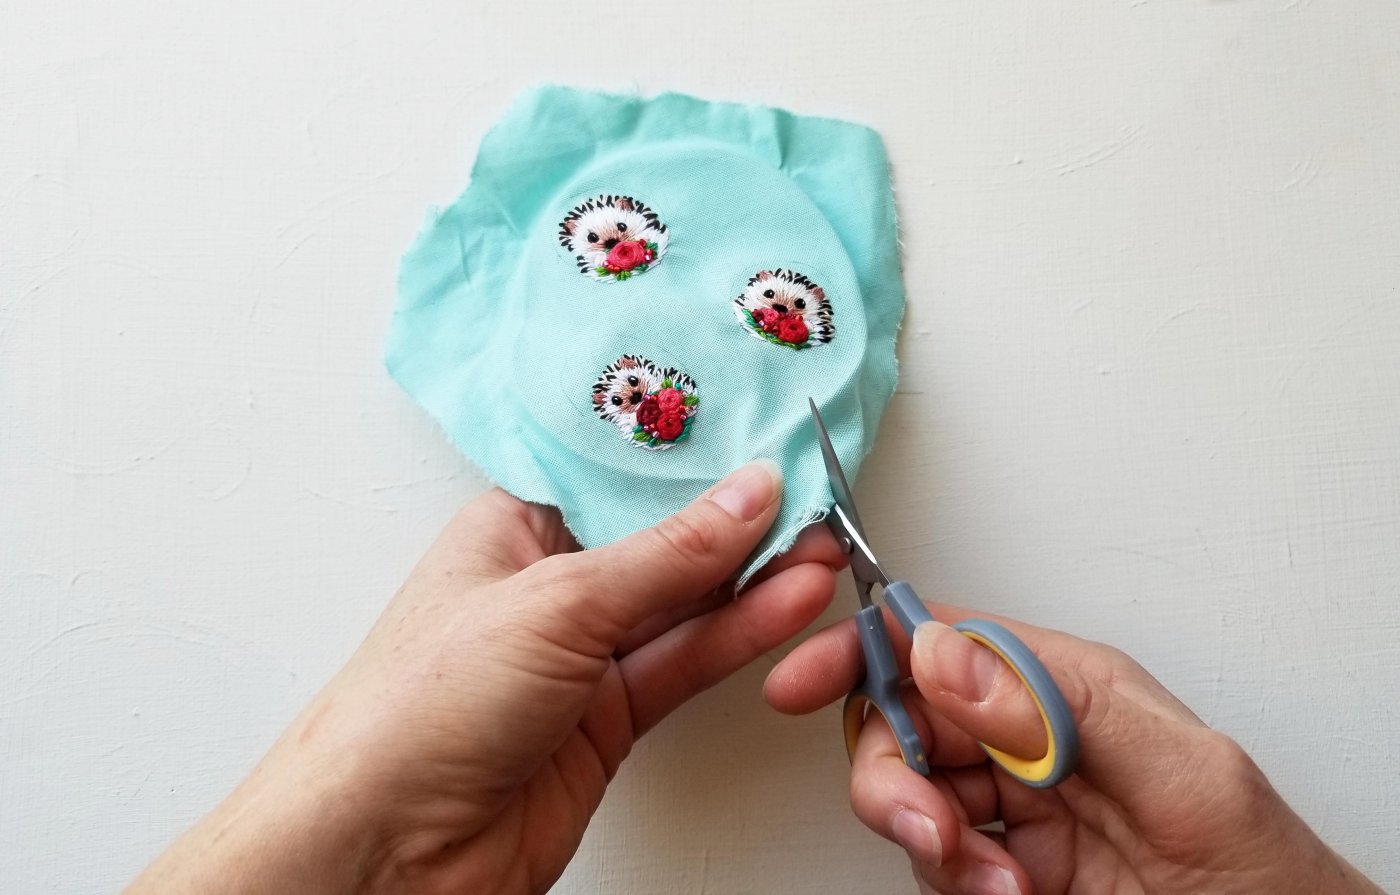
4. Remove your fabric from the embroidery hoop and use scissors to trim your designs. Leave about a 1/4’” of excess fabric around your traced circles.
5. Rinse or iron away your fabric pen lines before continuing.
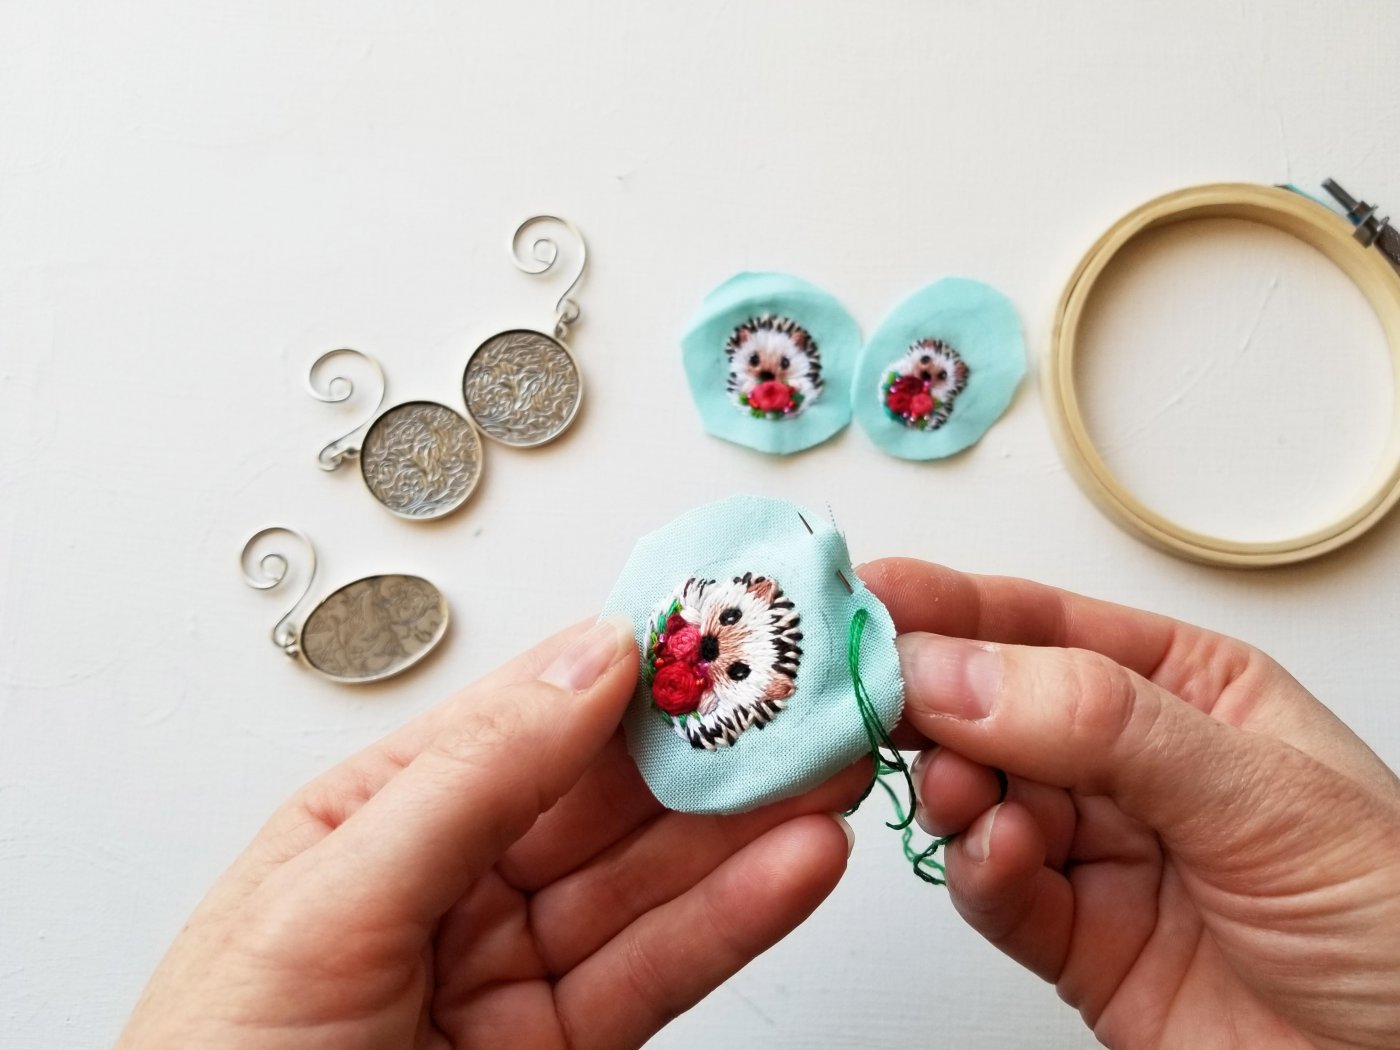
6. Using 3 strands of any color floss use running stitch along the perimeter of your circle. Be sure to leave ~3 inch long tails at either end which you will pull to cinch your work onto the metal tag. If you are using a light colored or thin fabric you can add an extra layer at this stage to add extra padding and to prevent the shine of the metal tag from showing though.
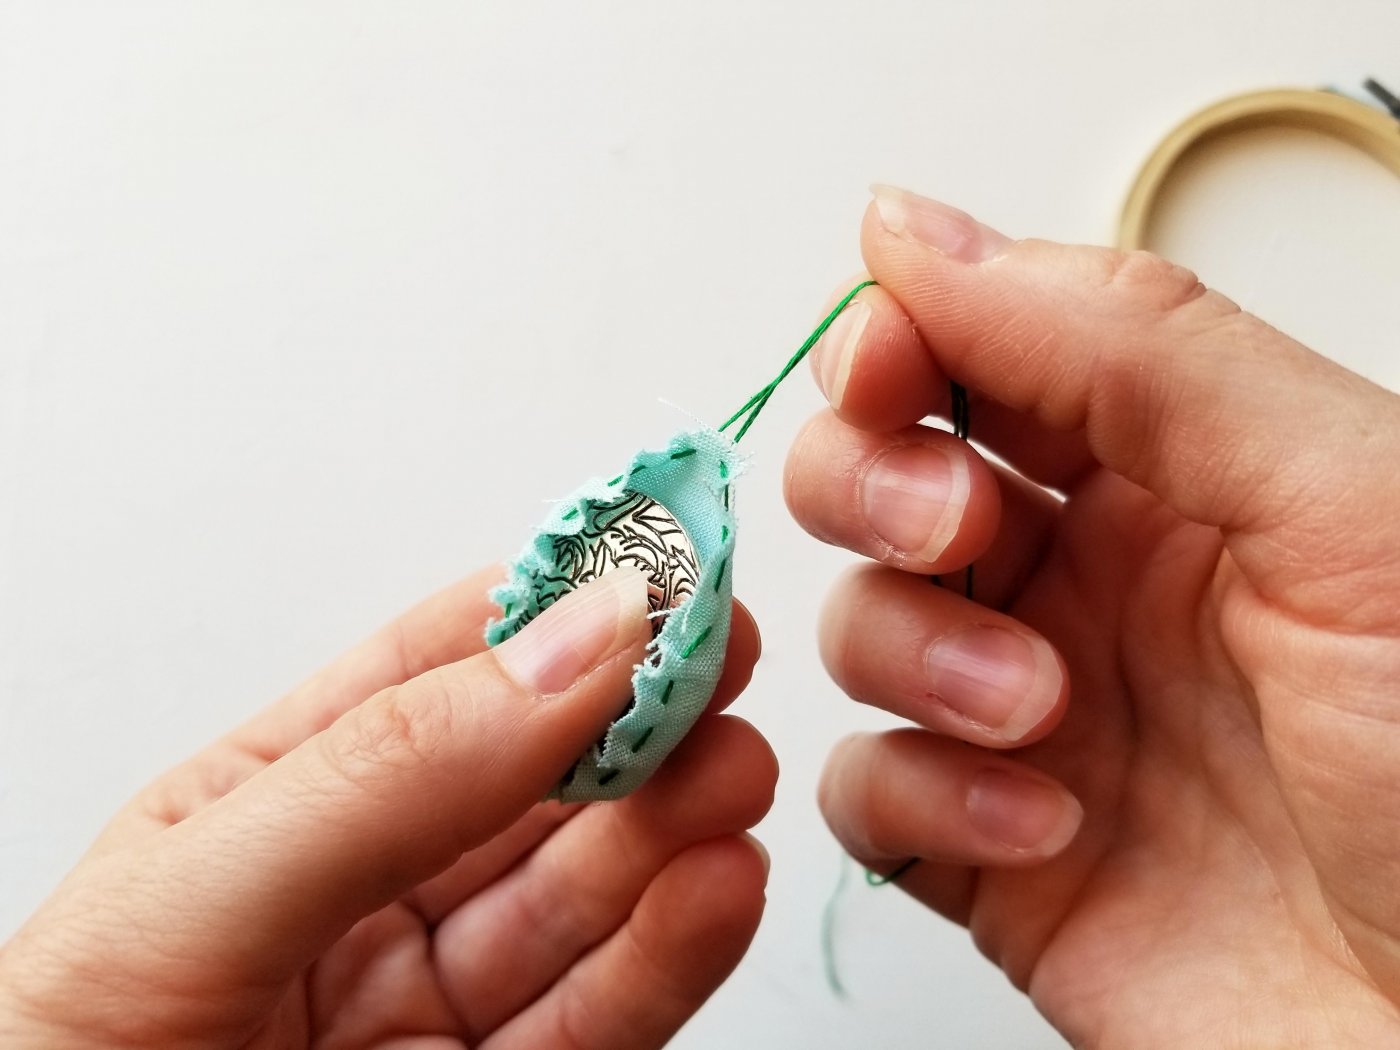
7. Turn your embroidery upside down and center the appropriate metal tag on the back of your work. Hold the tag in place while pulling the two tails of your running stitch. If you find your fabric is warping and not being pulled tight enough over the tag you may need to experiment with the amount of excess fabric and the distance between your running stitches. Confirm that your design is centered before double knotting your tails together to secure your fabric over the tag. Trim the tails and any fabric frays.
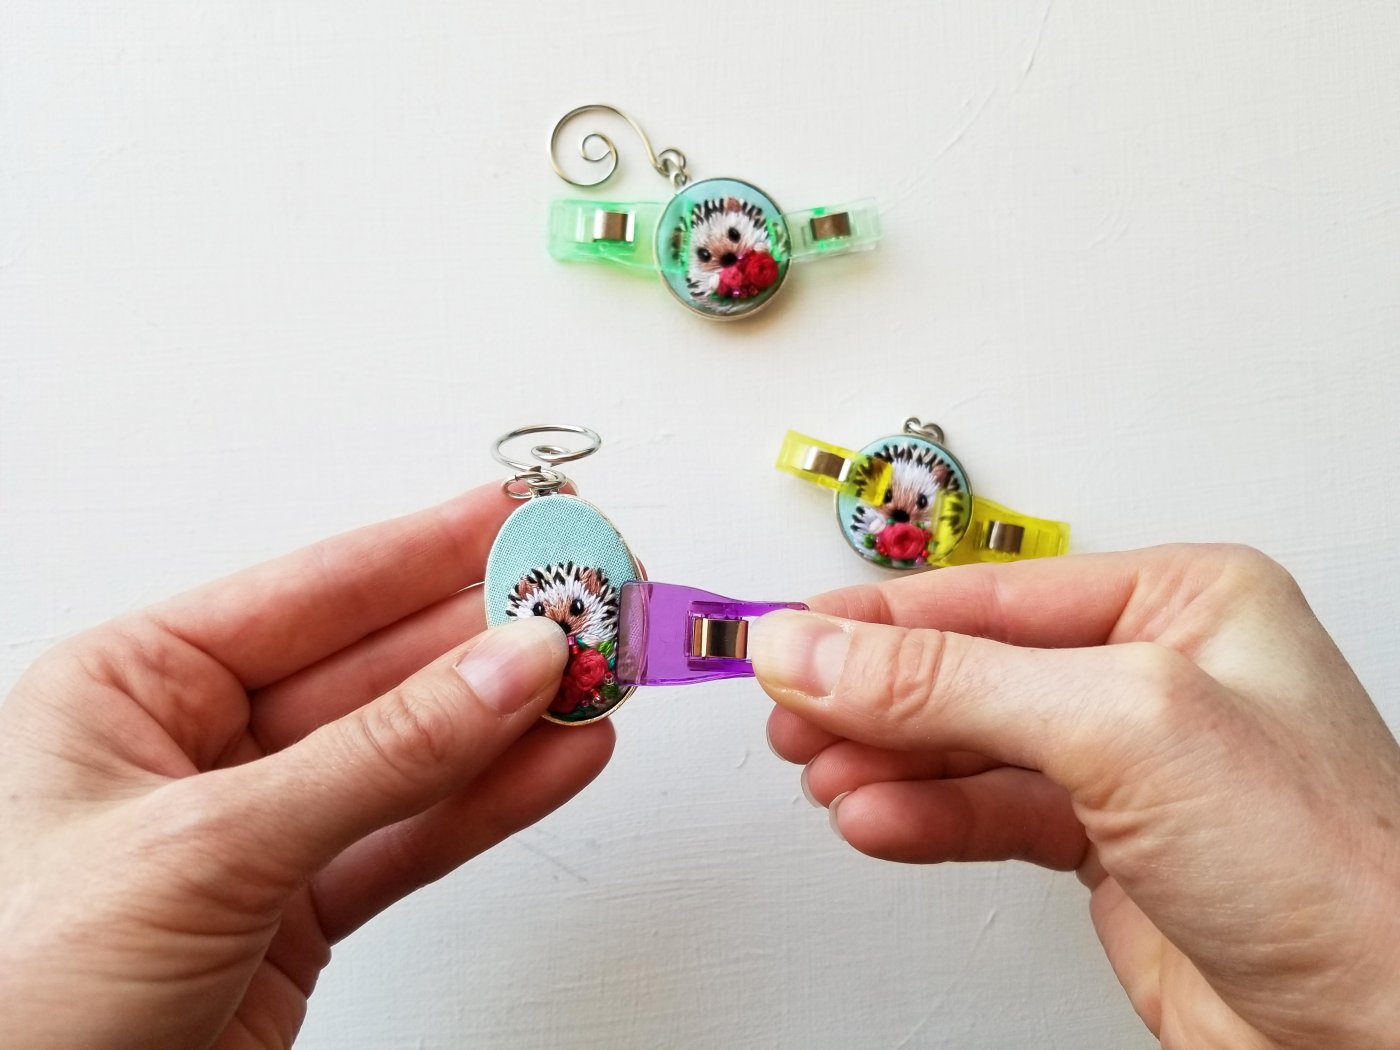
8. Apply E6000 glue using a cotton swab or similar to your empty bezel. Line up your pendant and press firmly in the center. Use clamps to keep the pendant evenly secured during the drying process.
9. Deck the halls with embroidery!
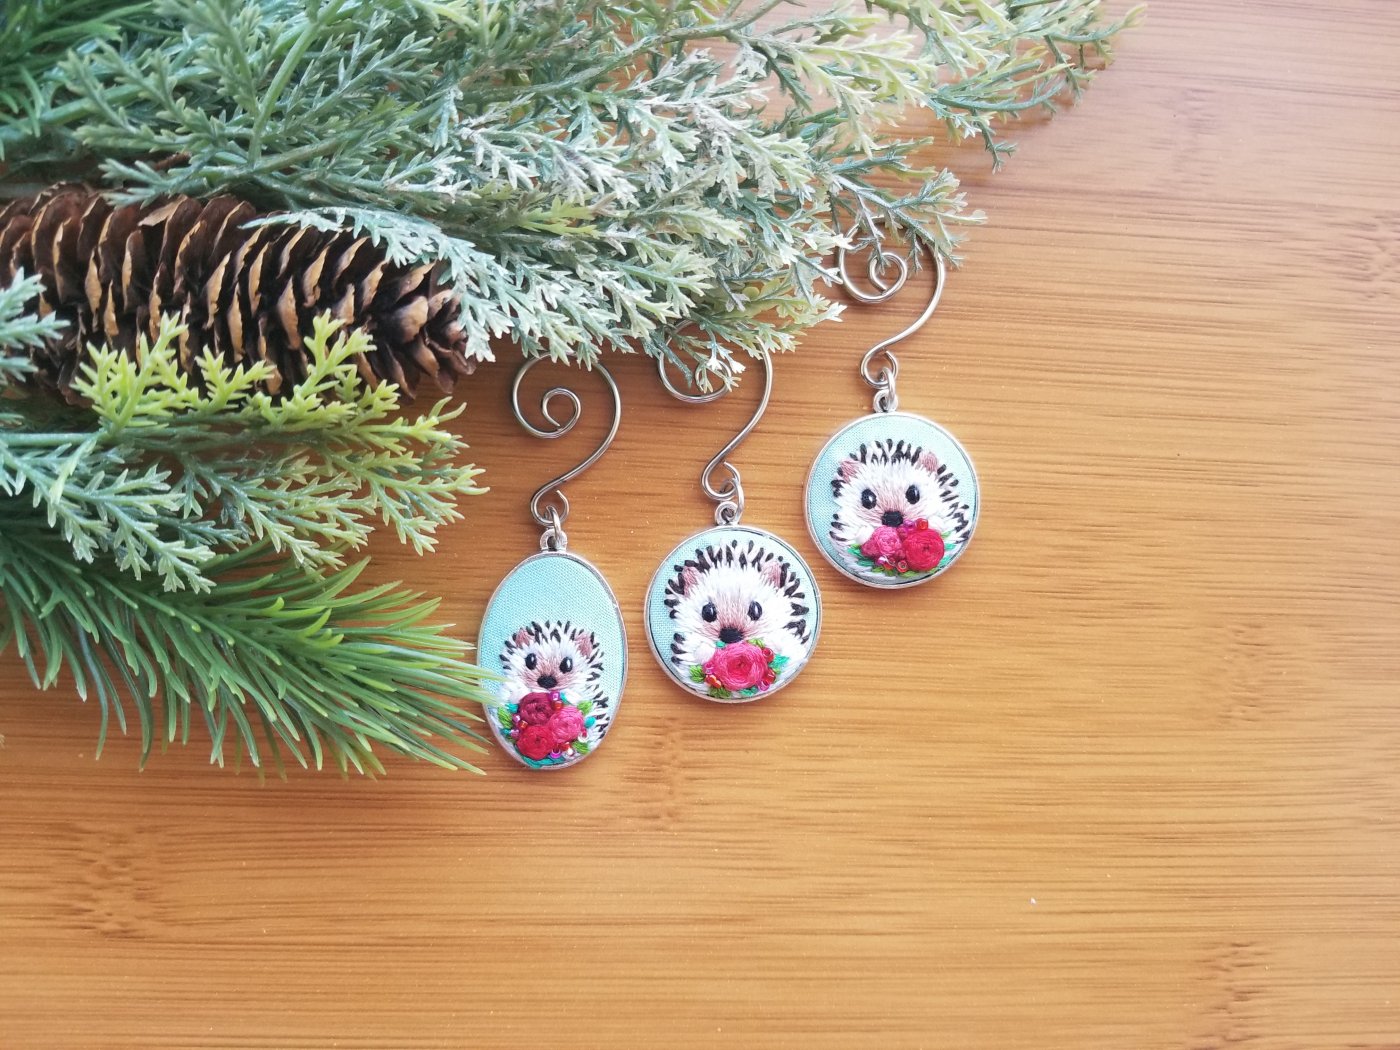
We’d love to see your projects, make sure to share your photos with us on social media and use #EGAstitchers in your post!
Like this post? Pin It!