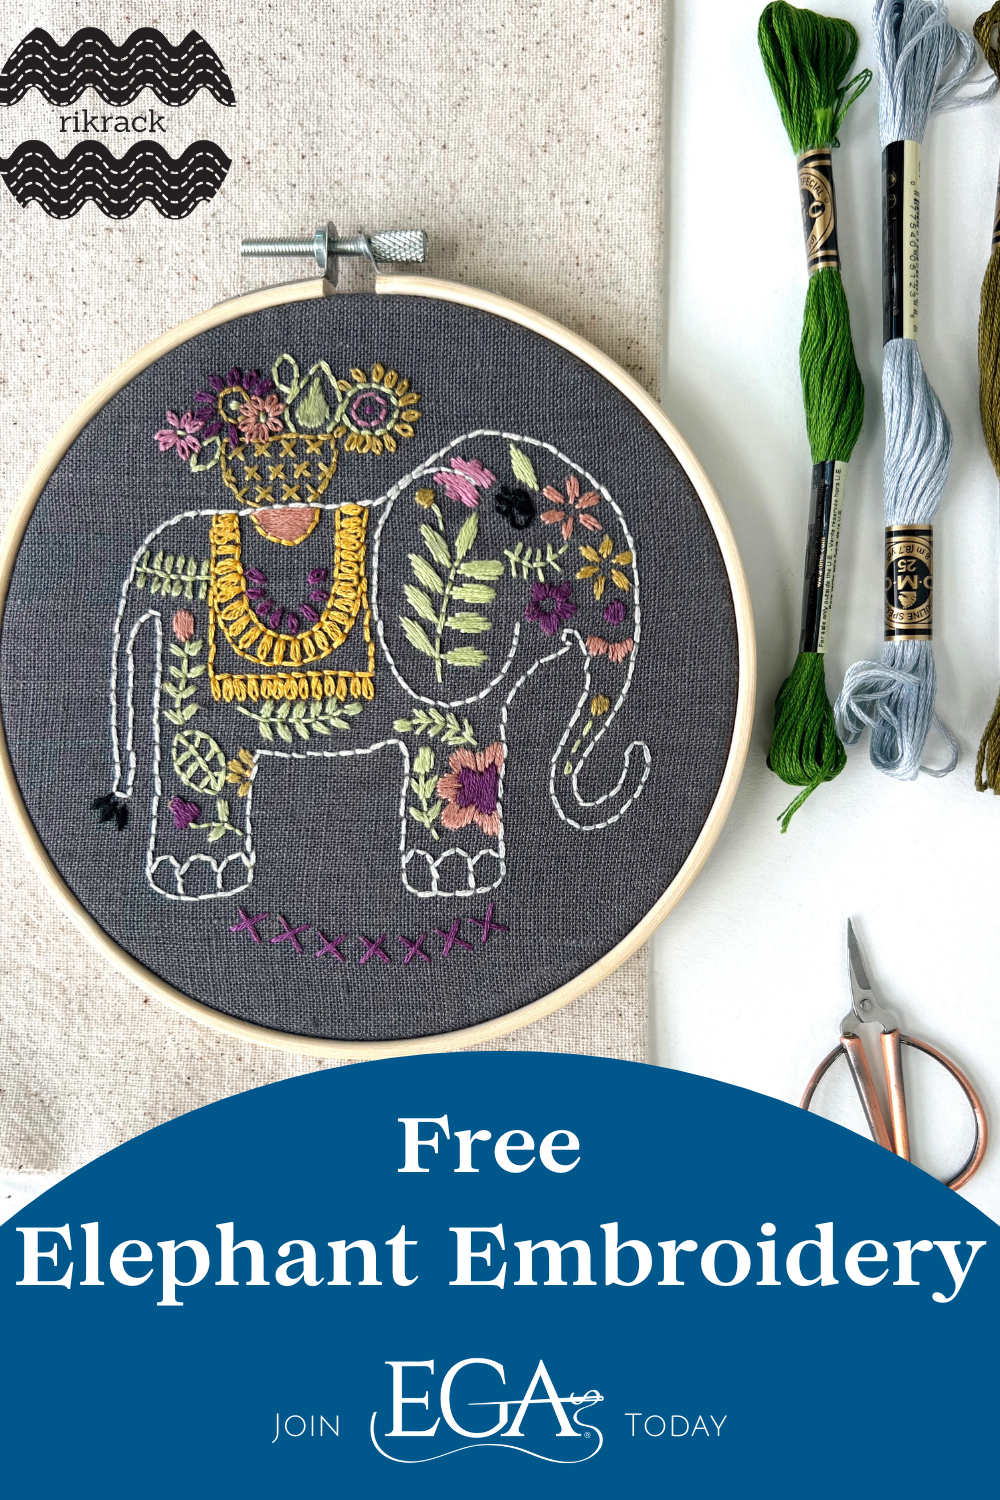
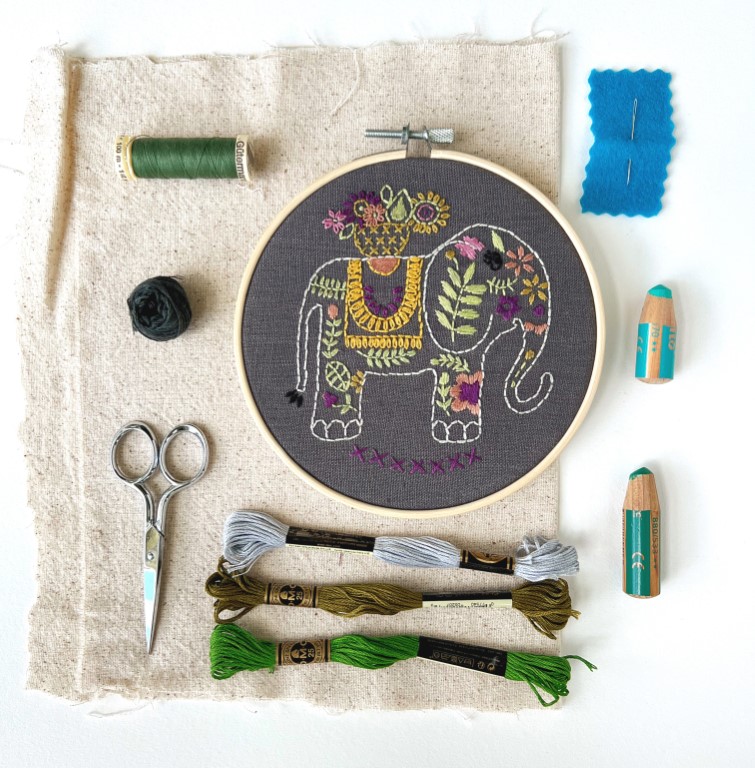
 We teamed up with Riki Inge of Rikrack Embroidery to bring you a free elephant embroidery project. The Elephant Embroidery project utilizes several different basic embroidery stitches, making it a fantastic and fun project for both novice and advanced embroidery enthusiasts.
Embroidery Level
Basic
Materials and Instruments
- Embroidery Elephant pattern (Enter your email here to receive the pattern in your inbox and subscribe to the Needlework Network! (EGA members can download the pattern from the Member Publications page)
- Fabric of your choice (linen preferable; project shown in linen from Magic Linen, with a layer of muslin behind linen fabric. Essex Linen by Robert Kauffman is another good choice).
- Scissors for needlework and fabric
- Size 24 chenille needle
- 6-inch embroidery hoop
- DMC 6-strand cotton floss (colors included in PDF)
- Instruments for transferring design (design was transferred using Sulky brand Stick ‘n Stitch)
Stitches You Will Use
- Daisy stitch
- Back stitch
- Cross stitch
- Satin stitch
- Seed stitch
Refer to Riki’s stitch guides for more detailed information.
Instructions
(All work is done with 3 strands of thread)
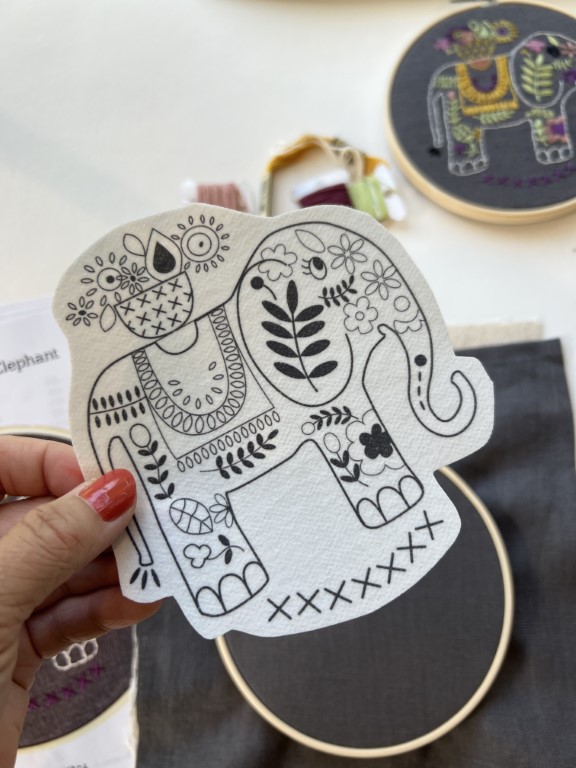
Begin by printing the design on your preferred transfer paper. I used Sulky brand Stick ‘n Stitch printed from a laser printer. A laser printer is preferable to ink jet because the ink does not run when you wash out the water soluble fabric. If your fabric is not opaque or tightly woven, I recommend adding a second layer of fabric behind your top layer before you insert your fabric into the hoop. It will keep your fabric from bunching up when stitching and you won’t see stray threads from the back through the fabric.
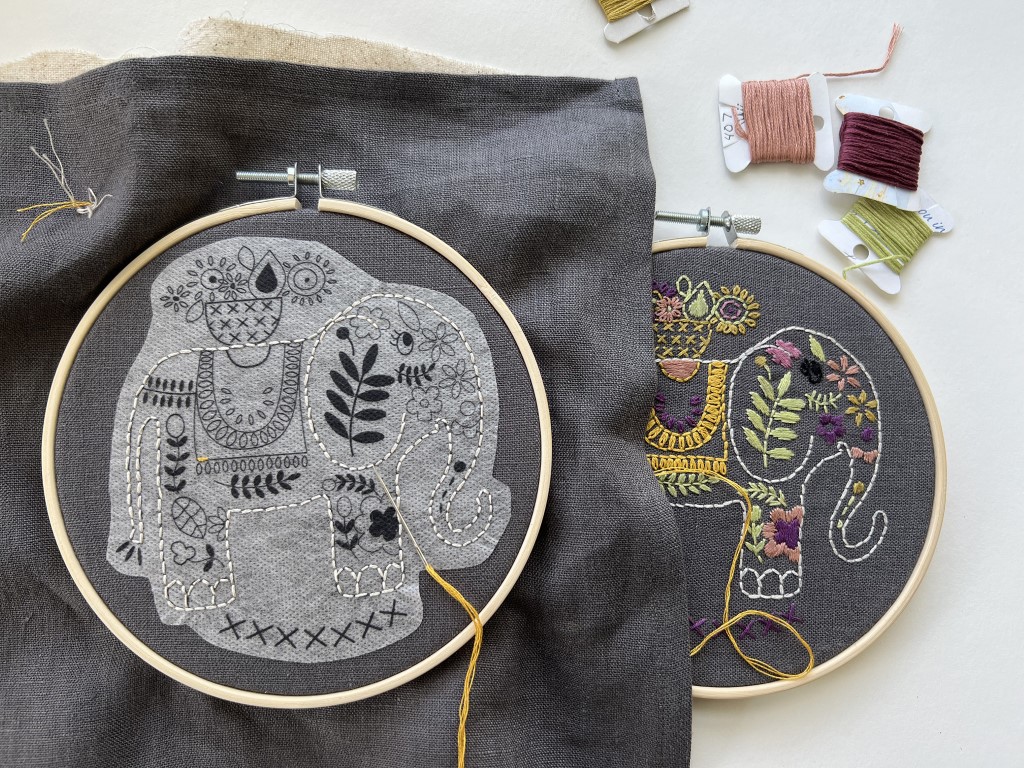
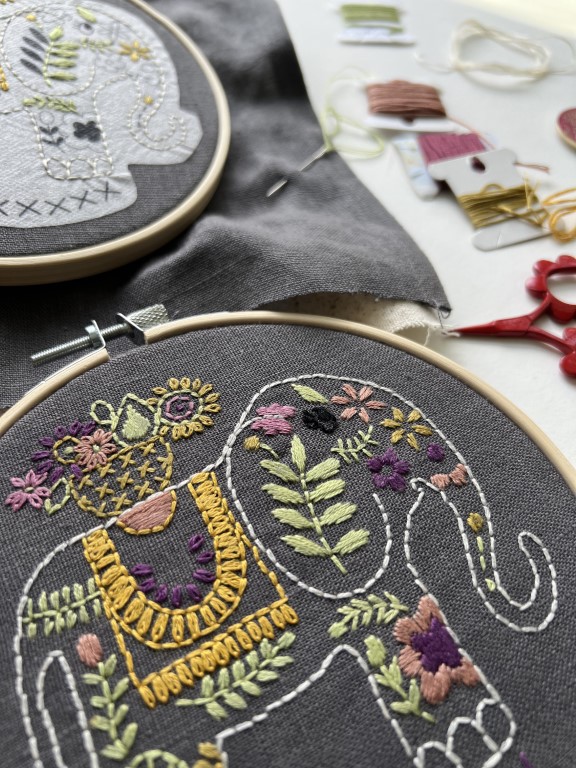
Once you’ve affixed your elephant to the fabric, begin by stitching the outline of your elephant in back stitch. I used DMC in Blanc.
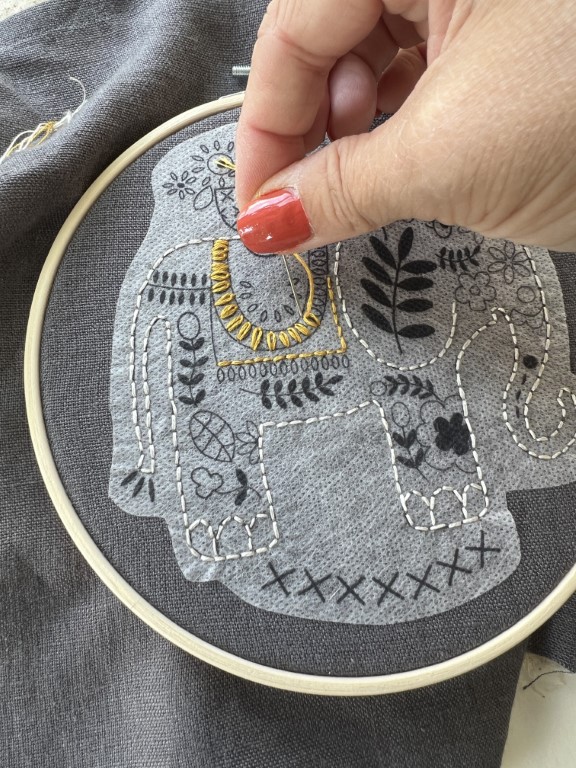
Proceed with the back stitch outlines in DMC 3820 Gold. I prefer to perform the back stitch outlines before proceeding to the Daisy stitches used in the various flower petals and saddle.
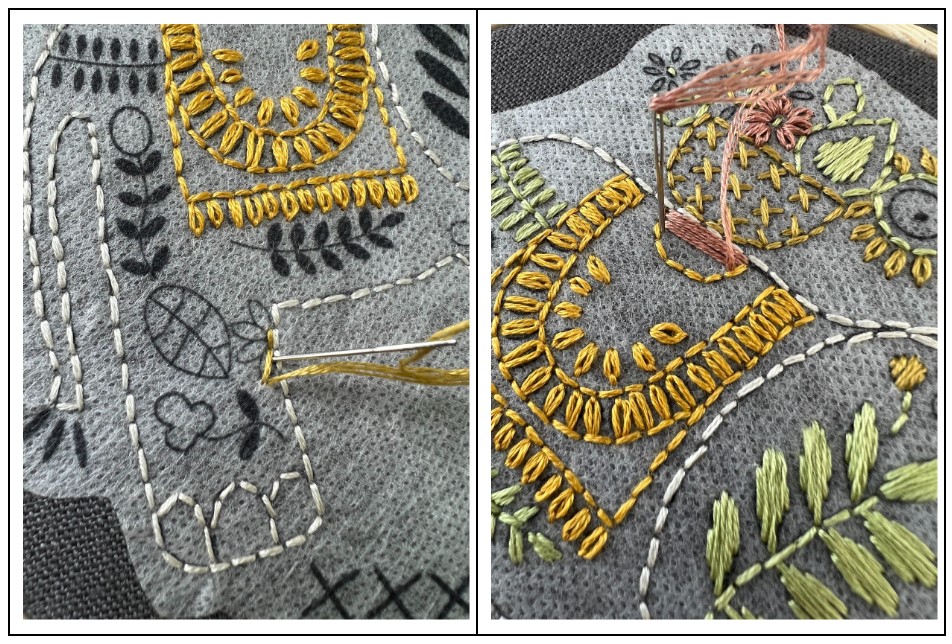
From here, fill in stitches as desired. I proceeded to the back stitches and cross stitches in the basket on the elephant’s back in DMC 734 Straw…
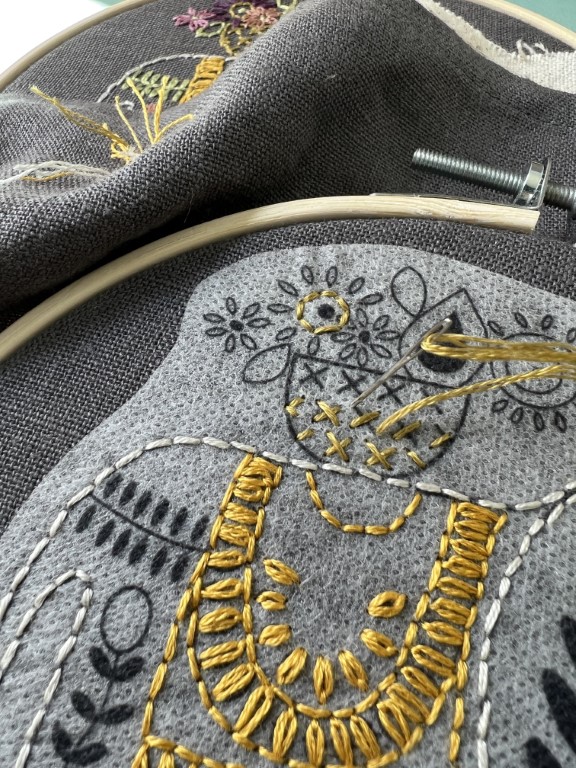
…followed by the daisy stitches in the flowers above the basket. I used satin stitches to fill in the various petals, flowers, and leaves on the elephant.
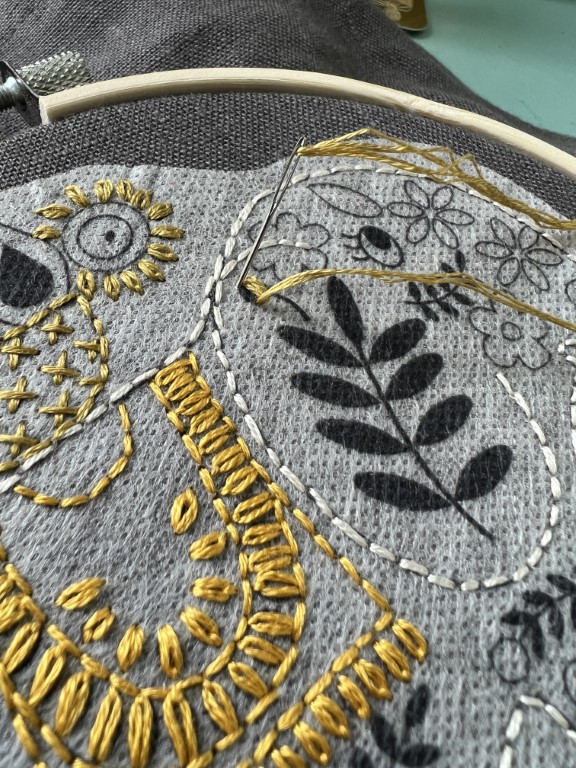
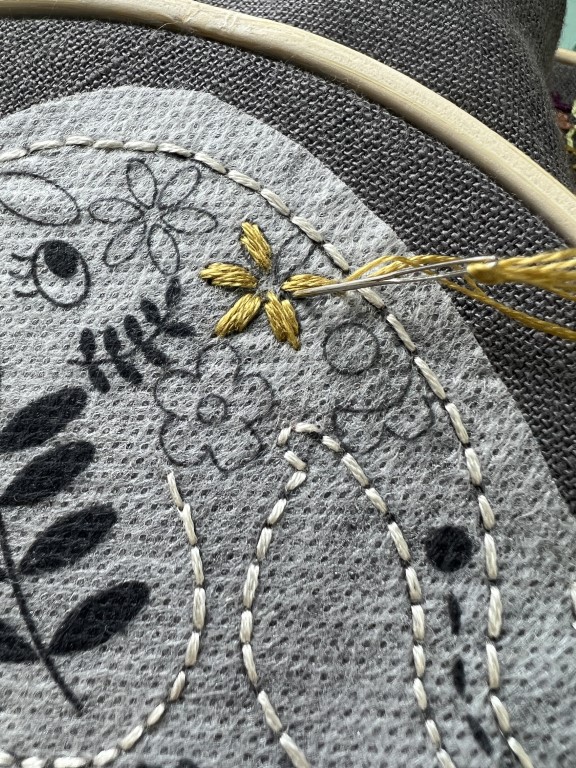
For the broader flower petals, I like to begin my satin stitch in the center of each petal, then create additional satin stitches on either side, as shown below. Filling in with satin stitch this way creates nice, symmetrical stitch patterns.
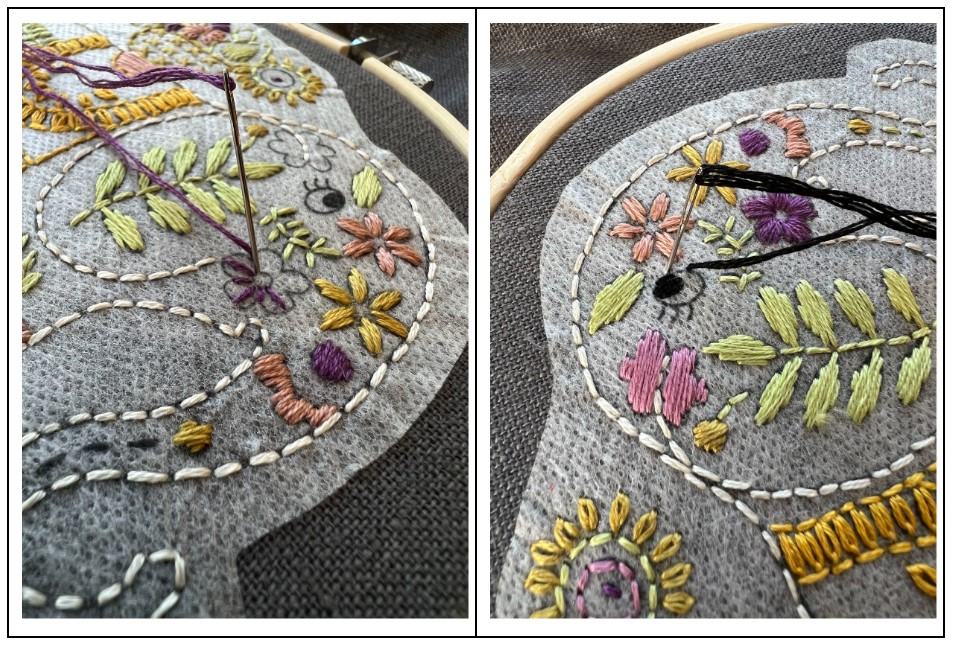
I used seed stitch for one of the flower pistils (below) as well as the detail on the elephant’s trunk.

Using the guide provided, embroiderers can fill in the different designs on the elephant using the same stitches I used. I also encourage embroiderers to experiment with filling in different areas, using different stitches, and having fun with adding more outlines, shapes, and colors.
Your elephant will be ready when you feel satisfied with all his beautiful stitchwork details! When you are finished stitching, remove the hoop. I like to soak the fabric with in a bowl with warm water for about 20 minutes. Then, I use the spray attachment on my sink to gently wash off any remaining water soluble paper. It’s good to spend a little extra time on thick stitched areas. I recommend ironing it while it is still wet and hanging to dry completely. After the fabric is fully dried, you can mount it back in the hoop. You can find instructions for finishing the back at rikrack.com in the Stitch Guide/Finishing the back section.
We’d love to see your projects, so make sure to share your photos with us on social media, tag @ega_usa on Instagram, and use #EGAstitchers in your post!
Like this post? Pin it!