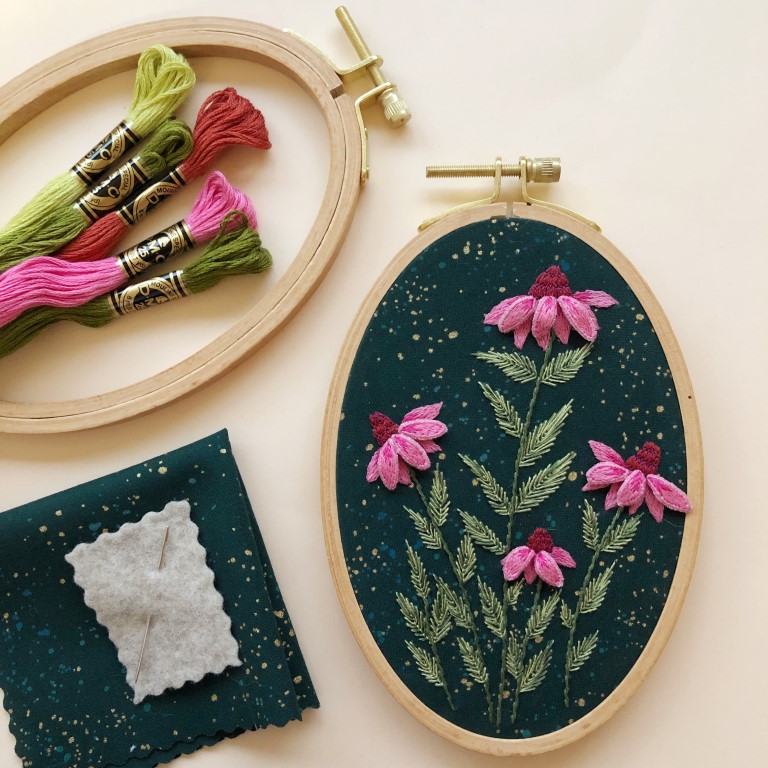
 Earlier this year, embroidery artist Melissa Galbraith graciously provided EGA with instructions for one of her patterns: the Textural Terrarium. It has since become one of our most popular free projects, especially for practiced stitchers and embroiderers seeking to advance their skills, as it features a variety of 10+ different surface stitches to achieve the beautifully textured desert plants. We caught up with Melissa to learn more about her design process and get an insider’s view of her published embroidery books, How to Embroider Texture and Pattern and the new DIY Embroidered Shoes.
When did you first start embroidering? What drew your interest to needle art in particular?
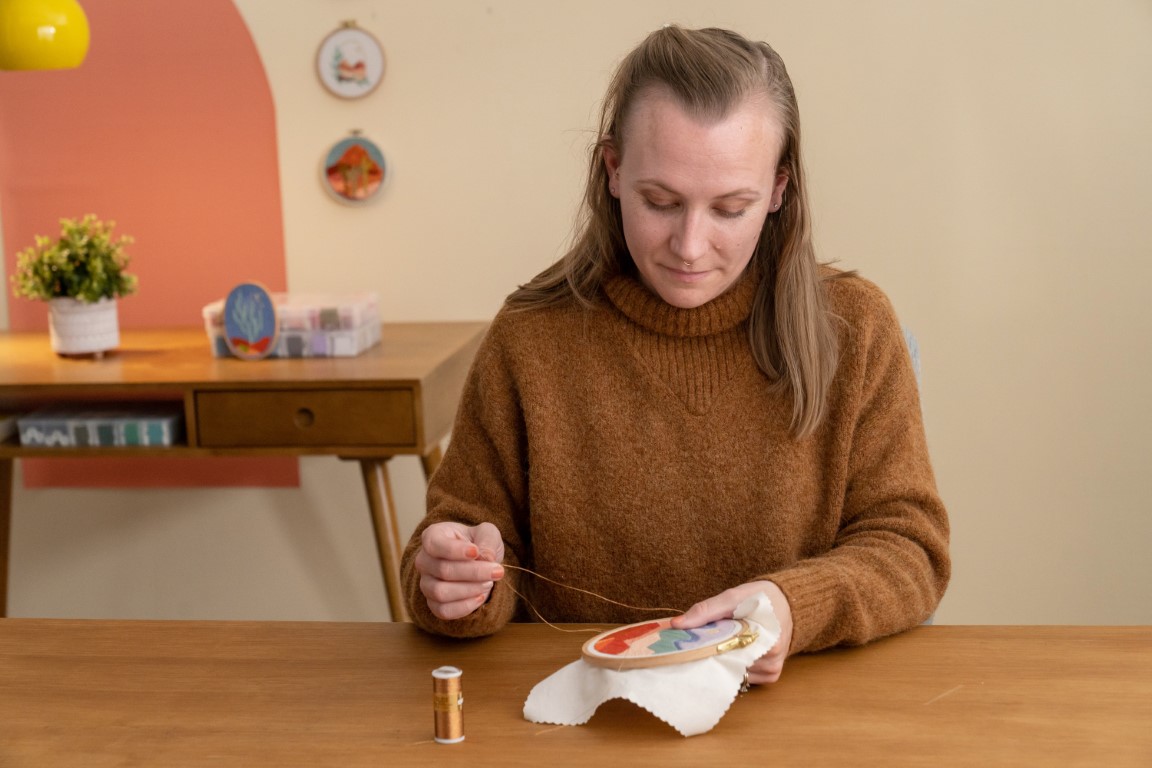
I learned how to embroider when I was elementary school age. My mom taught me and my sisters. I think the first thing I ever embroidered was one of those pre-printed pillowcases that had doves holding a banner and flowers. I’m not sure how I managed to finish both pillowcases, because I was far more into coloring than I was embroidery then. Thankfully those foundational skills and the general interest in making things by hand that my mom instilled in me, helped me pick embroidery back up in adulthood.
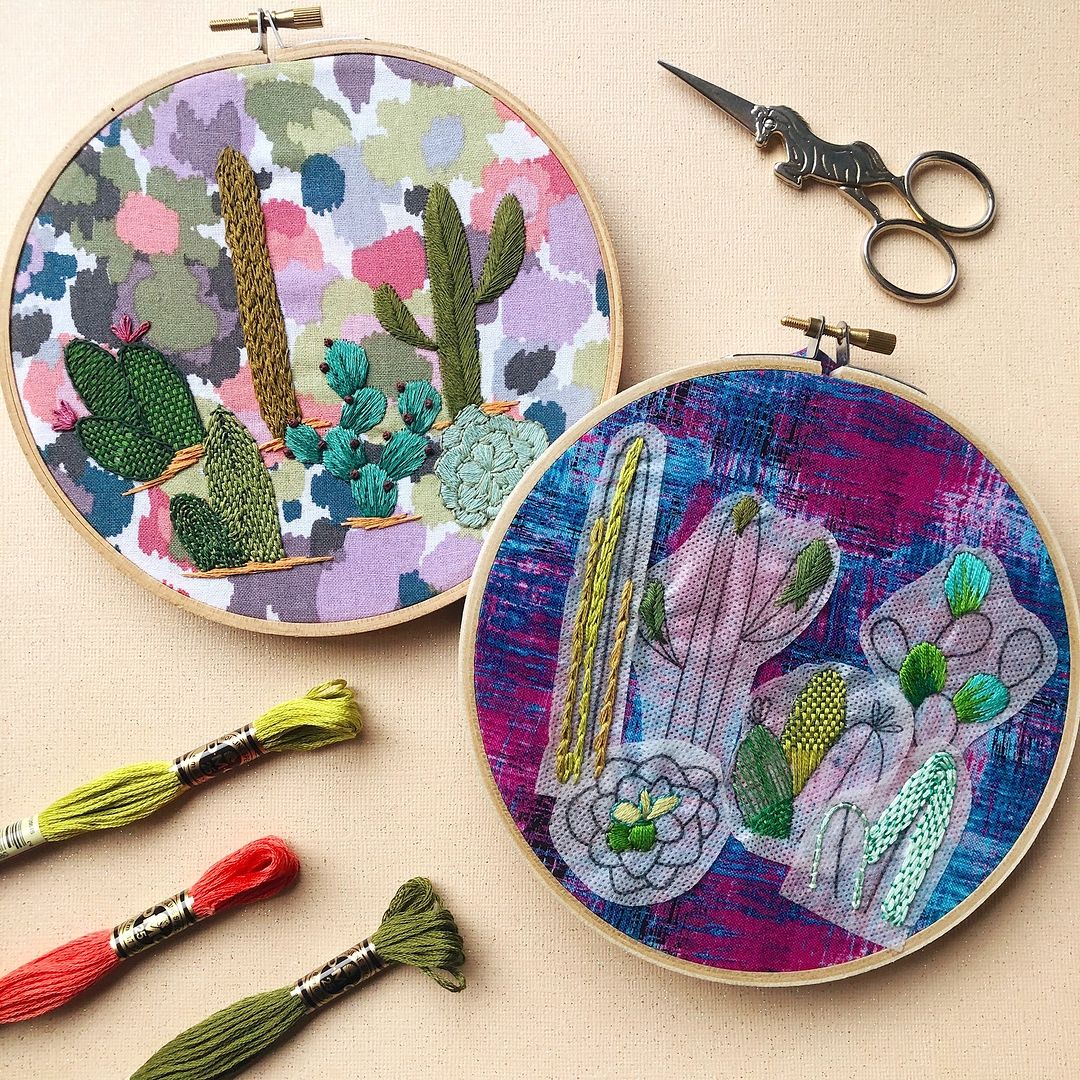
In my mid-20s I found myself working a corporate desk job in digital communications and social media. I realized I missed the tactile experience of crafting and tangibly making something. Around this time, I was living in a very small apartment with my now husband and we didn’t have a lot of space for craft supplies. After dabbling with a few different crafts, I saw embroidery cropping up on Instagram and figured I’d give it a try again. I was quickly hooked. For me embroidery is the adult version of coloring but with a needle and thread.
I quickly amassed a large stash of embroidery supplies and finished projects. This was the turning point that had me asking—do I find a new hobby, give these away, or start a small business?
Are you a self-taught embroidery artist? How did you learn?
Yes. While my mom helped me with some of the early basics, most of what I know about embroidery I’ve had to figure out on my own. I don’t have any formal art education. Thankfully, there are many books, YouTube videos, and fiber artists on social media that offer resources to make learning embroidery accessible. This is also why I have such a robust blog on my own website. I want to be a resource for other makers looking to get into embroidery, learn something new, and find new supplies.
I’m always interested in learning what’s next, how I can challenge myself, and advance my skills. Because of this, I’m constantly trying new stitches, figuring out new ways to do or not do things, and explore with embroidery.
Why focus on botanical-themed designs?
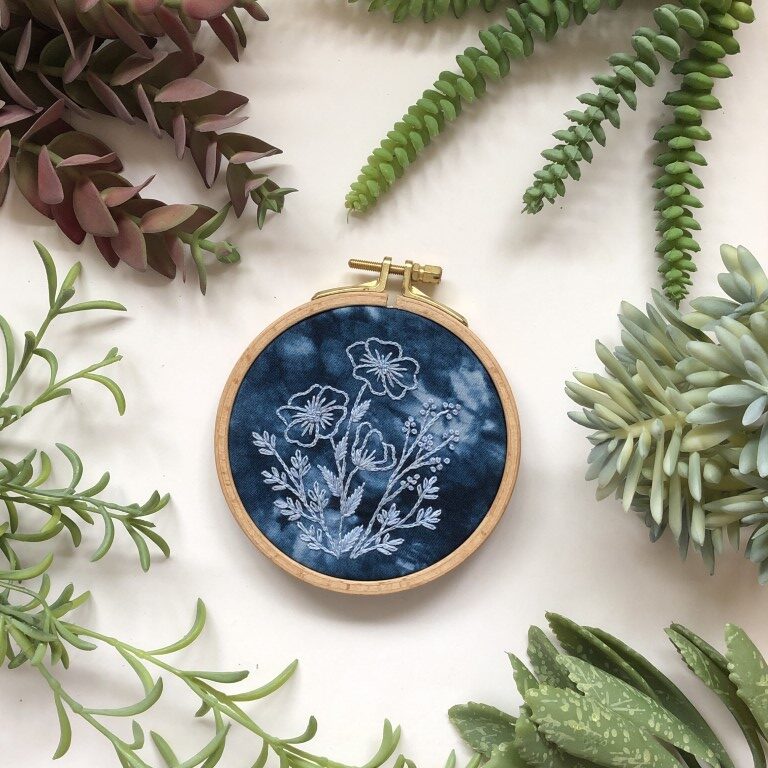
When I first got into hand embroidery, I dabbled in many different themes. It wasn’t until I found plants and nature that I really felt like I had found my niche. I enjoy embroidering nature and creating nature patterns, because nature grows in all sorts of weird and funky ways. It’s ok when a design doesn’t look exactly like the drawing, or a leaf turns out wonky—that’s nature. Even though I’m a very A-type personality, I’ve grown to embrace the more wabi-sabi nature of handmade and hand embroidery.
What inspired you to start creating embroidery kits for others?
After diving head first into hand embroidery, starting a small business, selling my artwork, and vending at local craft fairs I realized a few things:
1- Fiber arts are extremely under valued and I wasn’t charging nearly enough for my embroidered artwork.
2- When I was at craft fairs, I didn’t love selling my embroideries to others. It was out of my comfort zone and people only have so much wall space.
3- I often had people come into my booth and express their desire to learn how to embroider.
After reflecting on how I wanted to continue my business, I realized I would much rather teach people how to embroider and design kits for them to learn than sell my own embroideries. While my first kits weren’t amazing, I learned a lot of how to put an embroidery kit together, what new crafters are looking for in packaging, instruction, and materials. And eventually I transitioned my business to only selling embroidery kits and teaching hands-on workshops.
I love being able to share embroidery with fellow makers! It brings me so much joy to see someone fall in love with the craft or that ah-ha moment when how to do something clicks.

The Textural Terrarium you graciously shared with EGA’s readers is one of our most popular free projects to date. What does your design process look like with a project like that? Are you working from photographs, sketches, your imagination?
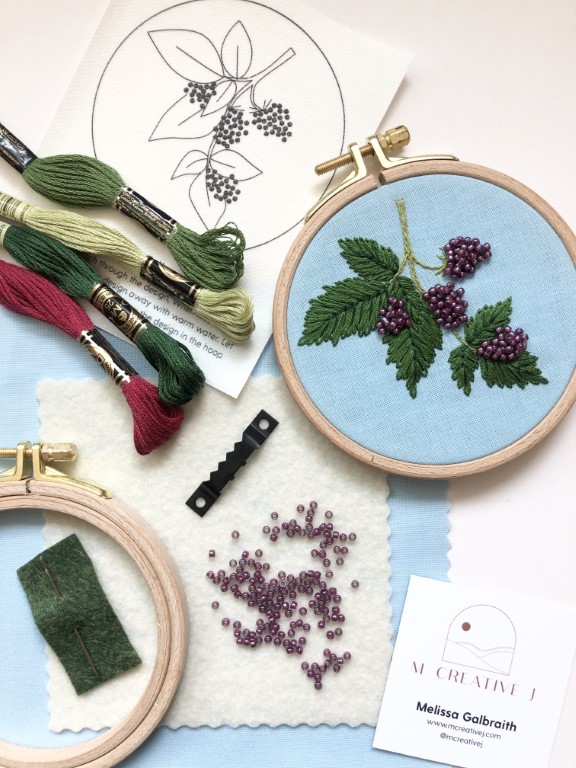
That’s so exciting to hear! All of my embroidery patterns start out as sketches. I take tons of photos on my walks with my pups and when I see interesting plants or landscapes. When I sit down to sketch, I might reference those or pull inspiration from a memory or idea. I often start with thumbnail sketches and create a few iterations of a design. From there, I’ll pick one of the sketches and adjust it to the scale I want to stitch. At this point I also make notes on what stitches I think would be fun to use in certain sections based on textures or patterns I want to create.
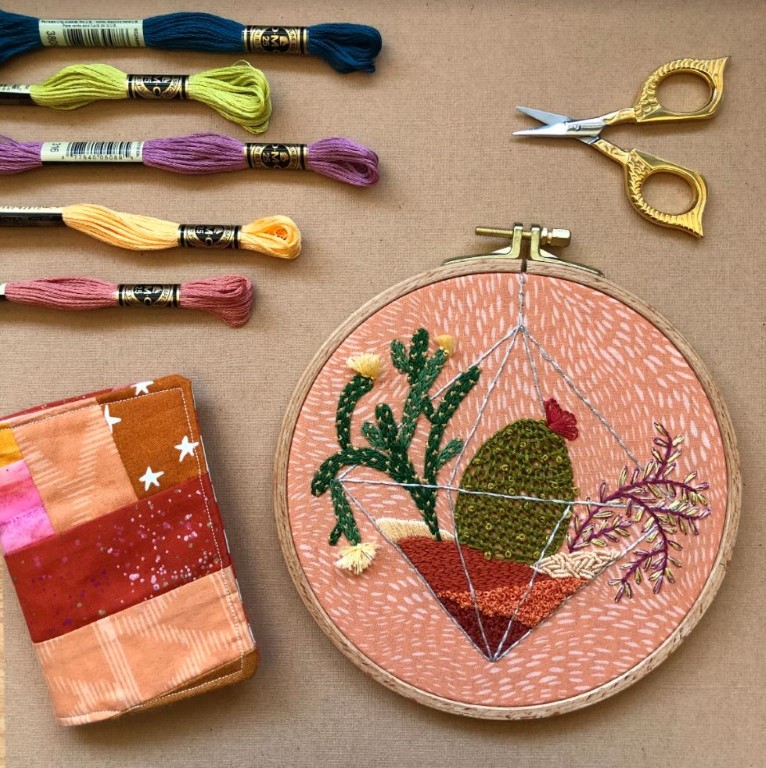
Then I embroider. Each pattern is usually embroidered at least twice. The first embroidery is me testing out the pattern and adjusting it as needed to create the vision I’m wanting. Sometimes this means taking out or redoing sections too. During this first pass, I also make notes on what I’m doing and in what order. I love to use a wide variety of stitches, because I get bored with one stitch over and over again.
The second time I embroider the pattern, I follow my notes and usually take photos of the process. This helps me know where I need to add specific details, rework something, add helpful tips, or make adjustments when writing the pattern directions.
After the second embroidery, I use my notes and photos to write up the pattern. Since I’ve been writing patterns for a while, I have a large bank of stitch photo step-by-steps and descriptions, so I can pull those details and also add them to my pattern.
Editor’s note: Check out Melissa’s YouTube channel for videos on 50+ embroidery stitches!
You have a book called How to Embroider Texture and Pattern. How do you approach translating texture into stitches?
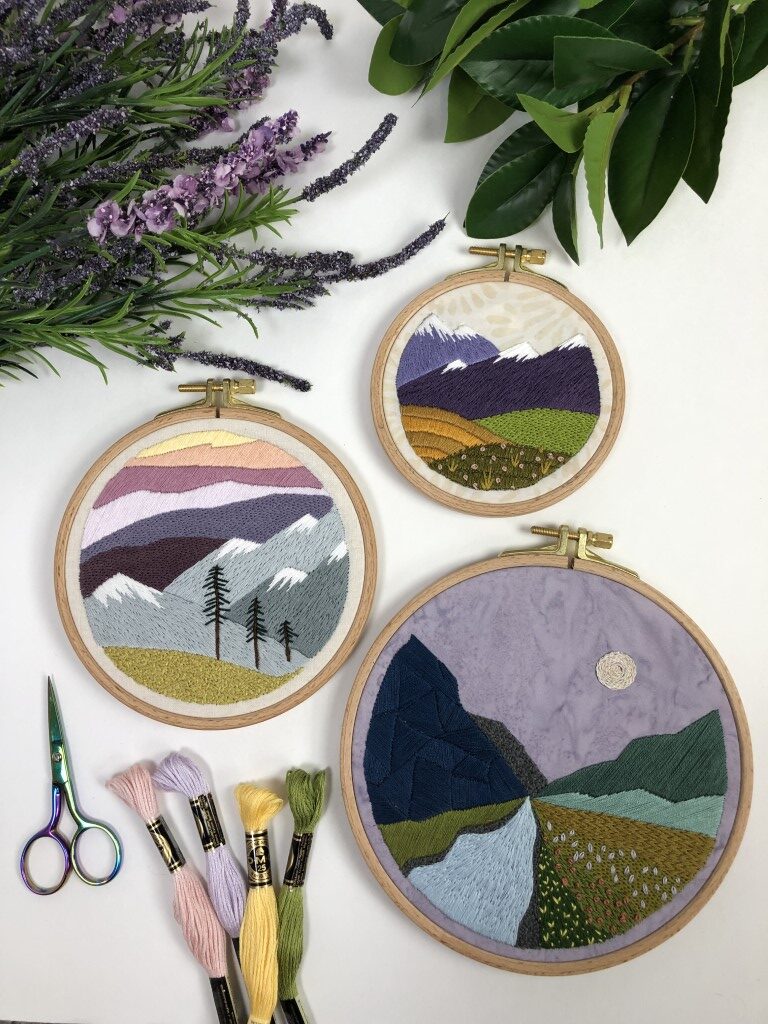
This is a little hard for me to explain. I think the best way to put it is that I think in textures and patterns. When I look at nature or landscapes, my brain immediately starts to say, you could use this stitch to make this and that stitch to make that. I know not everyone’s brains work this way and it might sound weird.
If you want to try creating your own patterns and adding texture, it’s helpful to think about how a stitch looks, whether it’s stand alone, clustered together, in rows, or radial and how that pattern or design would represent something you’re wanting in a design. For example, a single French knot could be a berry or bud, a small grouping could be a flower or far away bush, and a large section of knots could be a shrub, wooly sheep, or dense grassy field. When used in rows, French knots could be a garland or faraway rows of planted crops.
You recently published a new book, DIY Embroidered Shoes. Why did you choose shoes as your focus for a canvas?
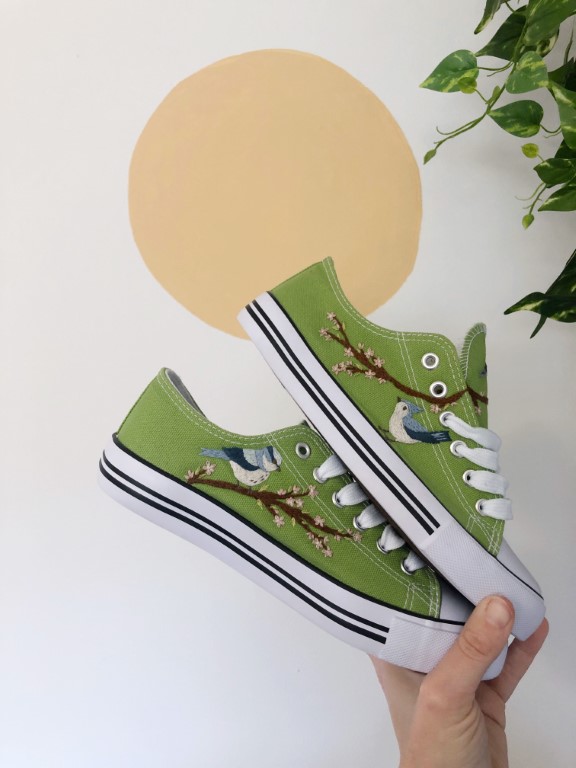
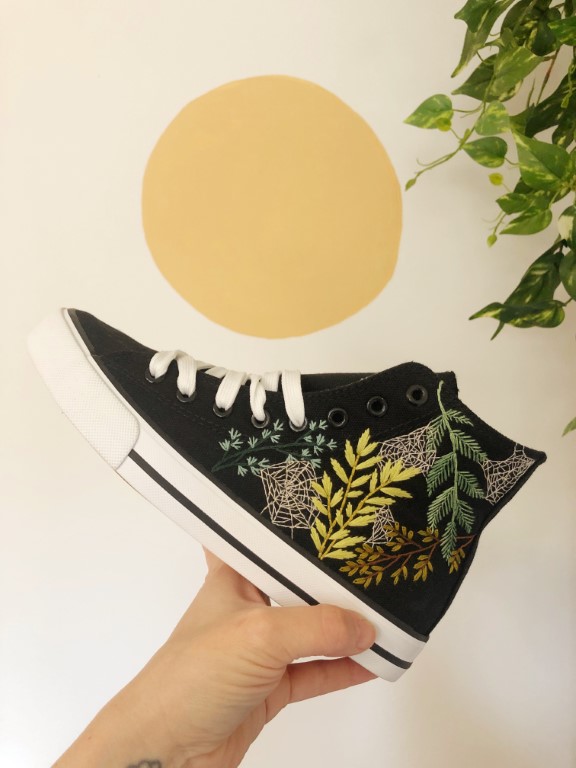
When I pitched a second book idea to my editor, I really wanted to share how you could upcycle and embellish your wardrobe. As I’ve gotten more into embroidery, my wardrobe has slowly become covered in stitches. I initially sent over a few different embroidered clothing projects, along with the Mountain Sunset shoes that are in the DIY Embroidered Shoes book. After we talked and did more research it became clear that an entire wardrobe book would be challenging due to the vast amount of styles and types of clothing available. Instead, we honed in on the idea of embroidered shoes. Shoes are really just mini canvases on your feet. When we talked about this idea, I was reminded of how in high school I wore Converse shoes and doodled all over them.
What should embroiderers who have never tackled embroidering a three-dimensional object—like a shoe—know about the process? Did you learn anything unexpected as you started embroidering shoes?
Shoes are just like any other embroidery and also not like any other embroidery. They’re fabric so it’ll feel somewhat familiar, but you also don’t use a hoop and they might be a little harder to hold when stitching.
If you’ve never embroidered shoes before, I recommend starting with lace up shoes. They’re easier to reach into and open up for access. Additionally, I would find shoes that are a thinner material and without extra padding to make them easier to stitch. Before stitching you’ll want to make sure the shoes are clean and broken in so that the toe and heel boxes aren’t so stiff, especially if you plan on stitching in those areas.
Because shoes are made of thicker materials, I found it was very important to take breaks when stitching and stretch my hands. I also used rubber, grippy thimbles. They remind me of those grippy jar openers—instead of pushing the needle through the fabric, these thimbles help you grip and pull the needle.
Do you have a favorite embroidery design or embroidery creation? Why is it your favorite?
This question is always hard for me to answer. When I create patterns and design kits, I usually sketch out a few different ideas and the ‘favorite’ is the one that gets turned into the final product. Because of that, you could say everything is a favorite.
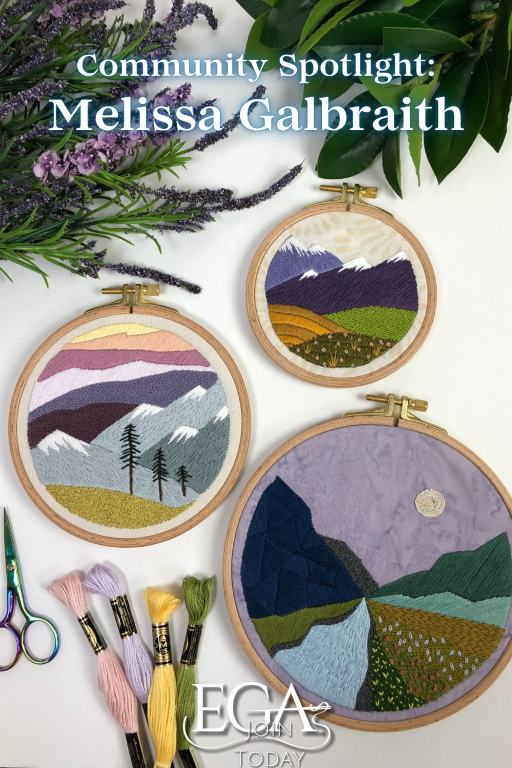
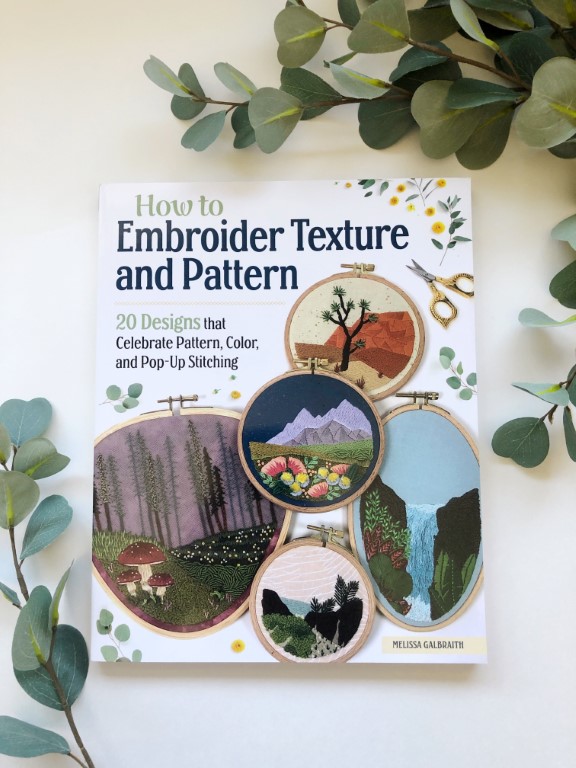
If I had to pick, I would probably say my book, How to Embroider Texture and Pattern, is the work I’m most proud of. It really captures me as an artist. I loved designing the wide variety of landscapes, playing with pattern fabrics, and creating rich dense texture through stitches.
What is the best piece of embroidery advice you’ve received?
It’s ok if it’s not perfect—you’re learning and it will get better.
What advice would you give to a new embroiderer?
Don’t be afraid to try. When I teach workshops many adults get hung up on the fact that they haven’t done something before or that it won’t be perfect the first time around. No one is perfect the first time they do something. I think it’s important to keep that in mind when trying something new for the first, third, and 30th time.
Do you have anything exciting—new classes, designs, events—that we should know about?
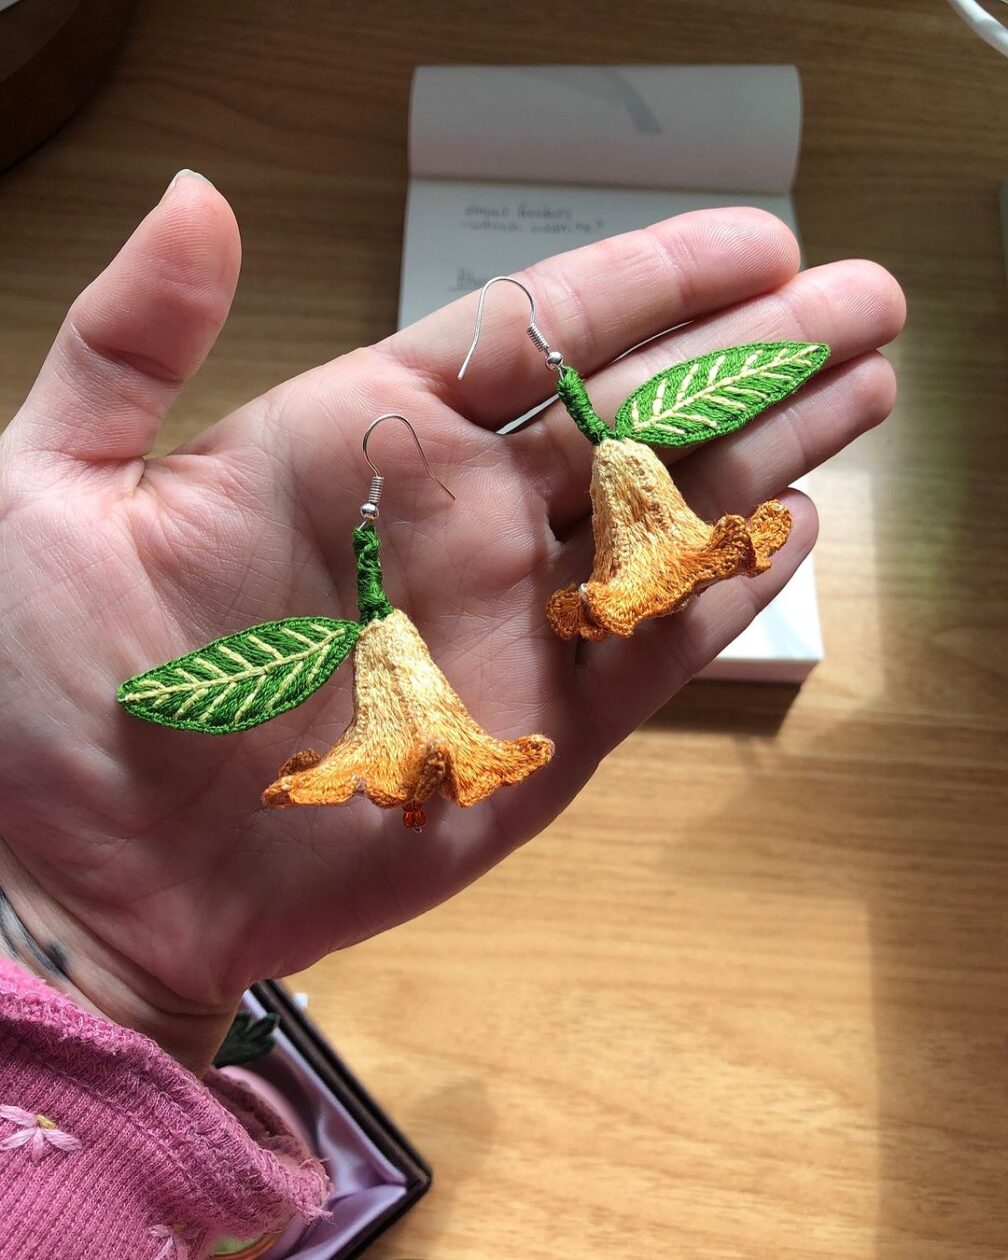
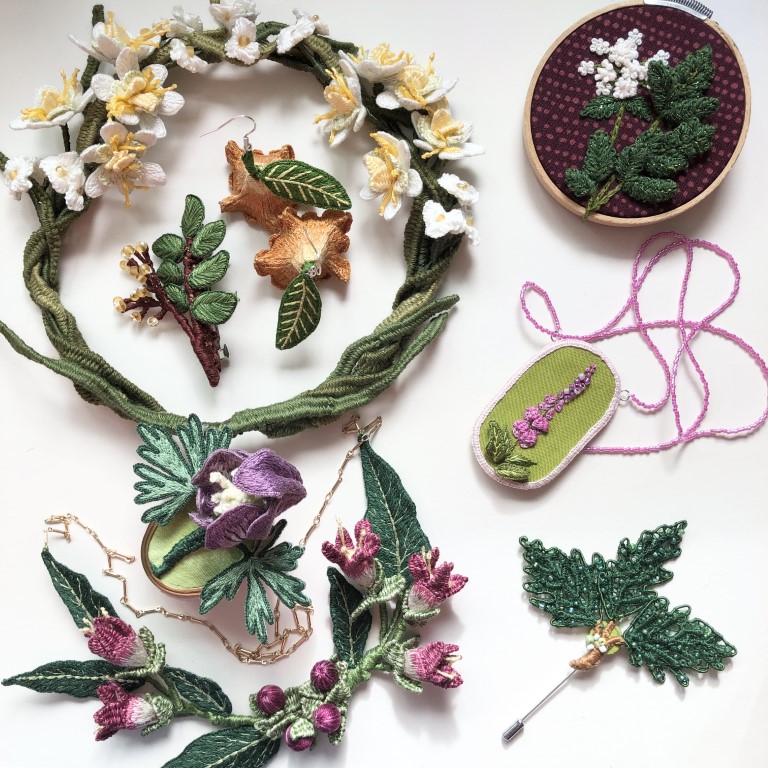
Yes! Be on the look out for a third embroidery book from me next fall. This book will feature wearable stumpwork embroidery of poisonous, carnivorous, and medicinal plants. I had so much fun exploring ways to take embroidery out of the hoop and make it three-dimensional!
You can also learn how to embroider shoes in-person with me during a hands-on workshop starting in 2025.
Thank you to Melissa Galbraith for sharing this insight into her work! You can follow Melissa on Instagram at @MCreativeJ and see more of her work at mcreativej.com!
