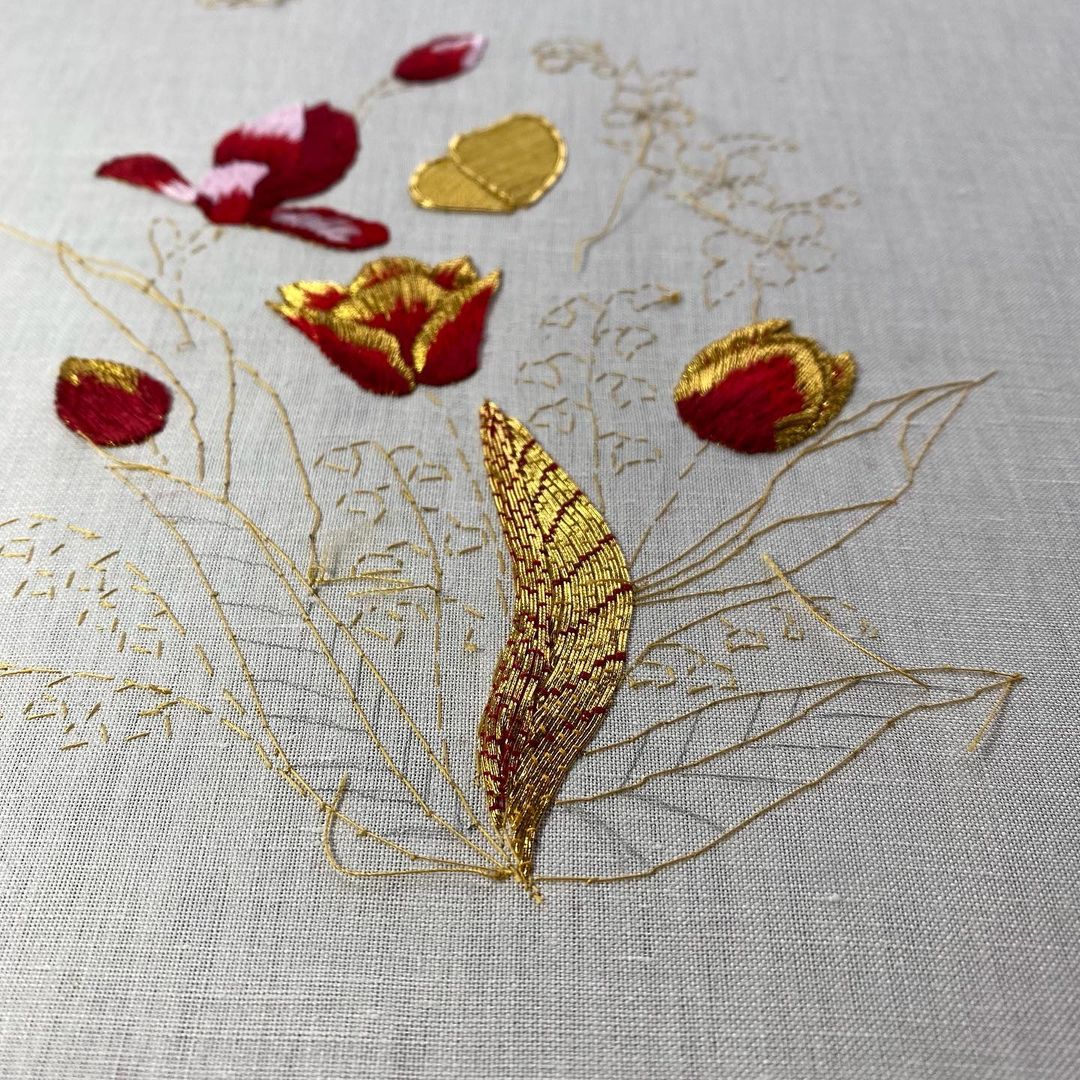
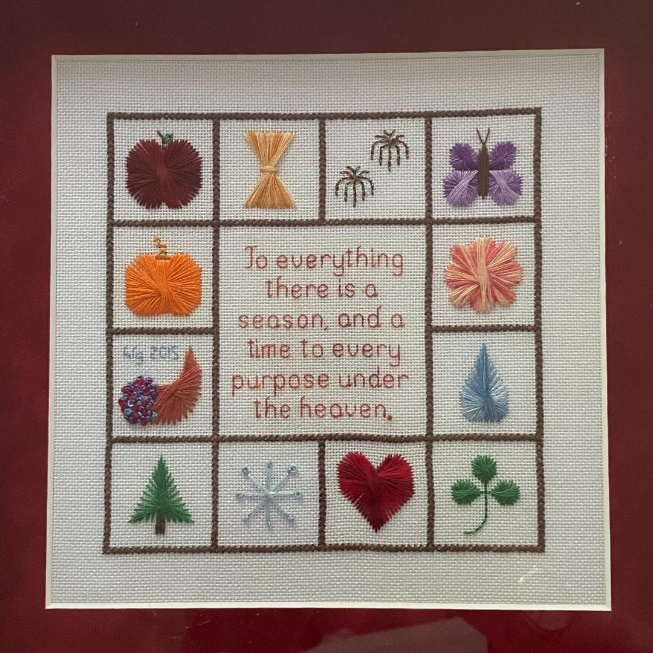
We’ve teamed up with talented embroiderer Rosanna Diggs to bring you a new tutorial on turning your photos into embroidery designs. This is part one of a three-part series. You can find part two here, and part three here.
I am a Washington-based embroidery artist who loves spending time with my family, especially outdoors. Pairing those loves, I often find myself turning real photos into embroidery designs. In this blog series, I want to share how to take a cherished photo and turn it into an embroidered memory.
Part 1: How to take great photos to use for embroidery
It starts with an adventure. I go for a run or a hike and take photos along the way. I enjoy the space with my family or friends and find inspiration within the experience. And while I’m not a particularly great photographer, there’s always one that is a keeper.
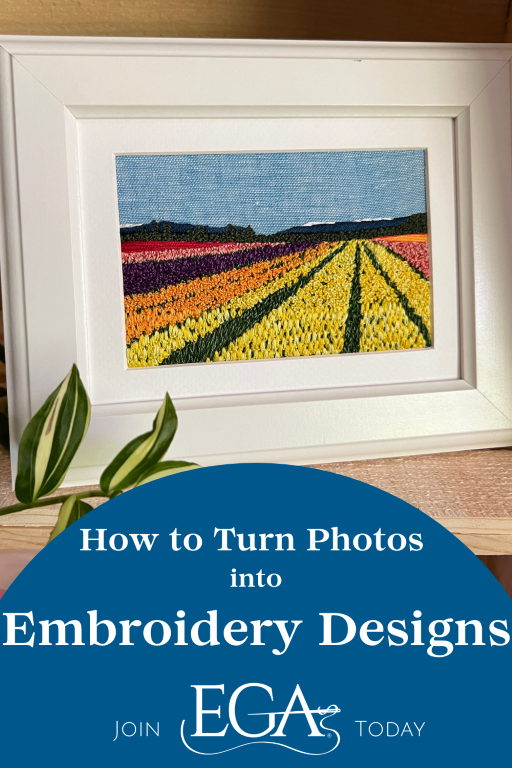
When I was asked to do this blog series, I decided a visit to the Skagit Valley Tulip Fields was in order. An early ferry and an easy drive got things started. Once I got there, one of the first photos I took really set the pace.
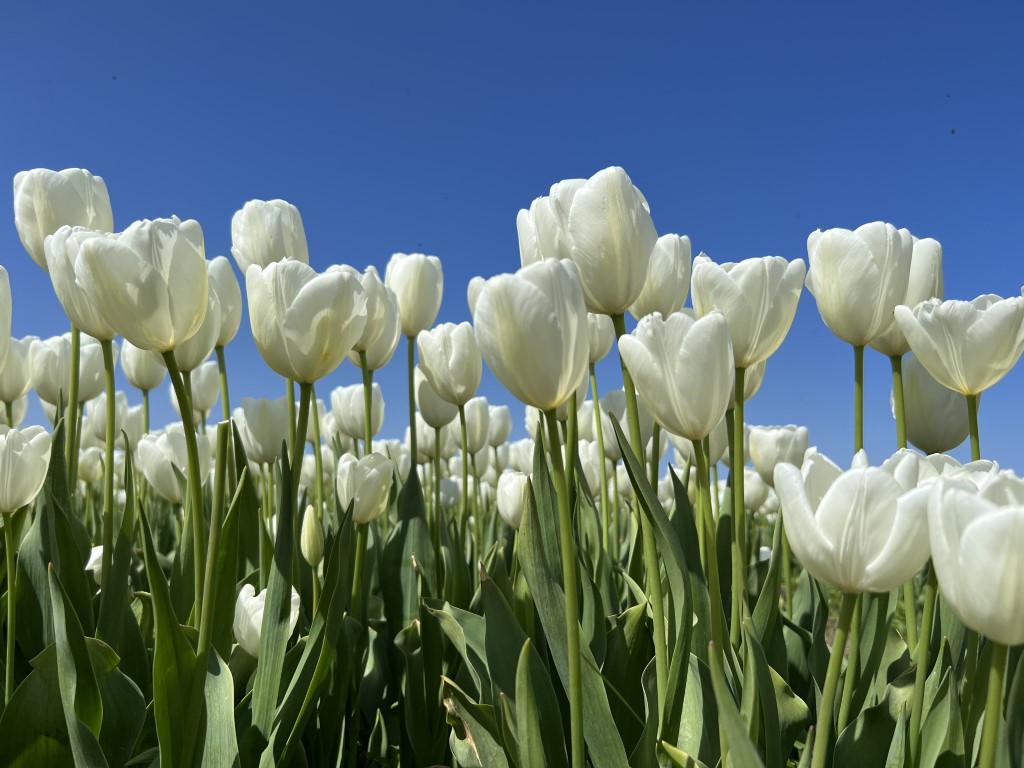
Notice how even the solid white flowers have this beautiful depth of color?
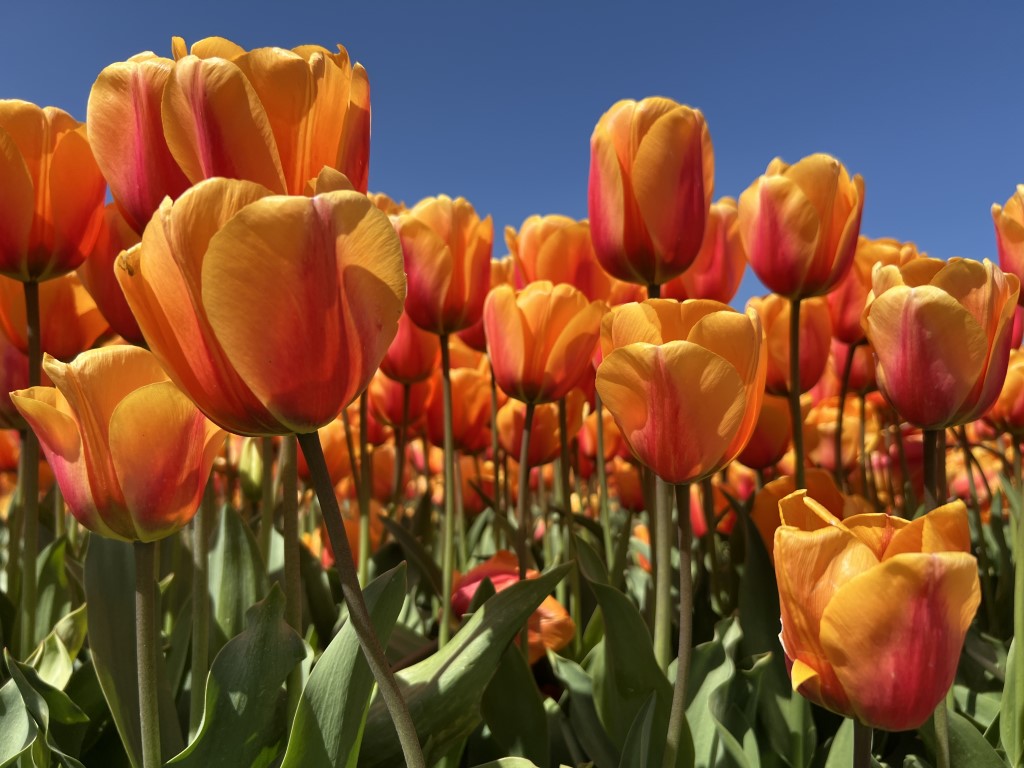
Each individual flower, in a sea of flowers, was vivid and bold and beautiful.
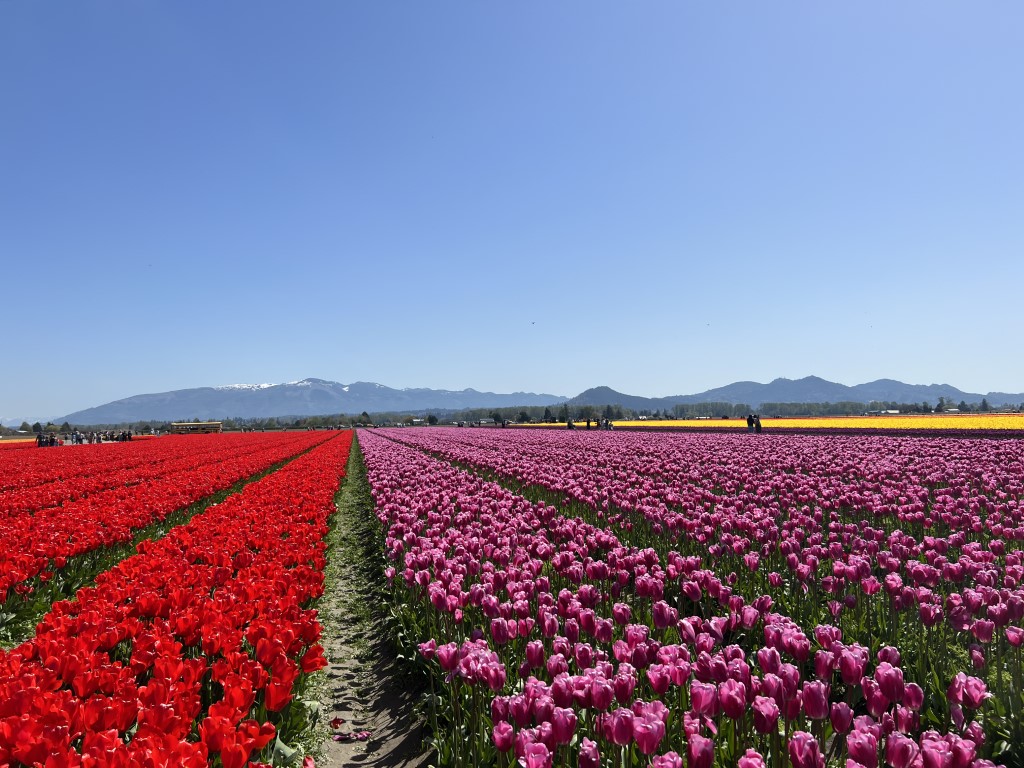
Skagit Valley sits between Puget Sound and the Cascades. The mountain backdrop had to be included, for sure.
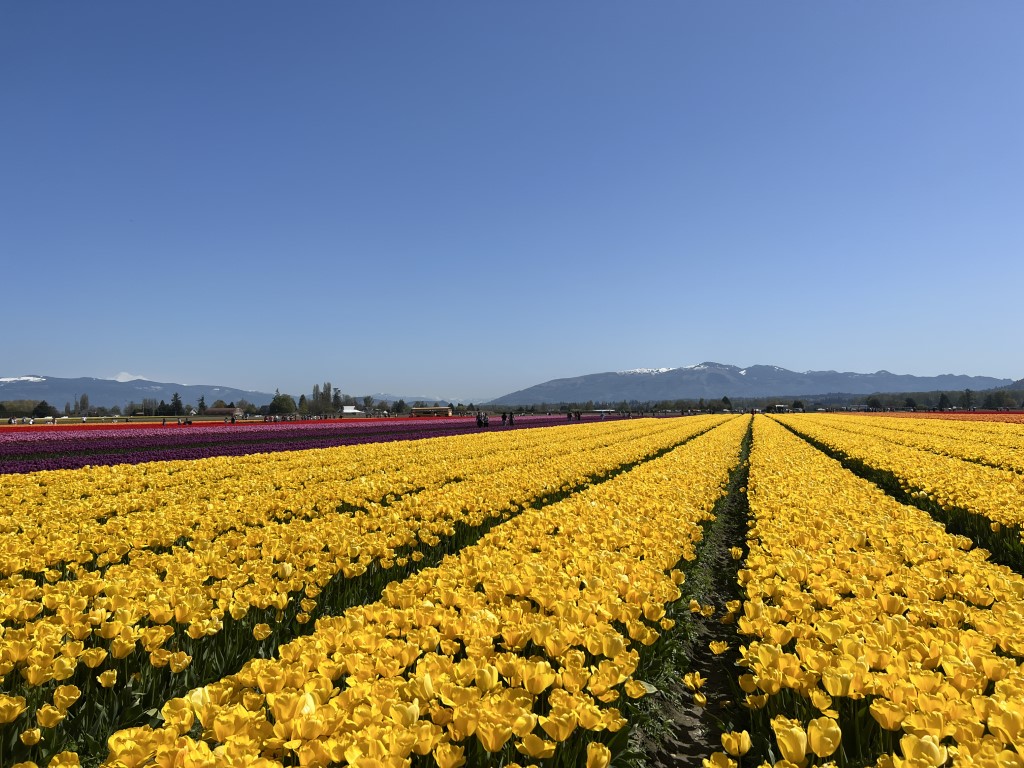
And then I got it. This shot showed the perfectly unnatural lines, vivid colors, and mountain backdrop. It offers a clear focal point, and I can easily apply the rule of thirds (more on that later!) to make a great composition from this one. I noted that most varieties were planted in rows of four, but here the yellow took over. I mention all these little details now because they are opportunities to take artistic liberties later.
For getting your own great photo, some other things to consider – I waited two weeks to get the perfect weather day. While I didn’t have my family with me on this trip, we went a decade ago when my teen was a tot, and I have beautiful, fond memories of traipsing through the tulips. I honestly think the memories associated with a photo have as much impact on the artistry you will put into the design as your skill behind a camera.
Homework
If you’d like to follow along with this series, I encourage you to take your own adventure or dig through your memory box and find a fun photo to work with – the elements I will cover lean towards landscape embroidery, but it’s your project, so pick a photo you love!
— Rosanna Diggs, rosannadiggs.com
See Part 2: How to Transfer a Photo for Embroidery and Choose Materials | Subscribe to the blog here.
Like it? Pin it!
