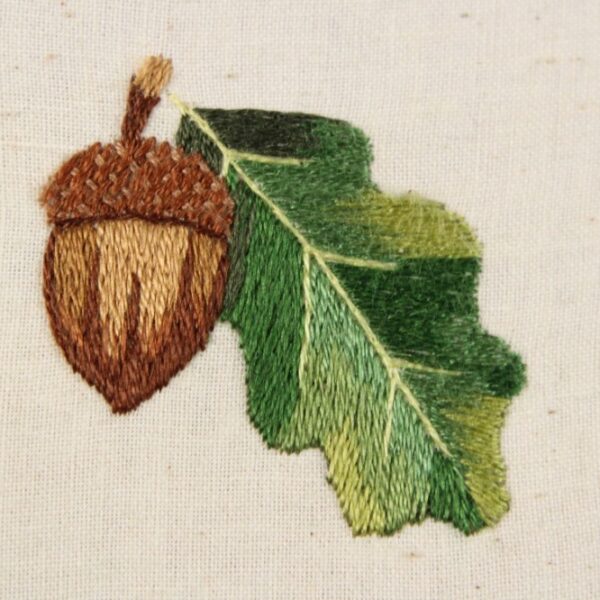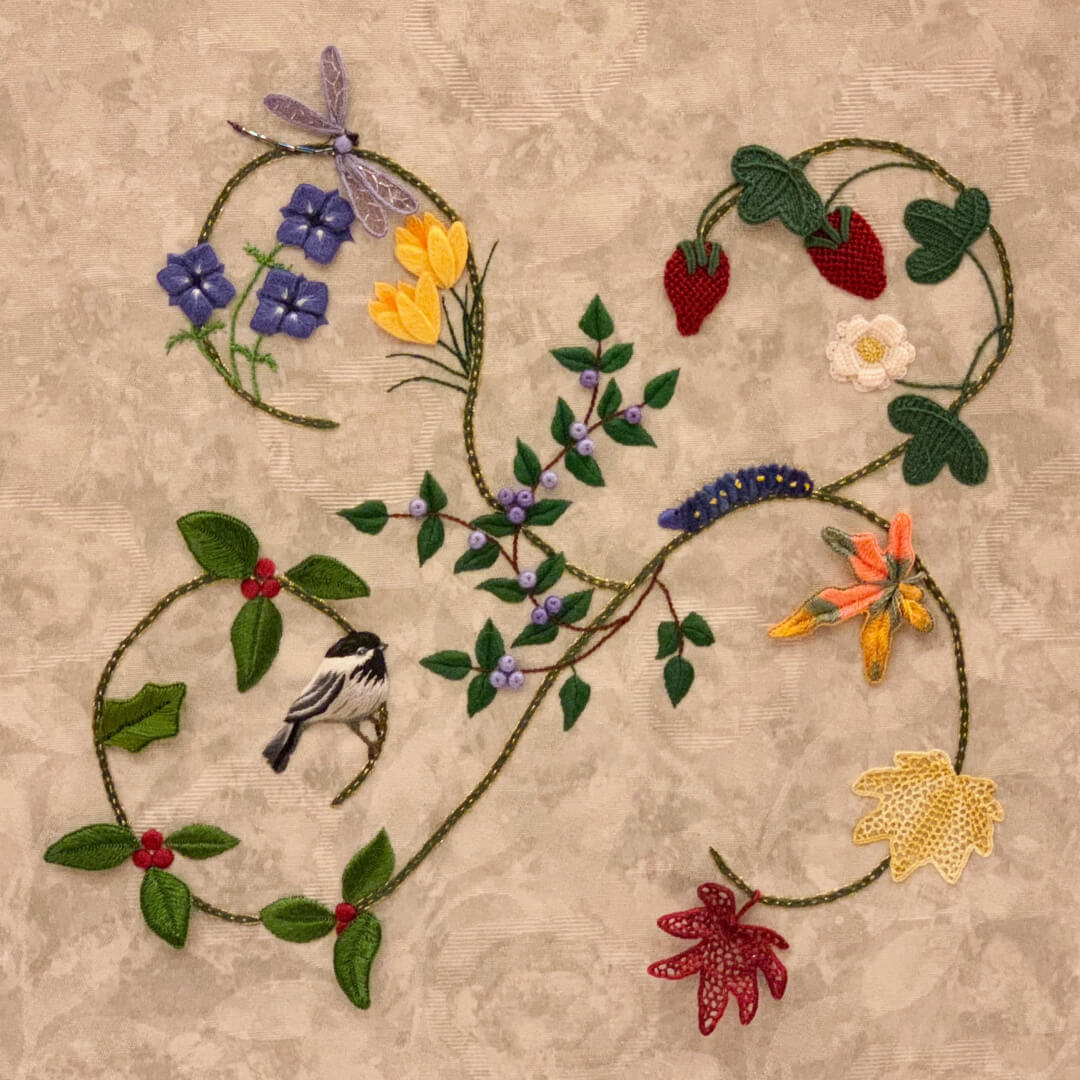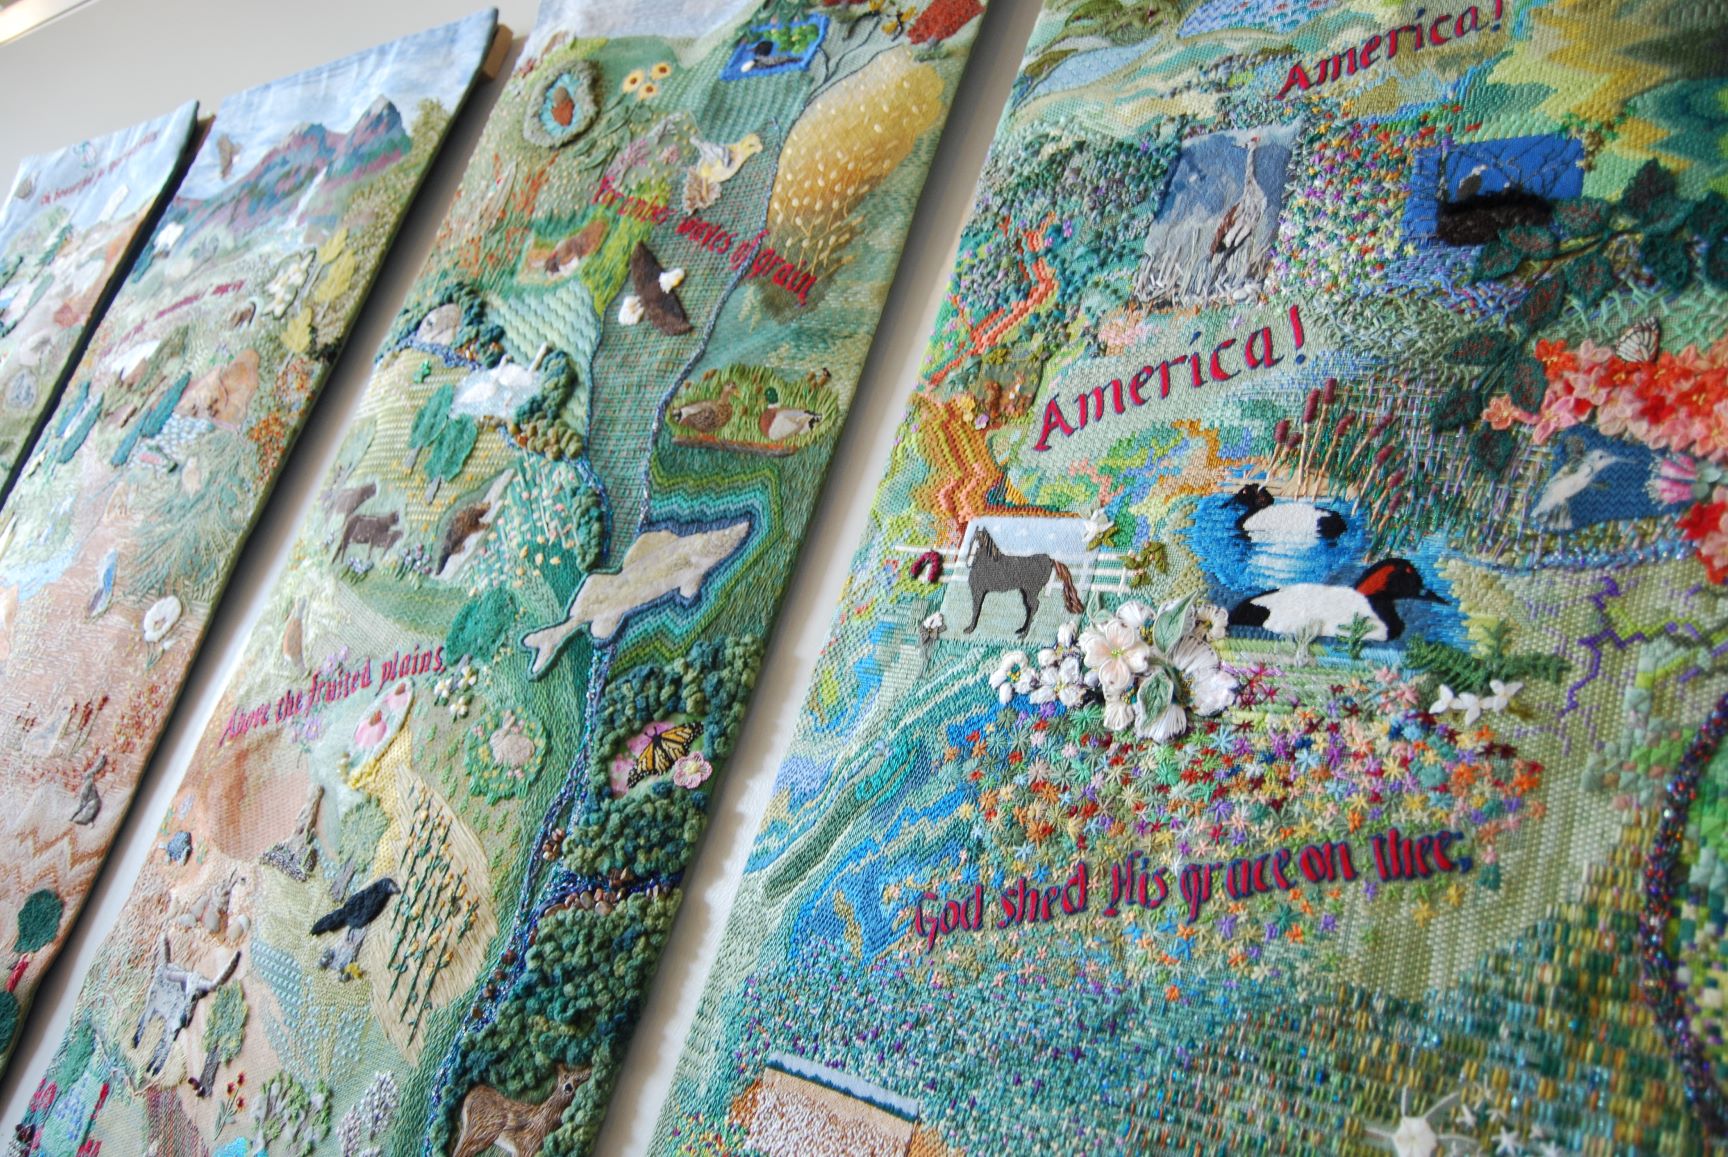
Needleworkers sometimes find themselves frustrated by embroidery mistakes: stitchwork that frays, canvases that pucker, or gaping holes in their work. It’s very difficult to fix or prevent embroidery mistakes without a proper understanding of how and why these issues occur. No matter how long you have been embroidering, it’s important to keep certain rules in mind to ensure the work you’ve spent hours poring over remains crisp and beautiful for years to come.
Puckering
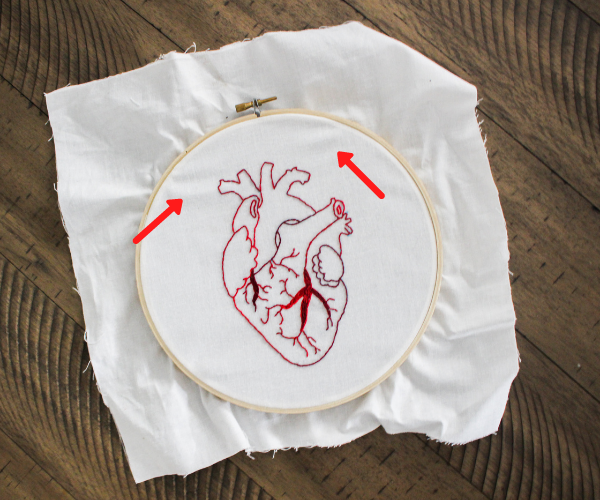
See those wavy lines in the canvas above? That’s called puckering. Embroidery puckering can also occur around and through your stitchwork, deforming the image you’re stitching. It’s incredibly frustrating and unsightly, but easy to fix!
How To Fix It
If The Fabric Is Puckering: Before you make your first stitch, ensure to hoop your fabric tightly. Adjust it vertically and horizontally until the surface you will be stitching on is taut as a drum. Never adjust the fabric diagonally, as you may warp the grain and create holes. Be careful not to overstretch the fabric, either, as that can also result in puckering. If the grid becomes wavy, it’s likely overstretched. It’s natural for the fabric to loosen as you work, so remember to keep checking and tightening the fabric as you work.
If The Stitches Are Puckering: If you notice puckering around your stitches, the likelihood is your stitches are too tight. You may be able to use your needle to gently loosen your stitches from the back of the hoop, but if that fails, it’s time to rip out those stitches to remake them at a looser tension. If all else fails, grab a seam ripper and start over! Embroidery is a slow, thoughtful process, so perfecting your tension may require slowing down a little bit and working with intention.
Holes
No one wants to spend hours carefully stitching on a design only to notice holes in their fabric. For beginners, holes may develop as they make, undo, and then redo their stitches—this is fairly common, and the culprit isn’t difficult to determine. Those holes are part of the learning process. But holes that develop otherwise are another matter.
How To Fix It
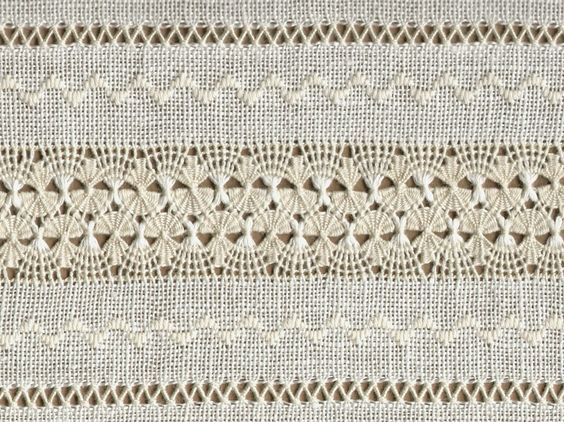
There are two possible reasons why your fabric is developing holes and they are related to each other. You’re either 1. Using the wrong size or type of needle or 2. Using the wrong fabric. If you’re using a large needle on a fine fabric, your work may develop holes. Beginner stitchers should stick to cotton or linen fabrics with a tight weave as they are more forgiving than other fabrics. Check your tension as well. The lacy effect of Pulled Thread embroidery (shown above) occurs when you work stitches into a loose fabric using lots of tension.
A good rule of thumb is that the needle should pass through the fabric smoothly, without much force, and without leaving a hole. Be mindful about pairing the proper needle with the proper fabric to avoid holes.
Pilling/Fraying
Have you noticed that your embroidery quickly starts pilling when you’re finished stitching? Maybe the design is looking a little frayed, or the threads look less glossy than they did before? There are several reasons this may be happening, but thankfully the solutions are relatively simple.
How To Fix It
First, look at your needle. Is it older? Has it developed burrs? You may have noticed the needle isn’t passing through the fabric as smoothly as it once did. The longer you use an embroidery needle, the more likely it will be to lose its outer coating and start developing ‘burrs’ that catch on both your fabric and your threads.
Do you lick or wet your thread in order to pass it through the needle’s eye? This is common practice, but it’s actually not good for the needle! As moisture collects in the eye, rust starts to form, which also causes burrs and can shred your thread. You can use an emery board to gently file down any rough areas on the needle, but if you must, replace the needle.
Next, look at your thread. Are you working with craft thread? Craft thread meant for projects like friendship bracelets—while inexpensive—isn’t meant for embroidery. The agitation caused by repeatedly passing through fabric will quickly fray craft thread, and it’s more likely to form pills in a finished embroidery piece.
Also, pay attention to the length of your working thread. The longer it is, the more frequently sections of it will pass through the fabric, increasing the likelihood of fraying and pilling. As it passes through the fabric, the thread also loses some of its luster and sheen from the repeated rubbing. Ideally, keep your working thread length no longer than 18”.
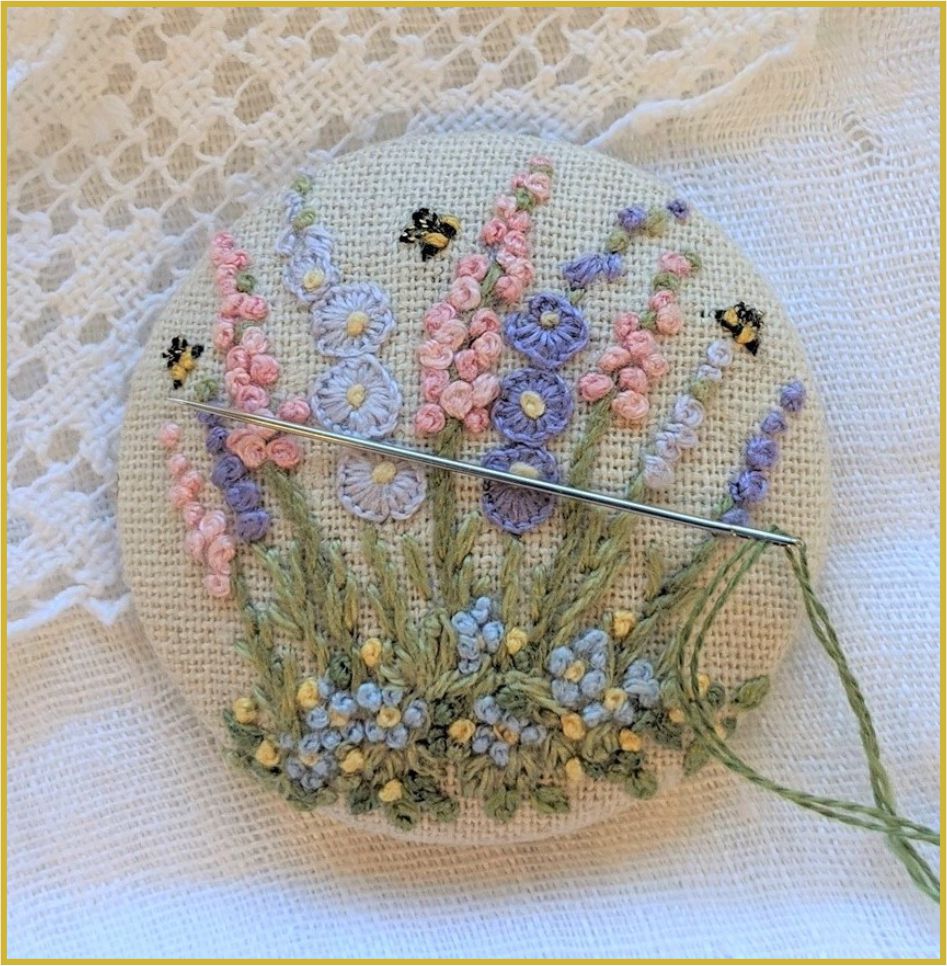
Clumpy, Tangled Threads
Does your embroidery look like a mess when you flip over your hoop? Is there a tangled clump of different threads forming behind your work? A mass of tangled threads at the back of the hoop is a problem for several reasons.
First, it can become impossible to undo a stitch made in error once it passes through a thick, tangled clump of thread. The cleaner your work is at the back of the fabric, the easier it will be to fix a mistake. Second, it may seem fine when you’re stitching your design, but that big clump of thread will compress the moment you try to frame your work, pushing against the frame and showing through the fabric. It also affects your tension, which may result in some stitches growing loose over time as the clump of thread shifts.
How To Fix It
In this case as in the previous one, working with a shorter length of thread will help with tangles. The shorter thread makes it easier to hold proper tension and make more precise stitches. Be conscious of your thread, tracking it with your fingers at the back. This will also help you avoid accidentally stitching your work to your clothes!
A little mindfulness goes a long way to avoiding embroidery mistakes. Make it a habit to look at the back of your fabric to see how the work is progressing. The work that doesn’t show will affect your front-facing design, so if you want your design to remain beautiful, you have to pay attention to the back!
We hope this post helps you navigate some of the most common embroidery issues. If you have any other questions or problems with your stitchwork, let us know on Facebook or Instagram and we’ll try to help!