![]()
The first step towards stitching your next great embroidery project begins with transferring the embroidery pattern to fabric. There are several methods for transferring an embroidery design each with its own pros and cons. Below, we share five of the most common pattern transfer methods, alongside some first steps as well as tips and tricks to help make it successful!
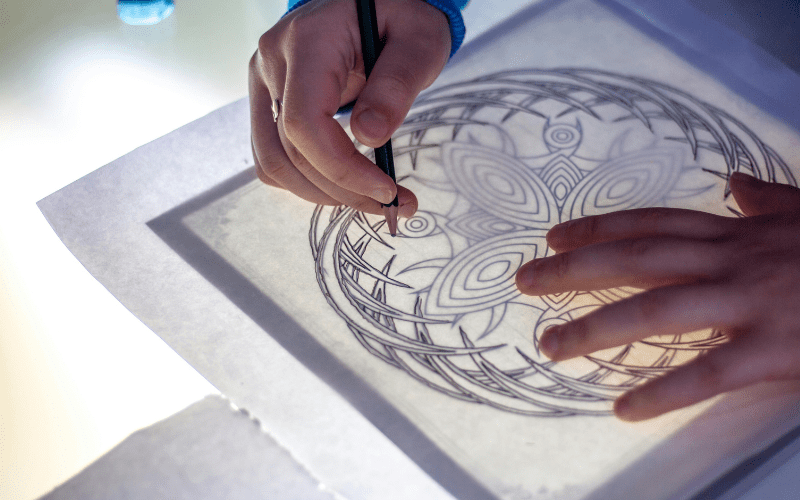
Tracing with a Light Source
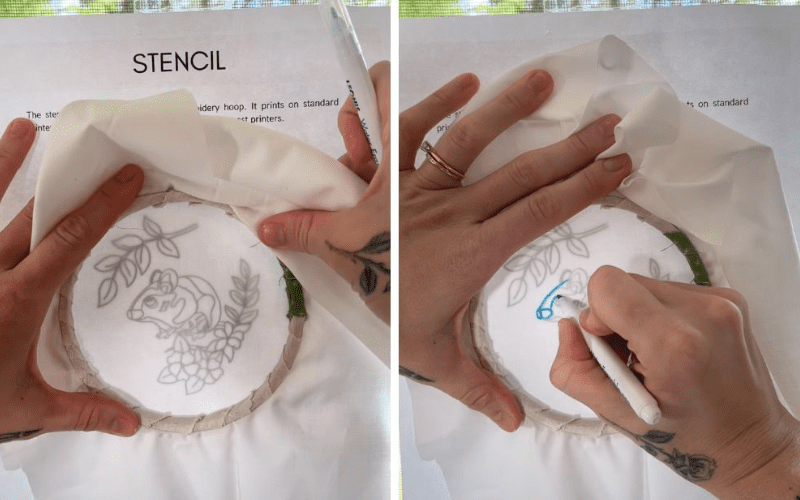
By now you know, bright light is an embroiderer’s best friend. We need it to see our stitches and create clean stitchwork. But it’s also very useful as a design transfer method.
Embroiderers can use the bright light from a sunny window, a light box, or even a tablet screen to trace embroidery designs onto fabric. In each case, follow these steps:
-
- Print your design onto paper
- Tape a sheet of paper printed with your embroidery design onto the bright surface (window, light box)
- In the case of a tablet, you have the option to simply open the design on your screen to prepare for tracing! Just turn the brightness on your screen all the way up.
- Lay your fabric over the paper and trace the design directly onto the fabric using a water soluble pen or heat erasable pen (be careful with the latter—some stitchers report the pen markings return when the fabric is exposed to cold temperatures. In all cases, it’s important to test first!)
For more in-depth instructions, check out this great tutorial from the Crewel Ghoul, (designer of the Acorn Thread Painting project in EGA’s Free Projects Library).
Printable, Water Soluble Stabilizer
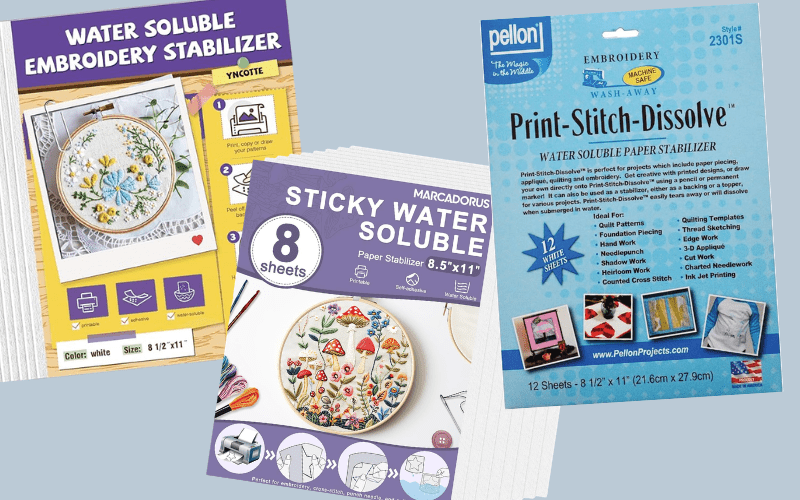
Lots of great options now exist for water soluble stabilizer specifically made for hand embroidery projects. You can print pattern designs directly onto water soluble stabilizers using a basic printer, then use your printed patterns as “stick and stitch” designs that attach to fabric. You can also draw designs directly onto water soluble stabilizer to create your own unique stick and stitch patterns! Follow these steps to use stabilizer:
-
- Print the design onto the stabilizer using your printer
- Cut out the design and remove the sticky backing to attach to fabric
- Stitch through the stabilizer
- Gently handwash your completed project to remove the stabilizer
Tracing Paper + Basting
Plain tracing paper works similarly to stabilizer, but requires a little more effort and works well with minimal special tools.
The steps for using tracing paper to transfer a design are as follows:
- Lay the tracing paper over your design
- Trace the design onto the paper
- Baste the trace paper onto the fabric
- Stitch through the tracing paper and fabric to create your design
- The final step requires the most patience: carefully tear away the tracing paper to reveal your stitched design
Carbon Transfer Paper
![]()
Carbon transfer paper is a popular transfer method among graphic artists, and it works for embroidery as well. Carbon transfer paper is coated on one side with a dried, powdery ink or waxy carbon pigment. To transfer a design using carbon transfer paper:
-
- Print out the design on regular paper
- Place carbon transfer paper on top of fabric
- Place the printed design on top of the carbon transfer paper
- Use a pen cap, stylus, bobby pin, or other instrument to trace the printed design, pressing firmly
The carbon paper will transfer the design onto your fabric and can be washed away later. Be sure to use a carbon transfer paper that stresses washability! Some carbon transfer papers are not water soluble, so it’s important to choose the right kind.
Iron-on Transfer Paper + Heat Transfer Pens/Pencils
![]()
Iron-on transfer paper works like stick and stitch designs, except without the paper left on the fabric. There are kits (like the one above) that include everything you need: paper and a special pen or pencil that will transfer a design directly onto fabric with the heat from an iron, leaving a simple design you can stitch (without having to stitch through paper or stabilizer). There are also heat transfer pens and pencils sold separately that will work with regular paper as well.
The steps for using iron-on paper and heat transfer pens/pencils is as follows:
-
- Draw or trace a design onto the iron-on transfer paper or plain paper using the special heat transfer pen/pencil. Press firmly to ensure design will transfer!
- Place the transfer paper over the fabric
- Using a hot iron, press the transfer paper and fabric (don’t rub back and forth—just press, lift, and press again in the next area)
- Remove the transfer paper, and the design should be on your fabric, ready to stitch
Are you ready to start designing and transferring your own embroidery patterns? Check out courses like Design for Needlework with India Hayford and resources like our beginner embroidery guides for more information!