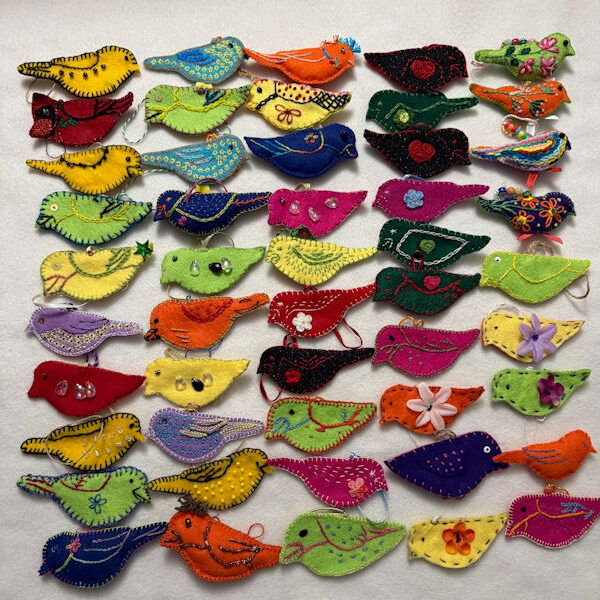
Have you ever tried to take a photograph of your embroidery project, only to have shadows or glare ruin your shot? Even if you are not a professional photographer, there are a few easy tips that can help you take great embroidery photos using your cell phone or other camera. The following suggestions were presented in a lecture by professional photographer Juls Buckman (https://www.julsbuckmanphotography.com/) at a Carolinas Region Retreat in Flat Rock, NC. Many thanks to Kurdy Biggs (threedles.com), as well, for permission to use photographs of Crème de la Crème, stitched by Carole Overton, in this article. All of the photos were taken with a cell phone.
Lighting
Take photos in natural light. You want to have even light with no shadows. Try to take your photos outdoors, but not when the sun is at its harshest with full shadows. The best time to take photos outside would be before there is full sun (probably before 11 AM) or within 1½ hours before sunset.
Open Shade
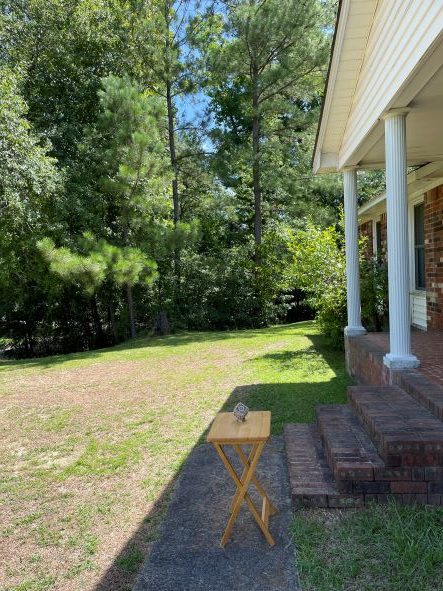
To take photos outside, your piece should be in shadow but not under anything (not directly under trees or an overhang, for example.) The sun should not be right overhead and you do not want to have dappled light. Instead, look for a spot that is in shadow and that has even light, but not harsh or bright light. Look for an area where the light meets the shadow, put your work in the shadow, and stand in the sun facing your subject.
My Favorite Trick
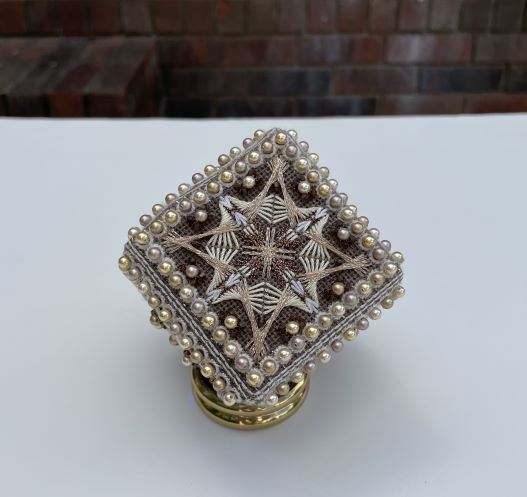
Of all of tips I learned in this lecture, this one is my favorite. Use 3 pieces of white foam core or matboard (with a matte, not glossy, surface) to create a small photography booth: Lay one piece flat on the table and stand the other two up on that bottom piece so they meet at an angle at the back. (See photo.) This “booth” will be a good backdrop for your photos because it will reflect the right amount of light on your work. You can also achieve a similar effect by using a white sheet or towel. You might need to use an external light source, as well, if your piece seems to be in the shadows.
If the picture is too bright using the white boards, you can try using black foam core instead.
To use your foam core booth, simply lay your needlework on the bottom piece of foam core, in front of the two upright pieces, and take your photo. You may have to adjust the upright pieces a few times to get a good angle, but you should quickly be able to see an immediate improvement in your photos.
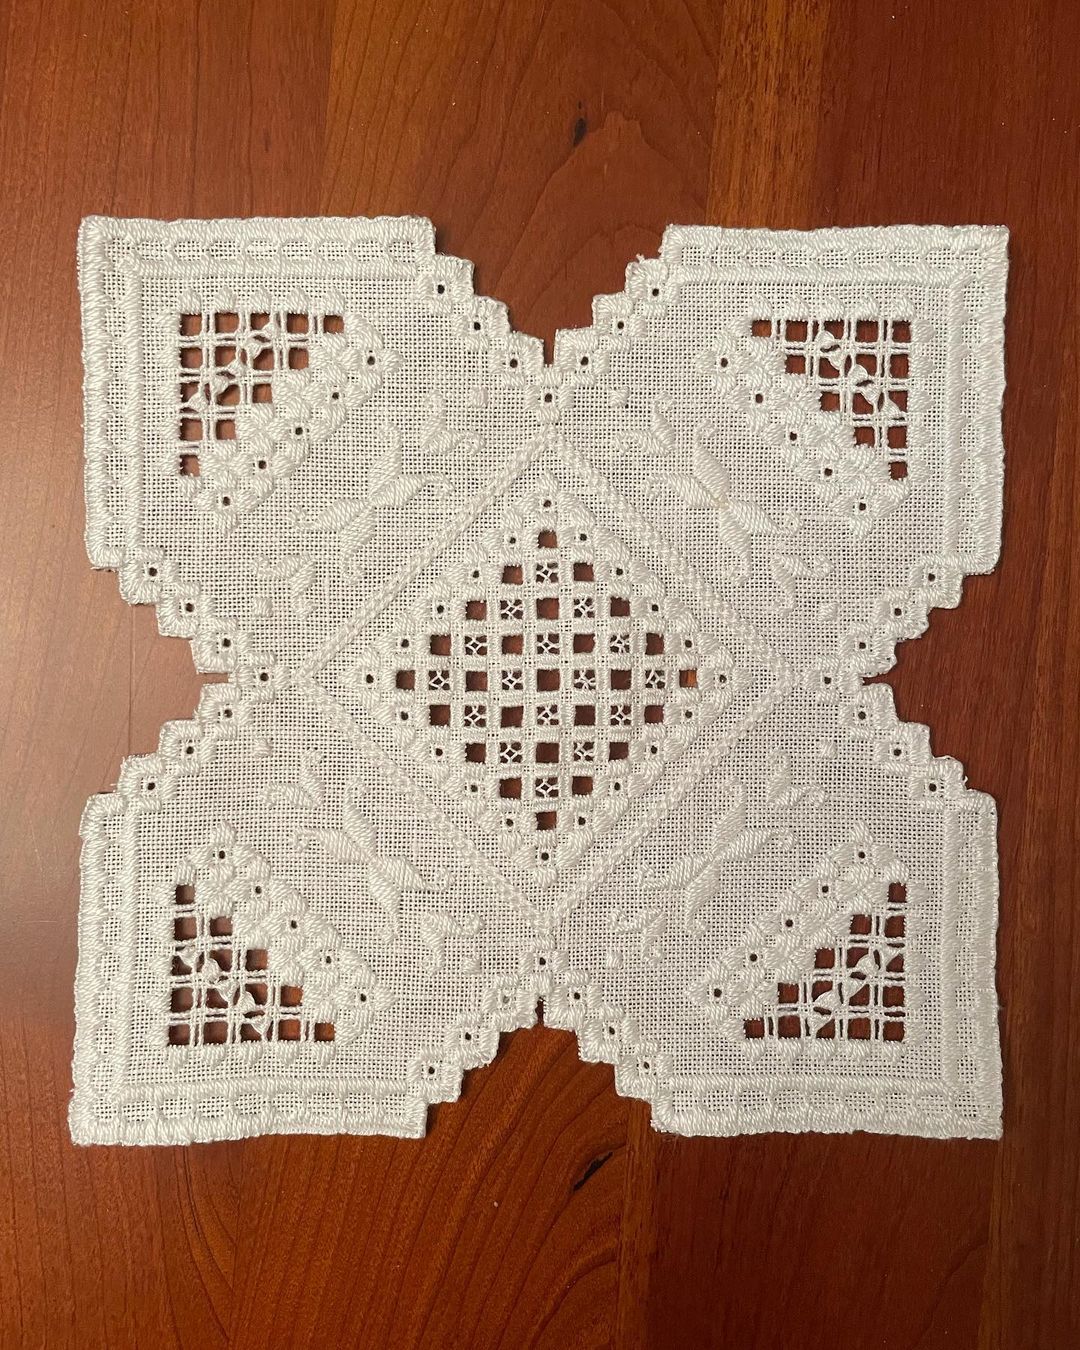
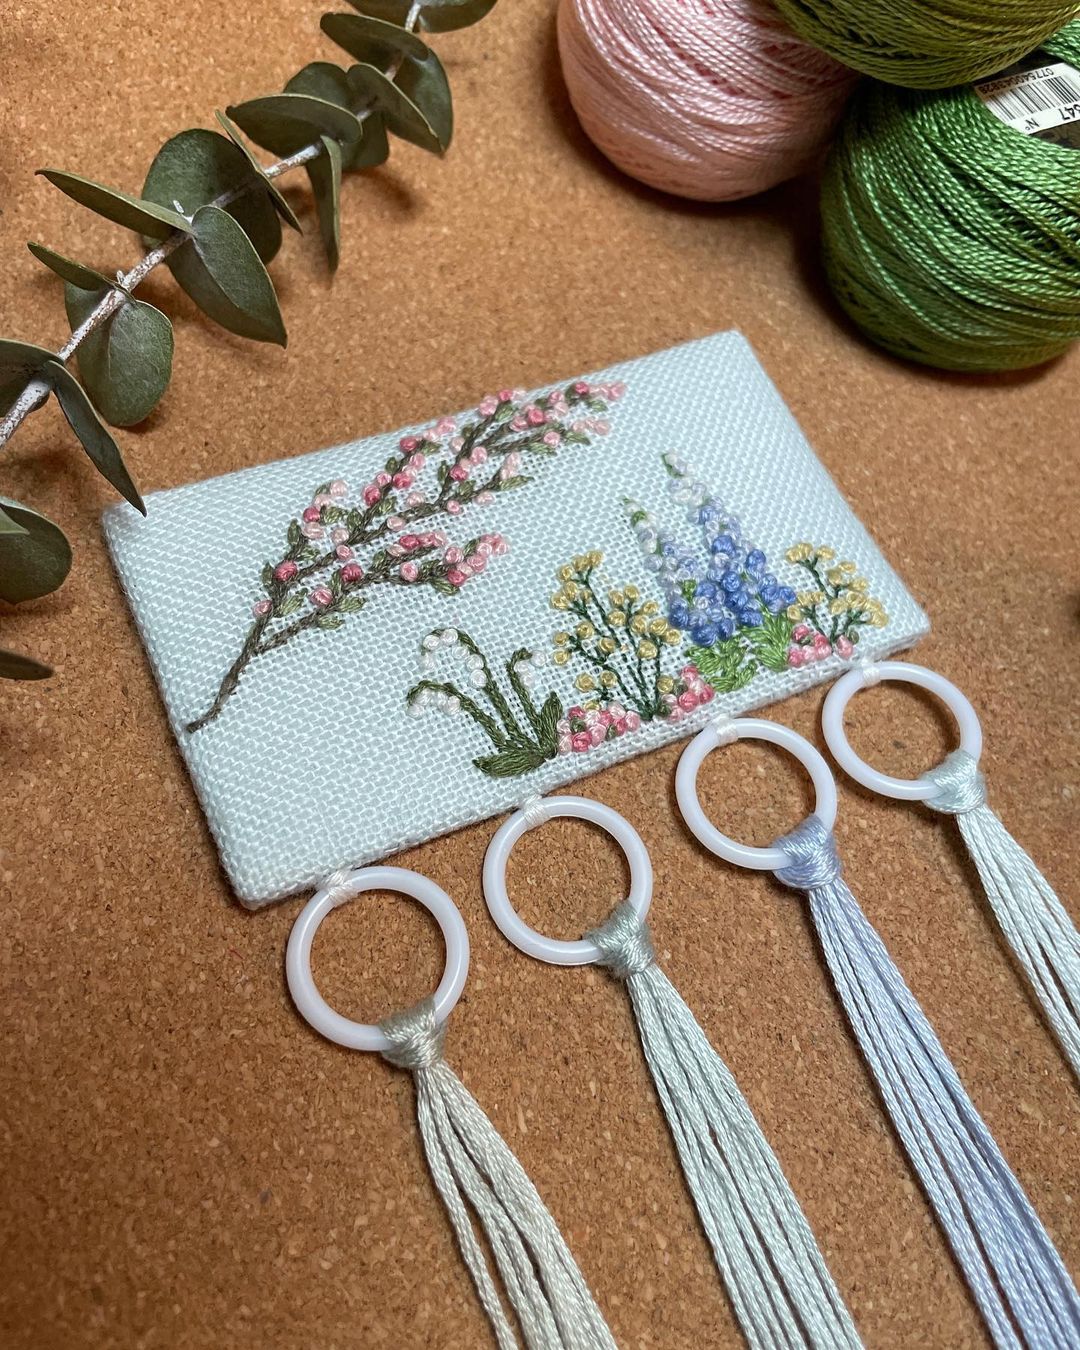
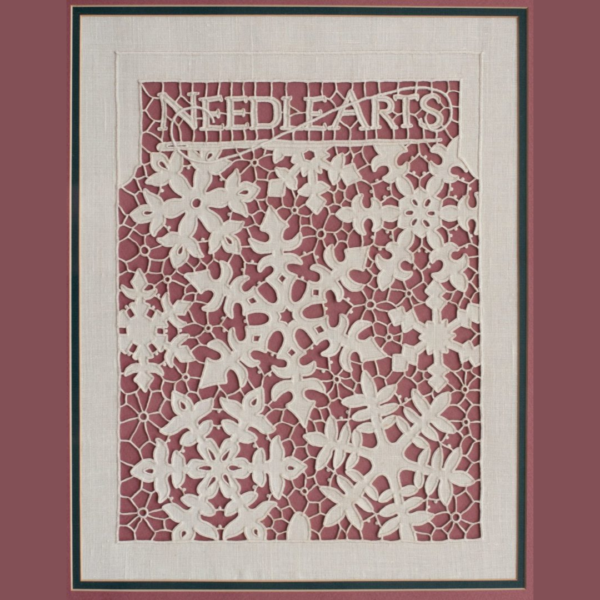
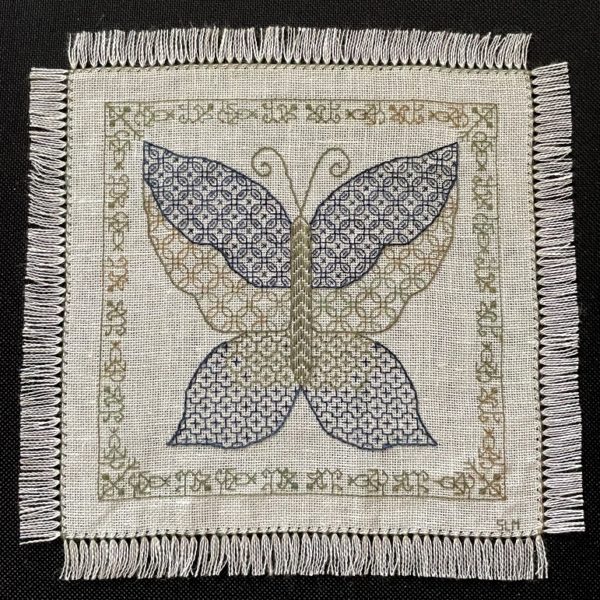
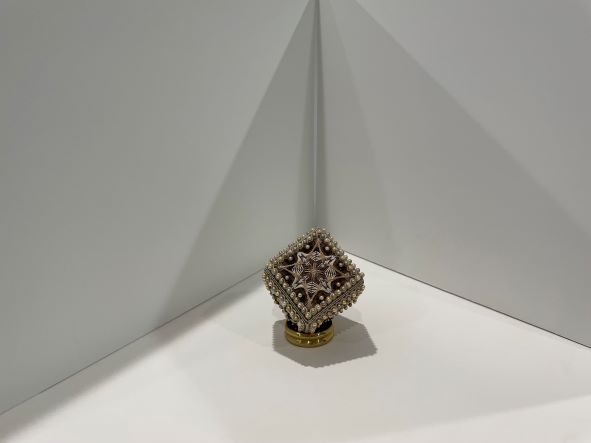
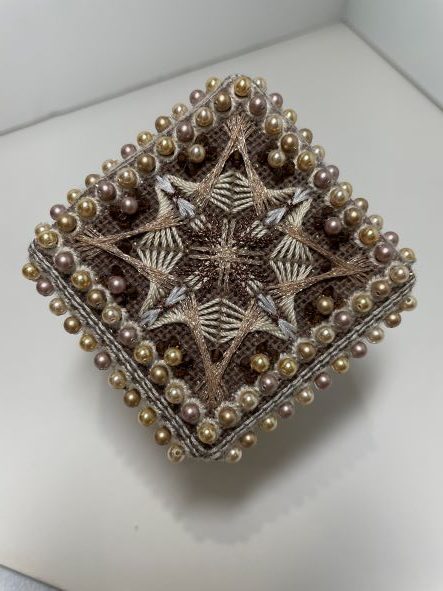
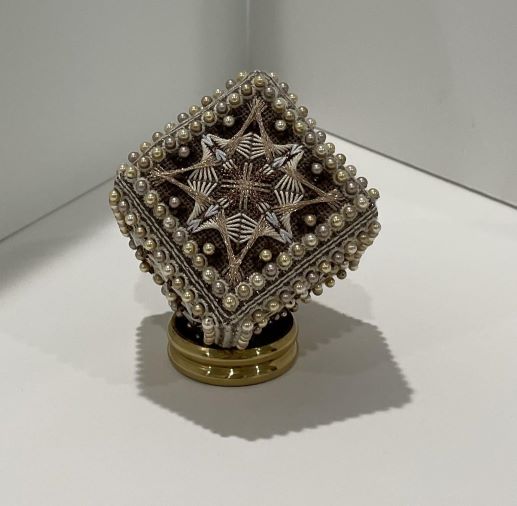
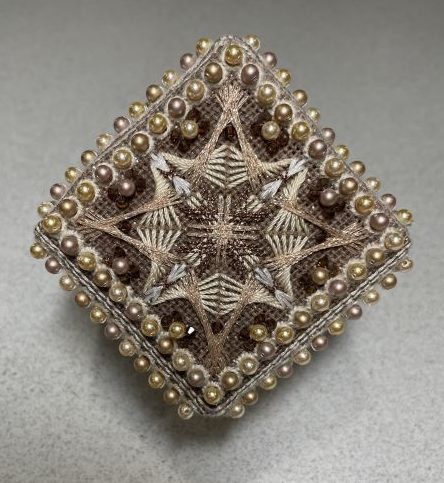
The following embroidery photos demonstrate the effect of using some of these tips.
Windows
If you have to take photos near a window which is admitting too much glare, try covering the window with a frosted shower curtain to diffuse the light.
Angles
Don’t distort your piece by taking photos at an angle. Instead, try to mount the piece on a wall or lay it flat on a table to get a better picture.
If you need help finding the center of your piece to find a good focal point, lay a piece thread across it diagonally in each direction. Aim your camera at the spot where they cross.
Cell Phones
If you want to take good photos with your cell phone, try setting your camera on a 3-second delay on the “photo” setting. Then aim your camera, hold your breath, and do not move your hands or the camera until the shutter clicks.
With these few simple steps, you can take photos that show your needlework in its best light!
Written by Carole Overton from our Aiken Stitchin’ Belles Chapter in Aiken, SC.