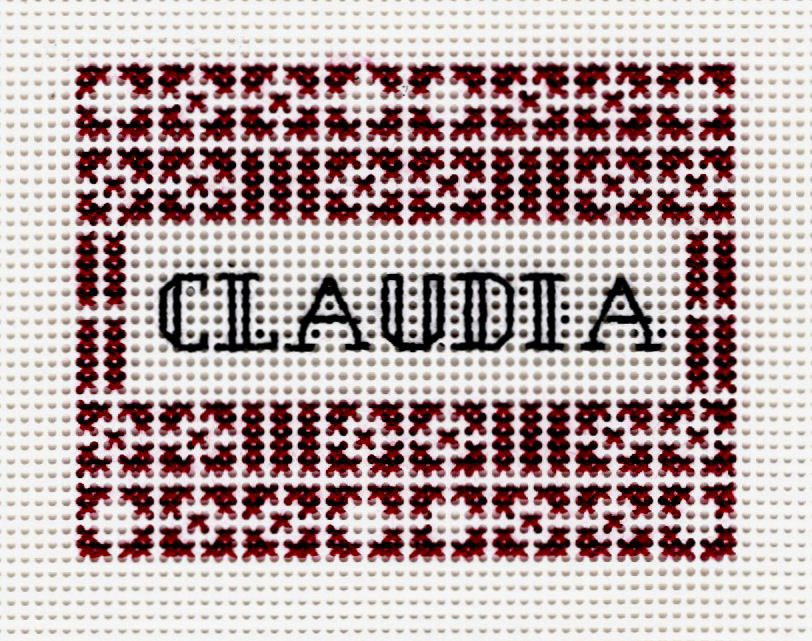
Claudia Dutcher Kistler has loved, collected, and raised awareness for perforated paper needlework and lacework for more than 40 years. Perforated paper needlework was very popular in the late 1800s and early 1900s, but it has since fallen out of favor among embroiderers. Claudia is one of the few needleworkers still invested in this fragile but beautiful technique. She collects antique patterns and stitched samples and designs her own lacework and perforated paper projects, like this lacework nametag. Learn more about Claudia and the history of perforated paper needlework and lacework on her websites, Dutch Treat Designs and PerforatedPaper.Net where you can also find charts and patterns!
Embroidery Level
Beginner
Materials and Instruments
- Alphabet chart – download here!
- Main frame chart – download here!
- 14-hole white perforated paper or Perforated PVC (minimum size needed is 4.5” wide x 3.5” high) (A limited quantity of perforated paper is available at Dutch Treat Designs)
- 4” x 3” horizontal name badge holder
- Embroidery needle
For the cut away version:
- Small scissors with sharp small blades
- Embroidery floss for stitching your name
For the stitched version:
- One or two colors of embroidery floss
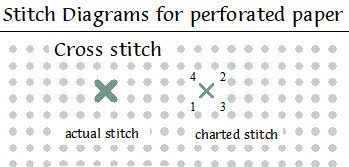
For the stitched version, you will cross stitch with two strands of thread using the color of your choice, and back stitch your name using two strands of the same color of floss or a different color.
Stitches + Techniques You Will Use
Cross stitch
Back stitch
Loop method (to start stitching)
Notes
The Chart(s)
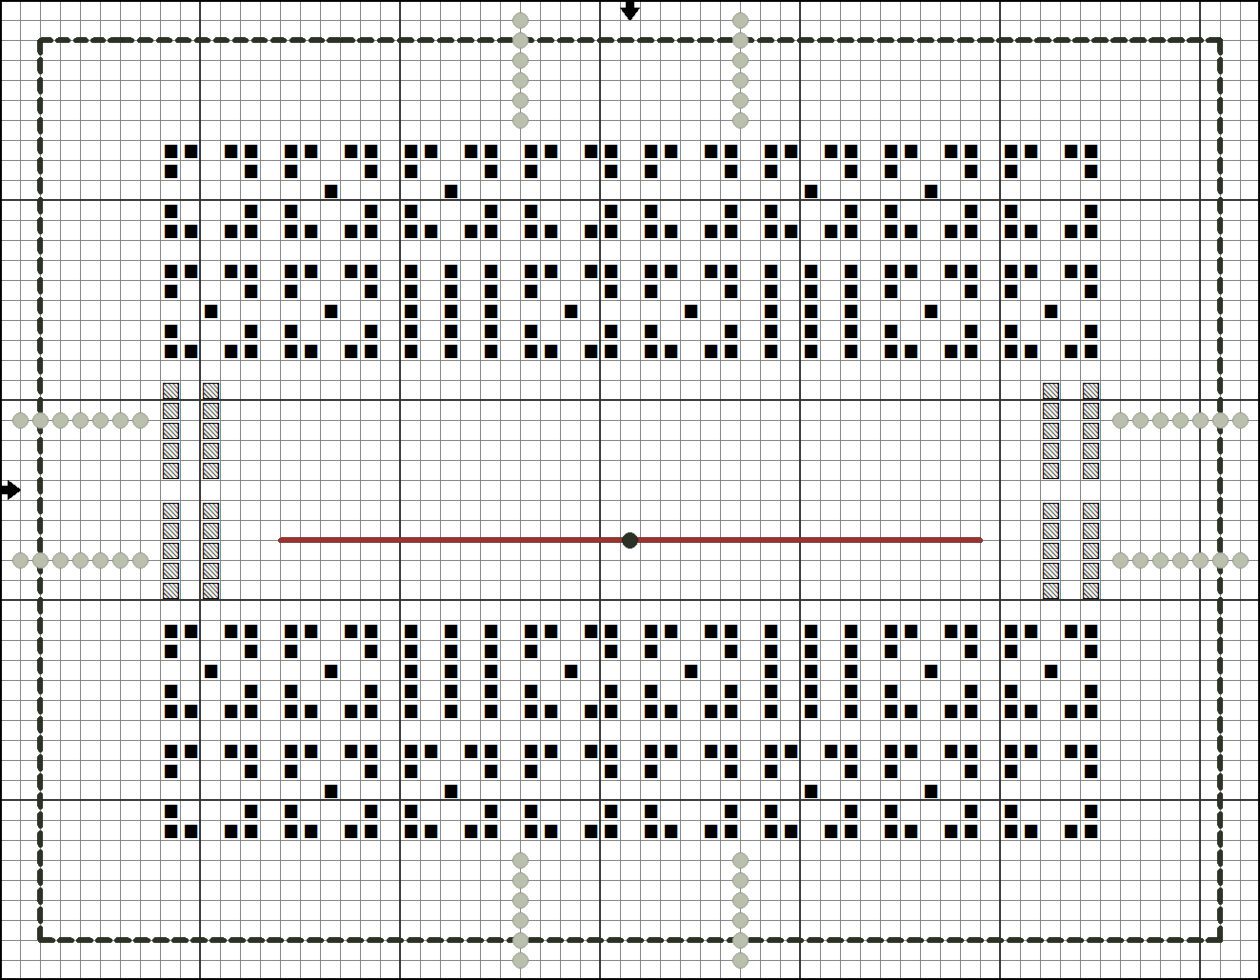
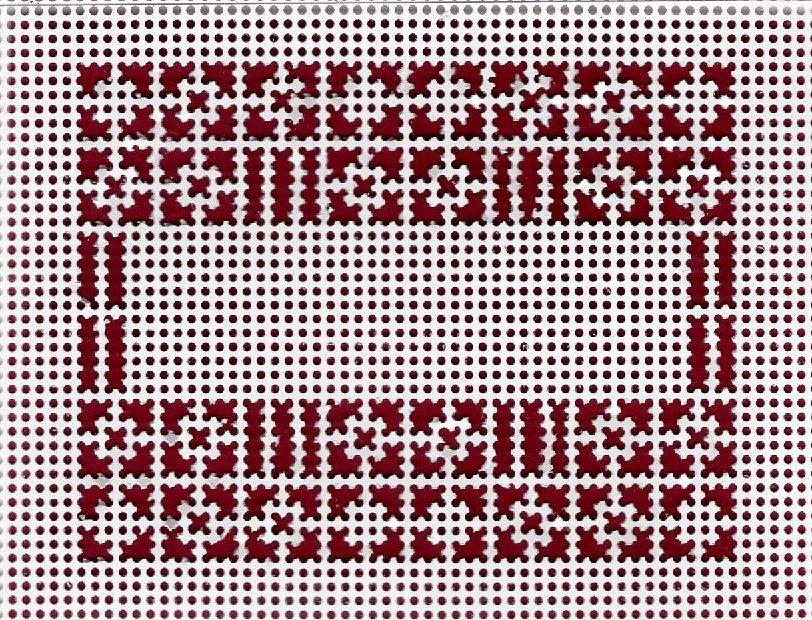
The main chart (above) shows the design centered on a 4.5” wide x 3.5” high piece of paper or PVC.
The Symbols on the design chart:
- Solid Black square – shows where the design is Cross stitched or cut away.
- Grey striped square – stitches that can be optional if the name is too long.
The grey striped symbols on each end will be stitched or cut out depending on how long your name is. If your name is short, you can fill in that area on either side with Lacework patterns. - Grey dots – represent the holes in the paper from the edge of the 4.5” x 3.5” piece.
- Solid Red line – shows where to place your name. The black dot represents the middle of the line so you can center your name.
Instructions
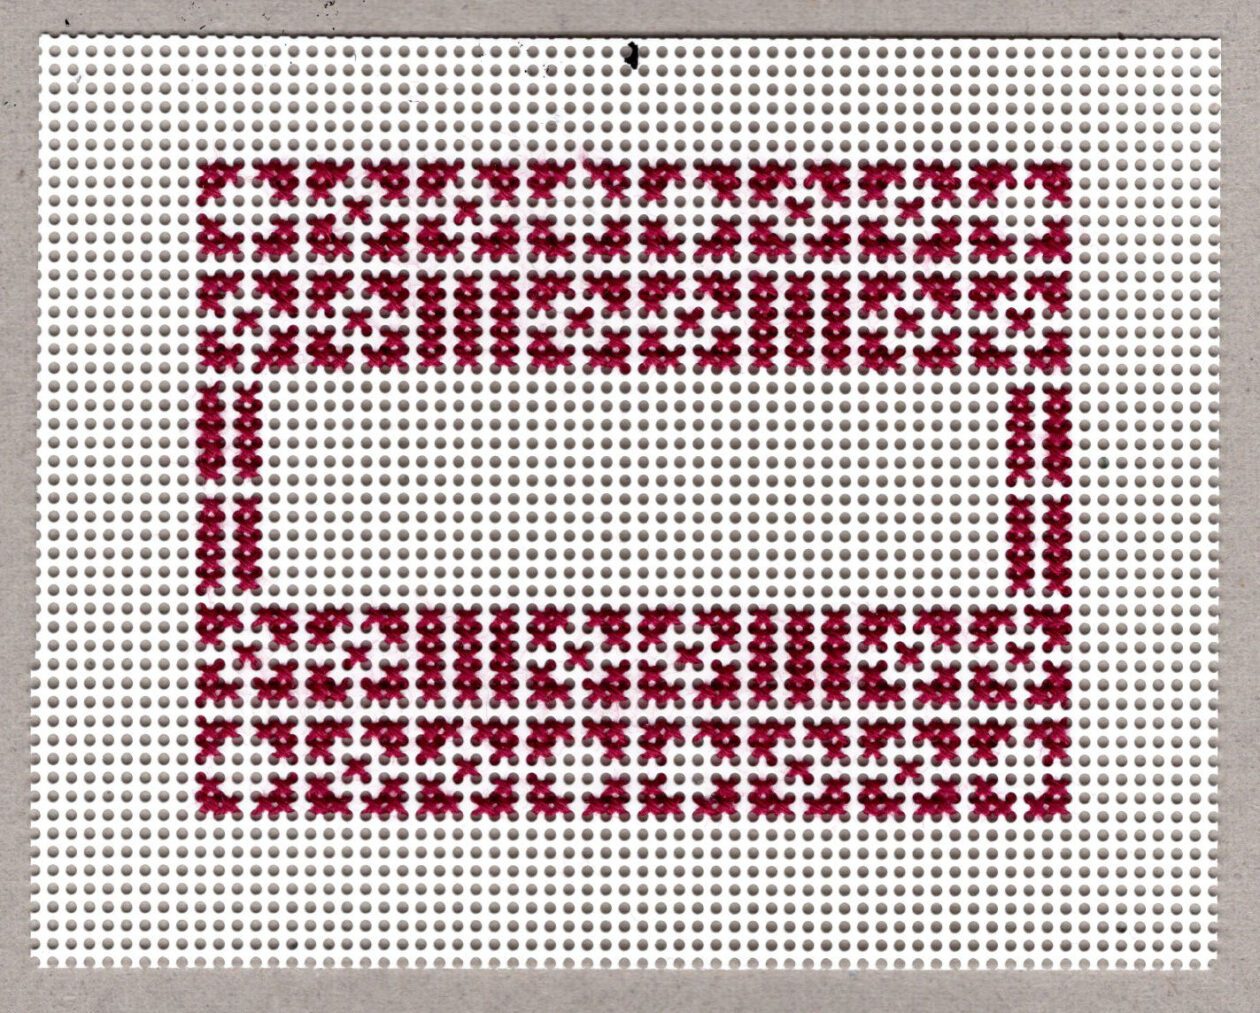
To stitch the design
Use the loop method to start your thread. Double the thread to make two strands and then catch the loop on the back side of the paper when you start stitching.
Work from the top center of your material and count the holes down to where the Lacework pattern in the upper center section begins. Complete each cross stitch as you go. Run any excess thread under the stitched sections on the back when finishing off a length of two strands of thread.
To cut away the design
Work from the top center of your material and count the holes down to where the Lacework pattern in the upper center section begins. Cut away the pattern carefully. Work slowly and count. The cut away holes look different than the holes filled with Full Cross stitch. You should practice first before cutting the name tag piece.
Hold your scissors so they are perpendicular to your paper or PVC. Aim the point of the blade of the scissors straight down at the paper. If you try to cut with your scissors horizontal across the paper or PVC, you might cut more than one hole at a time. Paper is easier to cut. PVC is sturdier after it is cut.
Working your name
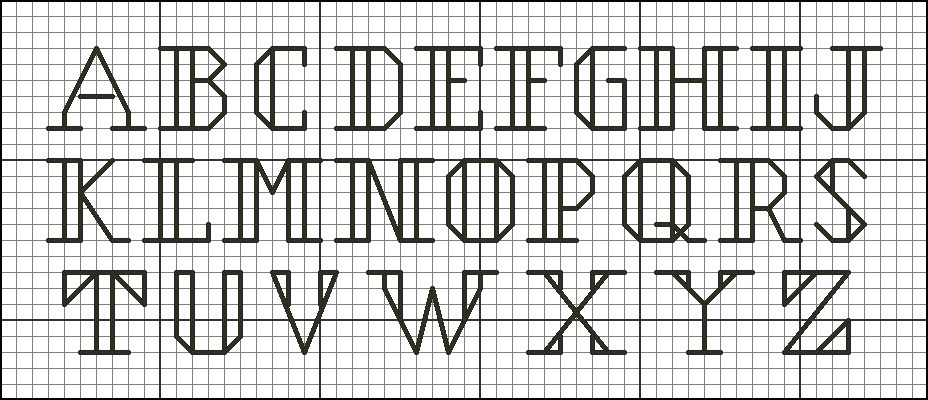
A Back Stitch alphabet chart is included for your name. Chart your name before stitching and work from the middle of your name starting at the middle of the red line.
Center your name by using the black dot on the red line. Back stitch your name after the entire Lacework pattern is completed. Use 2 strands of embroidery floss and the loop method to start your stitches.
Fitting the completed nametag in the badge holder
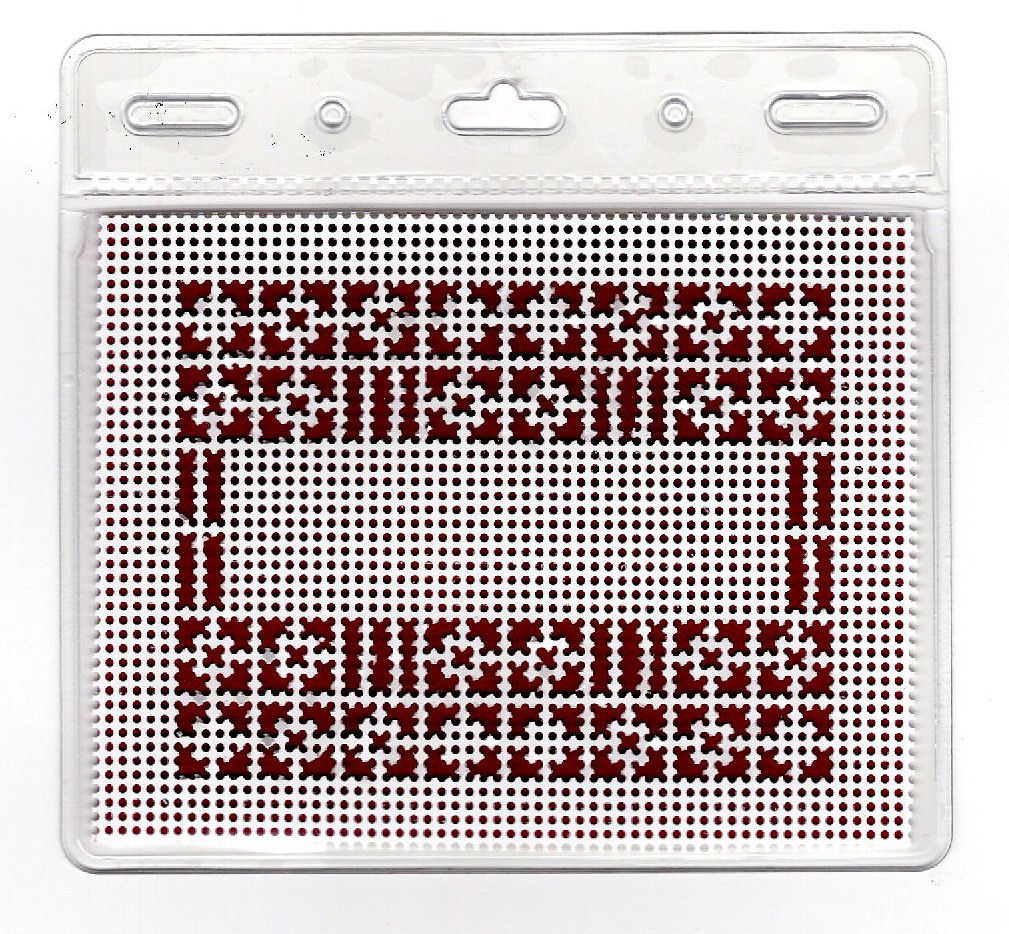
After the Lacework design is finished, cut away the extra material around the outside edge to fit the paper or PVC inside the name badge holder. The broken black lines on the chart show where to cut away the extra material. Be sure to measure the exact size of your badge holder to make sure your piece fits before you cut.
For the cut away version – put a piece of colored paper or cardboard behind the paper or PVC. The holes in the Lacework pattern will show the color of the backing paper. A darker color is better for more contrast.