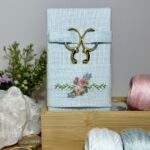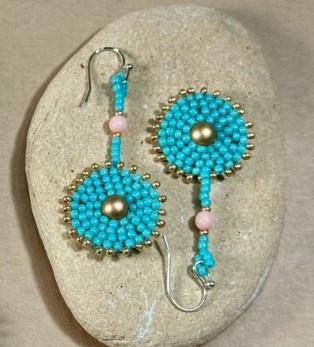
EGA is delighted to present a new, free project tutorial from Pat Olski! Pat continues to amaze the EGA community and the craft community at large with her artistic endeavors. Her crafting abilities span multiple disciplines, from knit and crochet designs to surface, counted, and silk and silk ribbon embroidery, Dorset buttons, embroidered knits, and more.
Pat is the author of two Dorset Button books (Crafting Thread Jewelry and Crafting Thread Shawl Pins), with a book of embroidered needlework accessories, and aanother Dorset button book coming soon.
We’re always excited to see what Pat is making—you can find more of her work at YarnWhirled.com, on social media @yarnwhirled on IG and Threads and @PatOlski on Facebook, and in EGA’s interview.
A note from Pat Olski
Hello!
It is wonderful to meet stitchers who are interested in heritage crafts such as Dorset button making. I am sure you will find this to be a very useful addition to your needlework repertoire—it is a fun craft, a stash buster craft, and craft that has been around for centuries. The techniques below are based on the same techniques that have been used by Dorset button makers for over four hundred years.
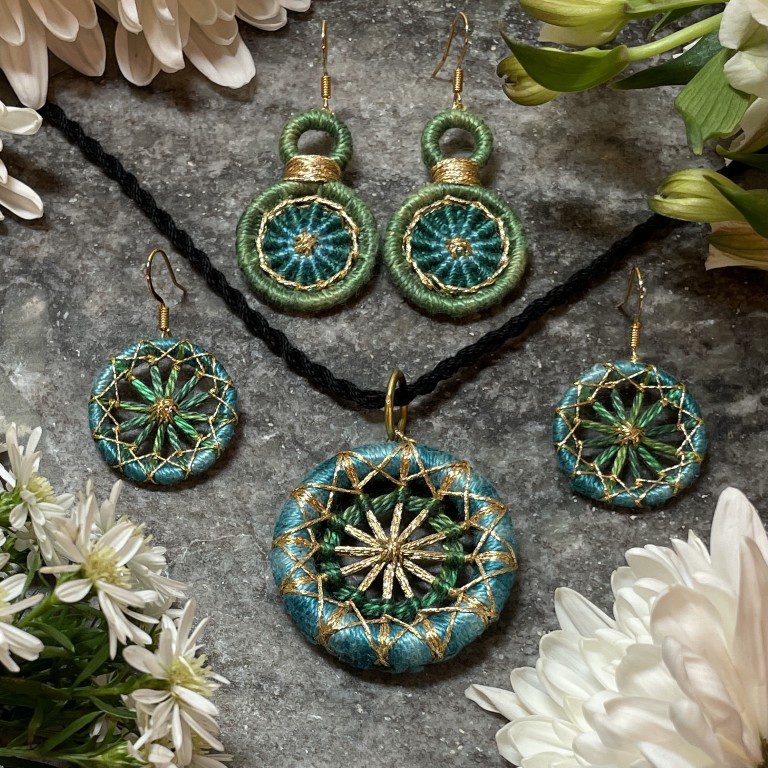
Traditional thread-wrapped Dorset buttons were a significant British industry from the 1600s to the mid 1800s. The original buttons were made from wool or linen thread wrapped over rams’ horn rings, and eventually they were made by wrapping linen thread over specially devised wire rings. In its heyday, the button making industry—or buttony as it was called, enriched the quality of life for the men, women, and children pieceworkers from the impoverished farming region of Dorset County in southwest England. The timeless designs of those early buttons translate beautifully to contemporary fiber craft.
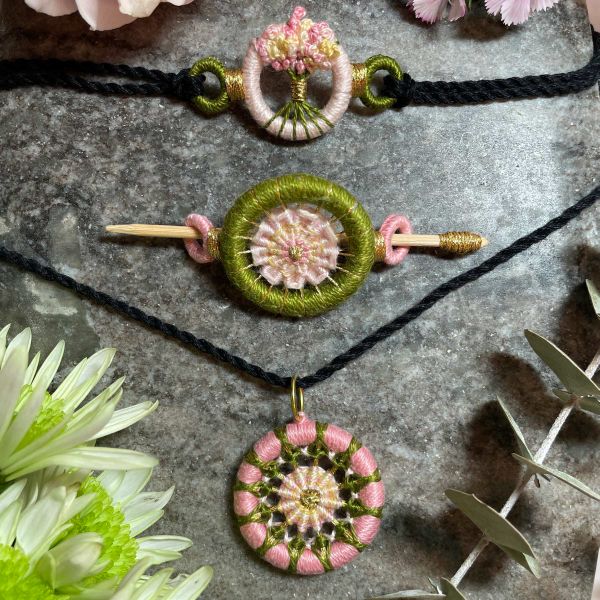
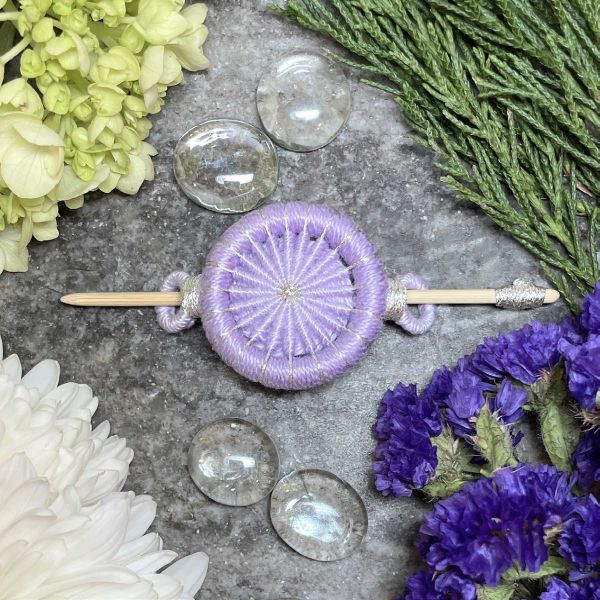
And, of course, the buttons themselves are simply stunning on their own, and can be used as buttons, jewelry, key and scissor fobs, ornaments, hair clips—I think you will find them to be wonderful and versatile adornments for anything you create.
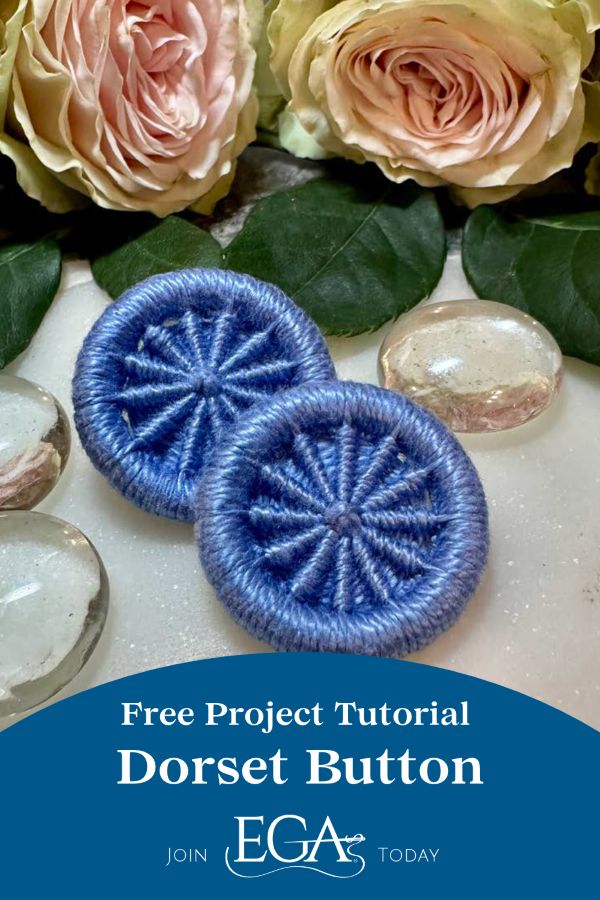
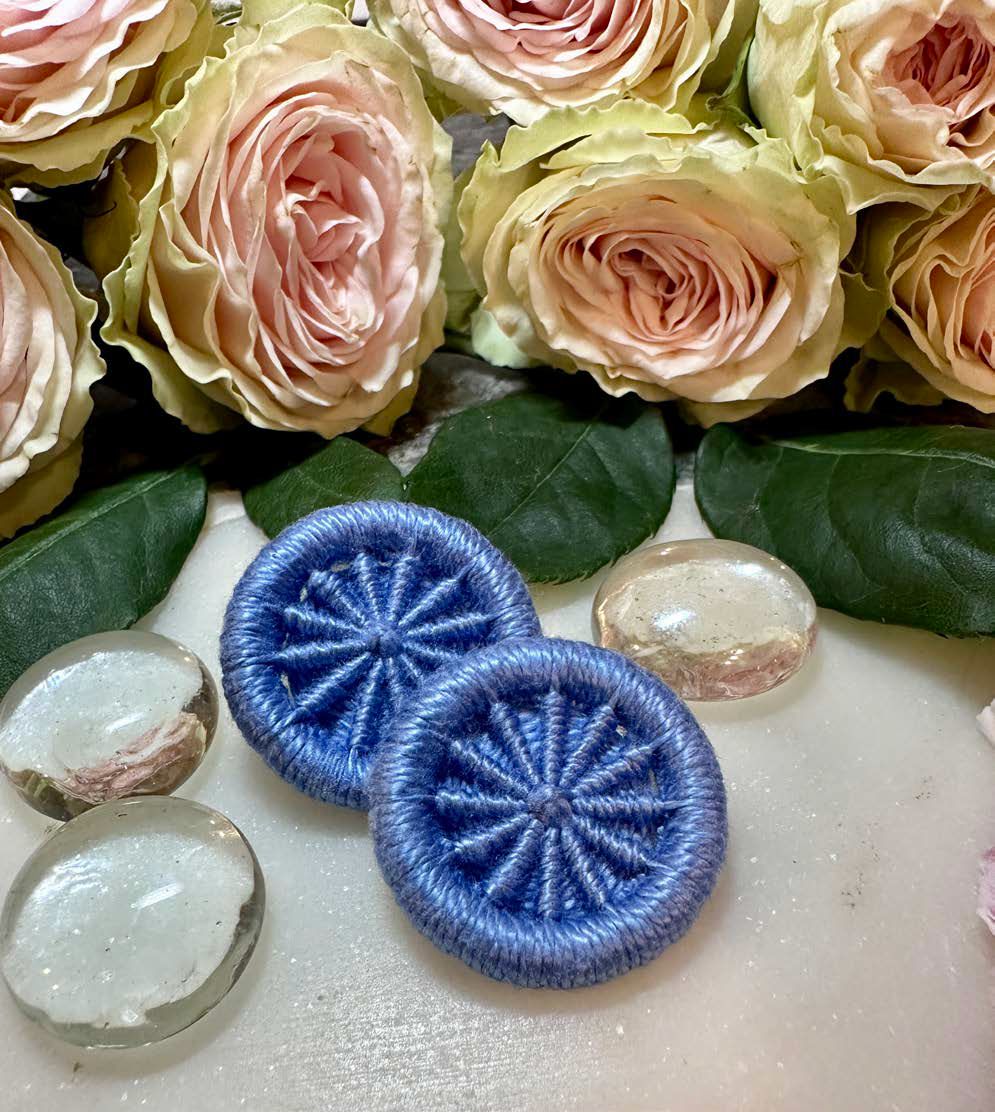
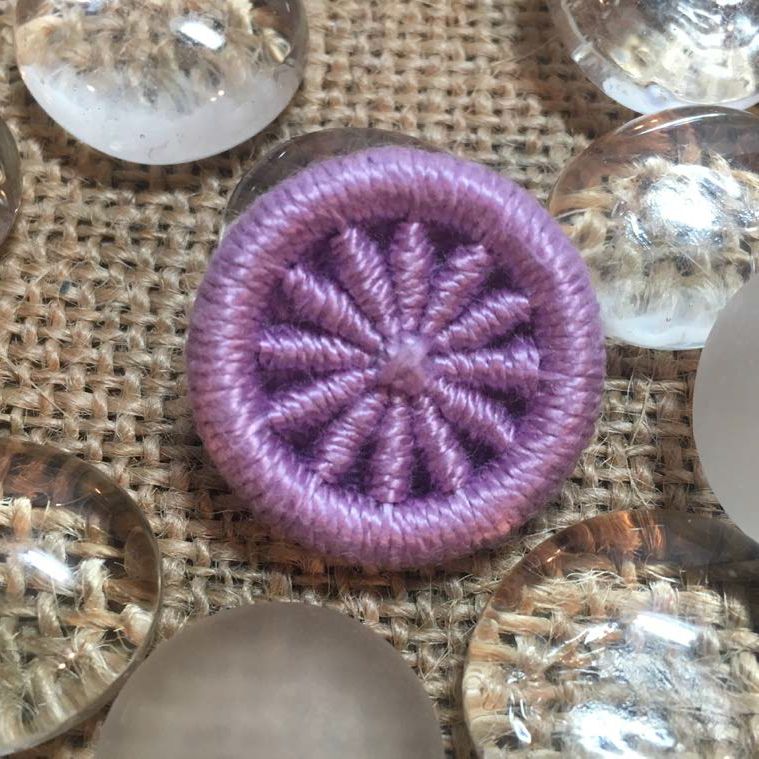
The instructions below are for a traditional Dorset Cartwheel button.
Happy stitching,
Pat
Pat Olski, YarnWhirled.com
All images and all rights reserved Pat Olski 2026
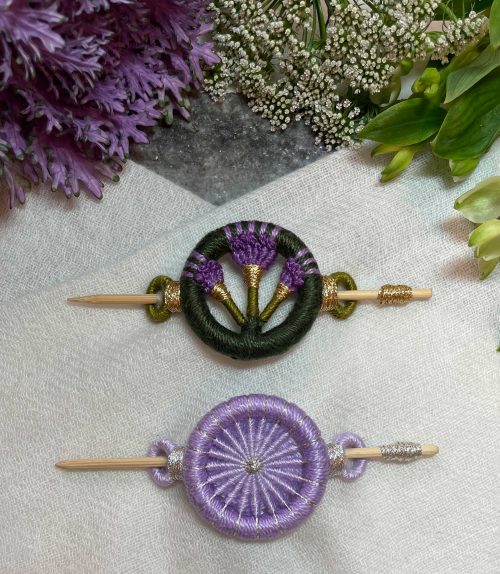
Interested in making a Dorset Button with Pat Olski? Register for her online studio class, Shawl Pin, Purse Fob, or Pendant! Stitchers will work on the Highland Thistle Dorset Button seen below.
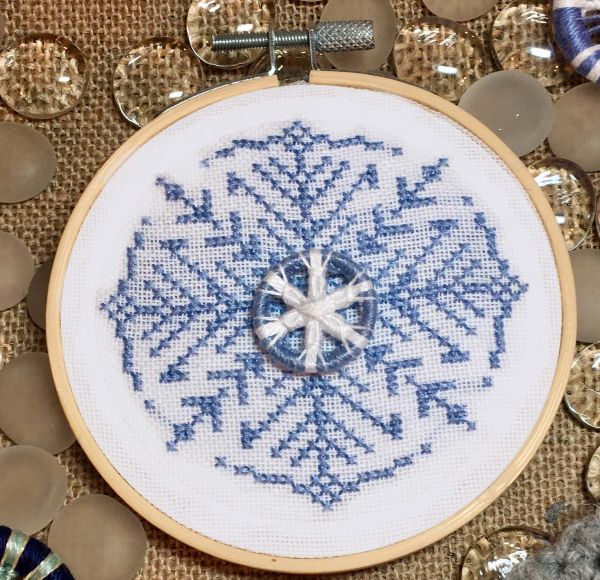
Dorset Cartwheel Button
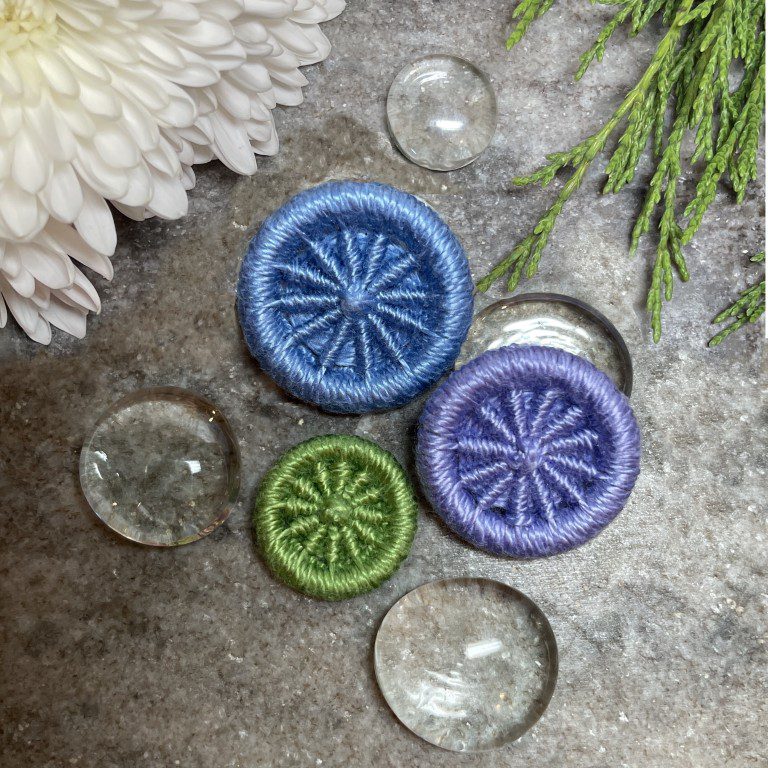
Embroidery Level
Beginner
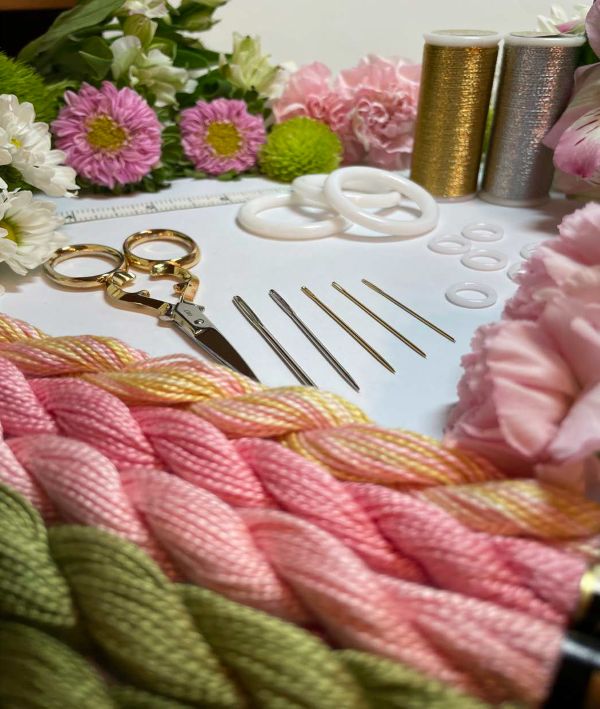
Materials and Instruments
- 1 skein DMC Pearl Cotton #5. You may use any thread (that is sturdy enough) to make a button, but for a beginner, Pearl Cotton #5 works beautifully, both for strength and coverage, on the ring sizes listed below.
- 1 plastic or non-rusting closed metal ring (the most common sizes range from ½–1½ inches, and the 1 inch and 1⅛ are the easiest to obtain). I would recommend starting with a ring that is at least 1 inch in diameter.
- Tapestry needle size 16 and a Chenille needle size 18—the tapestry needle is for making the button, and the chenille needle is for securing the threads behind the button.
- Small sharp scissors
- Tape measure or ruler
- Light and/or magnification (optional)
Continue reading to see the full instructions with pictures.
Stitches + Techniques You Will Use
- Blanket stitch
- Straight Stitch
- Spiderwheel Stitch
Notes
PREPARATION:
Thread the tapestry needle with a length of at least 2–3 yards of Pearl Cotton. If you craft your first button with one continuous length of thread, you won’t have to begin and end new threads. If you find the very long thread tricky to manage, or if you wish to change colors, you can try to use shorter pieces of thread for some or all of the steps. You can secure the thread to the back of the button either behind the ring, or behind the center of the in-progress button by making a small knot, or some back stitches.
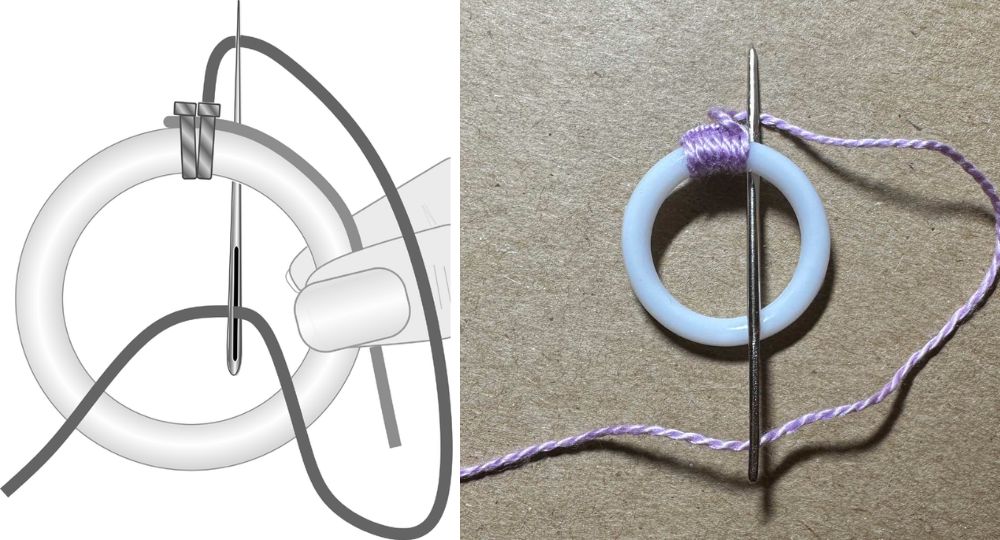
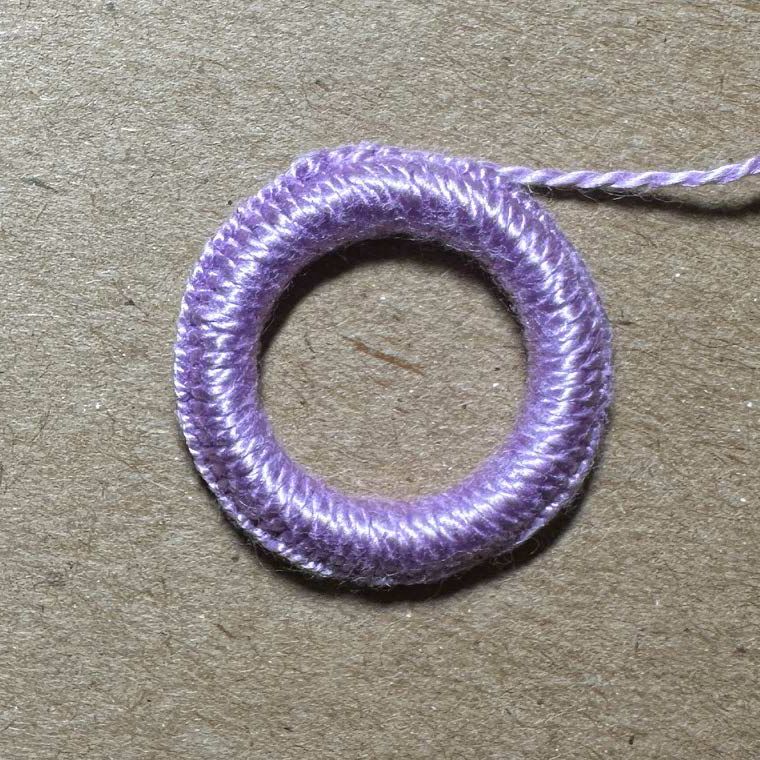
Step 1—CASTING:
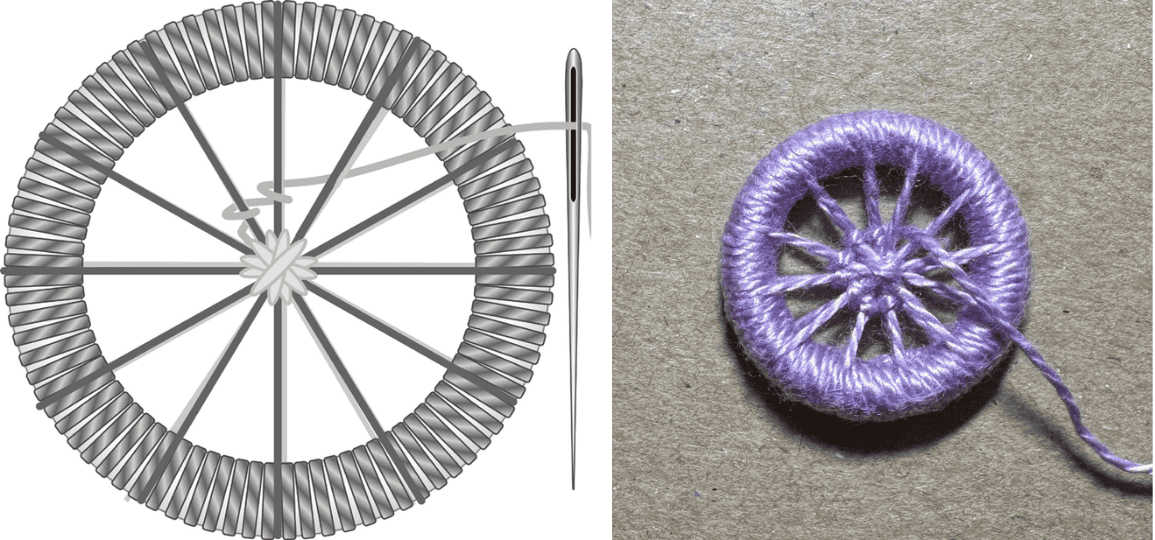
Blanket stitches cover the ring. In the illustration below, the blanket stitches cover the thread end so that it does not need to be woven into the back of the work later.
Step 2—SLICKING:
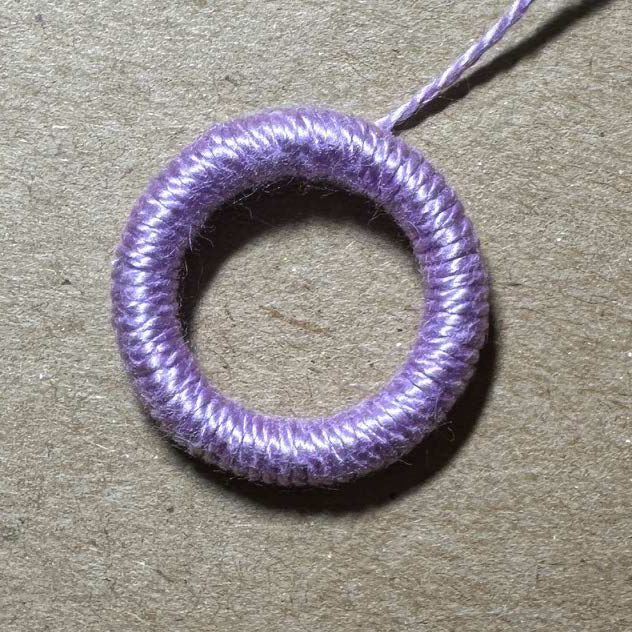
Use the side of your needle, or your finger, to gently nudge the cast knots on the edge of the ring to the back of the covered ring. You may have to repeat this throughout the button-making process.
TIP: Learning how to control the long lengths of thread needed to make a button can be tricky. If your thread begins to twist, stand up and drop the threaded needle from your hand, and allow the needle to dangle and spin until the thread untwists completely.
Step 3A—LAYING:
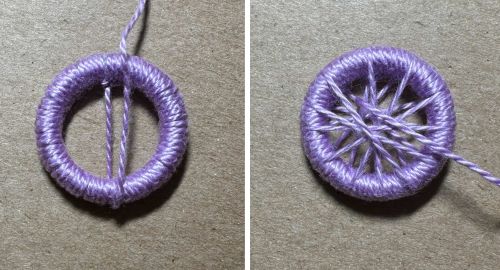
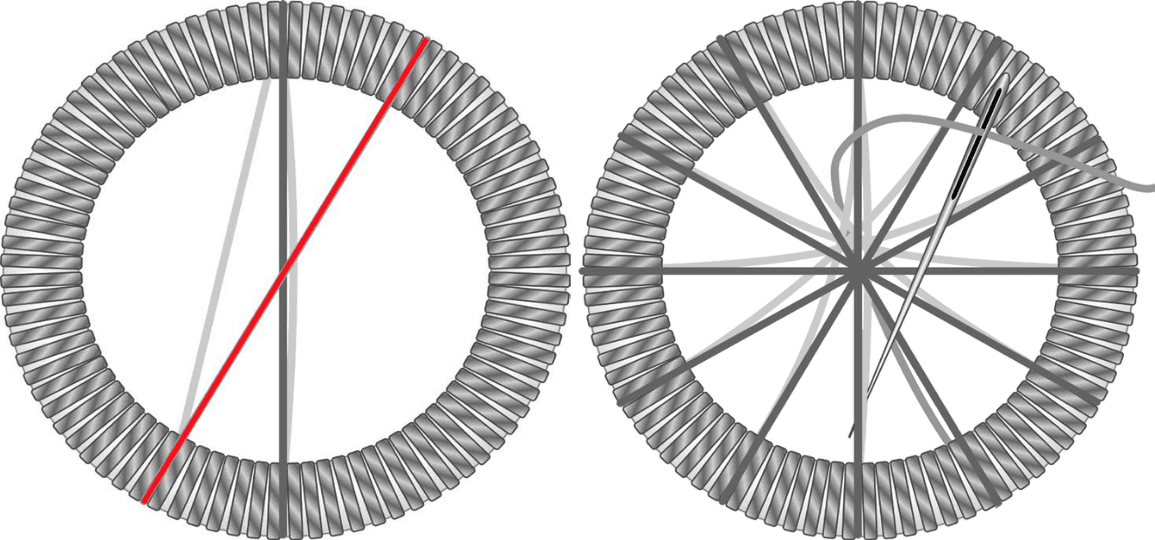
Wind radial spokes around the ring at equidistant intervals. Always commence your first wrap underneath the ring working from 12 to 6 o’clock. In the diagram below, the light gray threads are beneath the button and the dark gray threads are on top. The red thread is the thread in progress.
It is easiest for a beginner to lay spokes following the placement of numbers on a clock. The top spoke threads will be in the “right” place—the bottom spoke threads are the traveling threads.
Once you have laid all of the spokes you need, bring the threaded needle to the front of your work as shown—this completes the laying steps, and helps align the bottom and top spokes in place. Each spoke should have a bottom and a top thread.
Step 3B—ANCHORING:
Make a series of straight stitches in the center of the button, catching both the top and bottom threads of each spoke to corral the top and bottom threads. Make sure the anchored section is centered in the middle of the button.
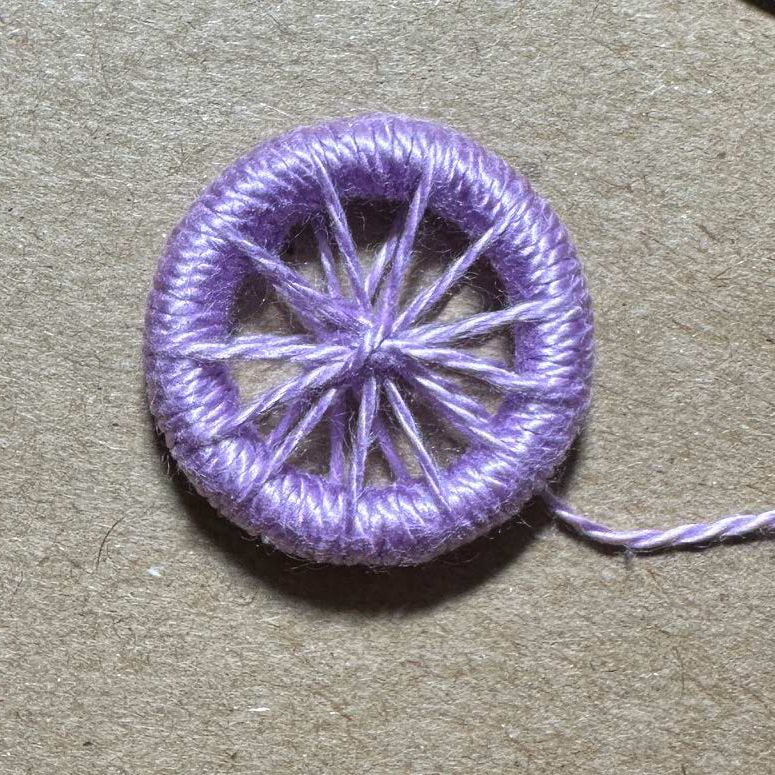
Step 4—ROUNDING:
Dorset Cartwheel rounding is the same stitch as Spiderwheel Embroidery or Soumak weaving. *Starting at the center of the button, bring the threaded needle from the back of the button up to the front, into the space to the right of the top and bottom threads of a spoke. Reinsert the needle down to the back, to the left of the same spoke—one spoke covered. Travel to the next spoke (to the right), traveling underneath the button and repeat from * until the entire button is filled in.