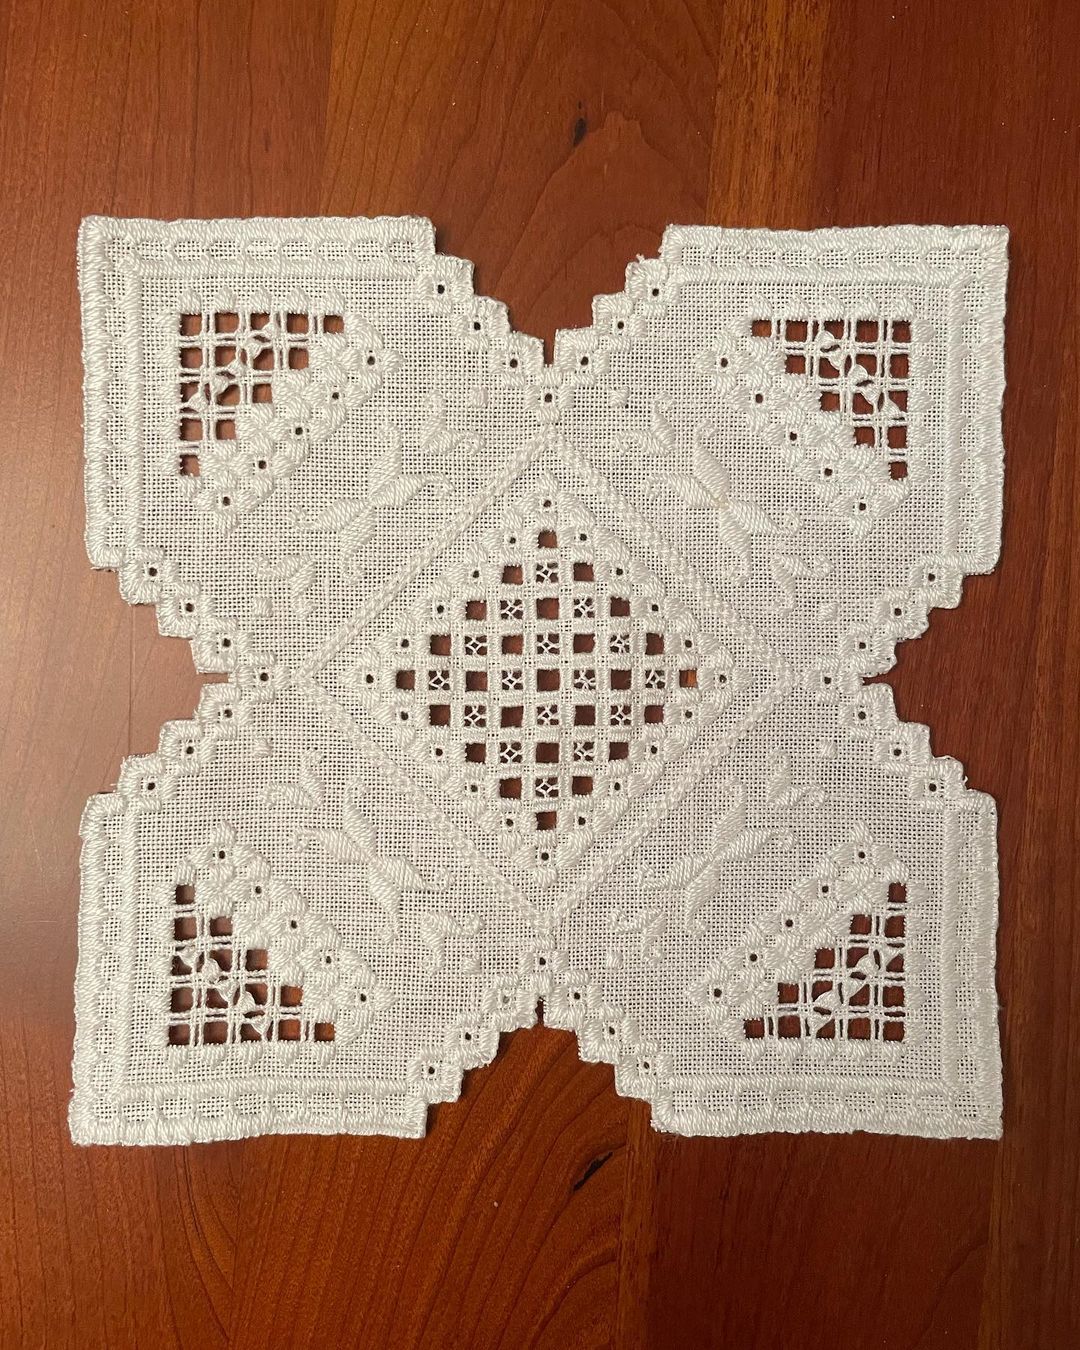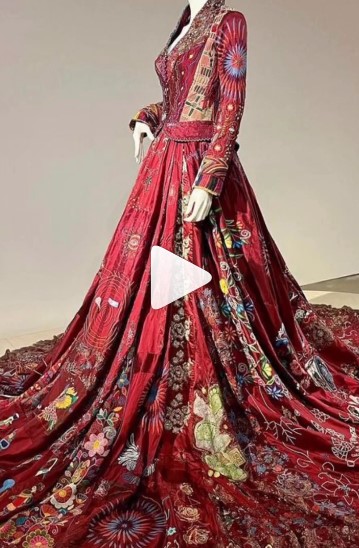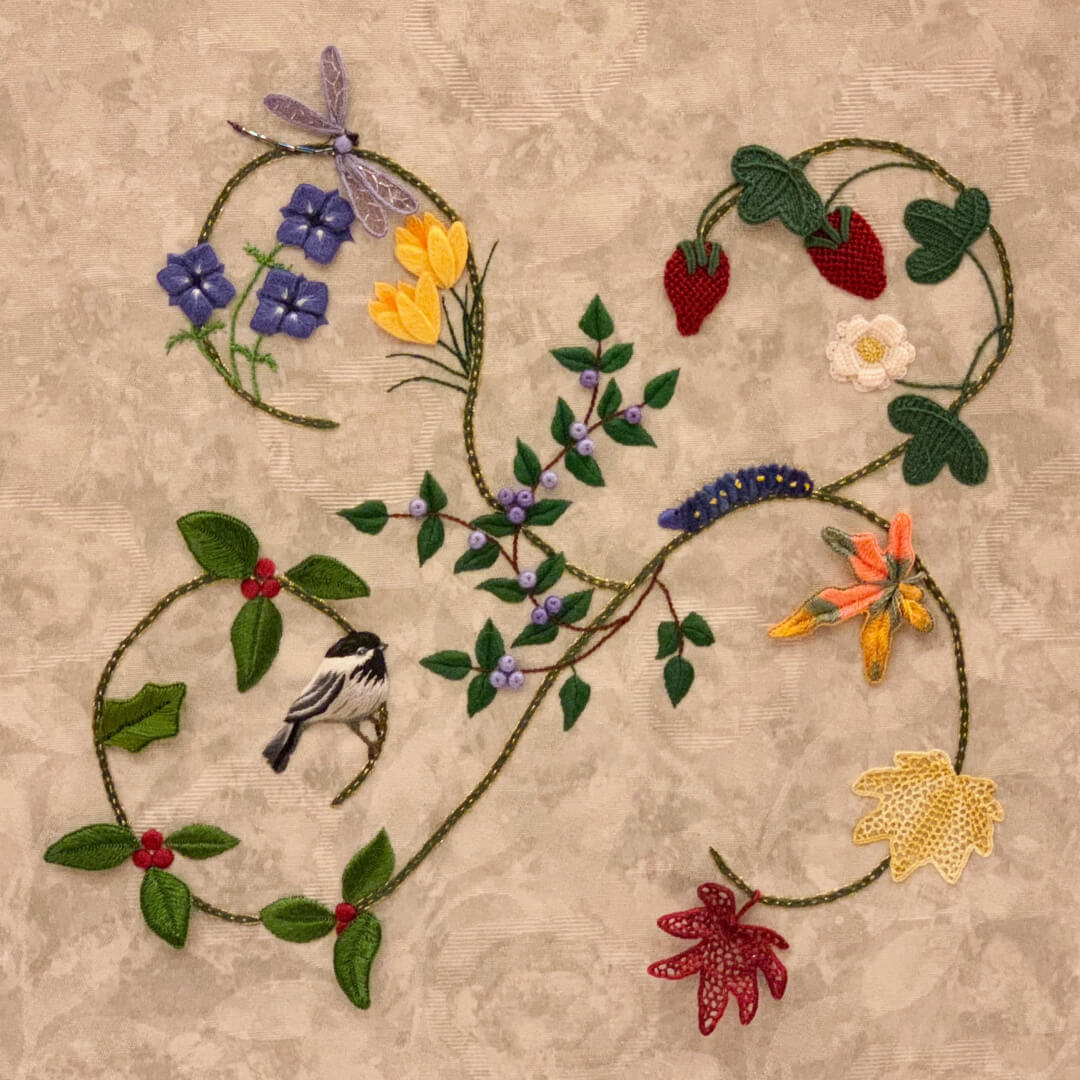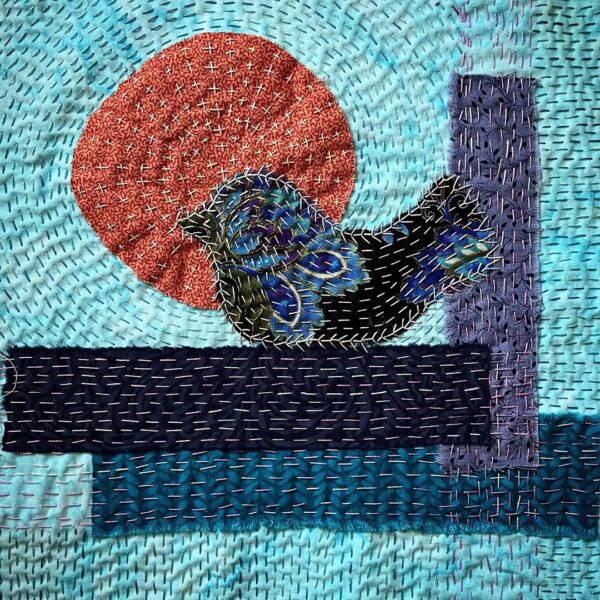
Over the course of a lifetime, embroiderers produce a lot of beautiful needlework pieces. After producing so much embroidery, it can become difficult discovering creative ways to display embroidery projects. Removing embroidery from the hoop is one step towards prolonging the life of your work; it helps prevent permanent marks in the fabric, and decreases the chances of distortions and damage from tension.
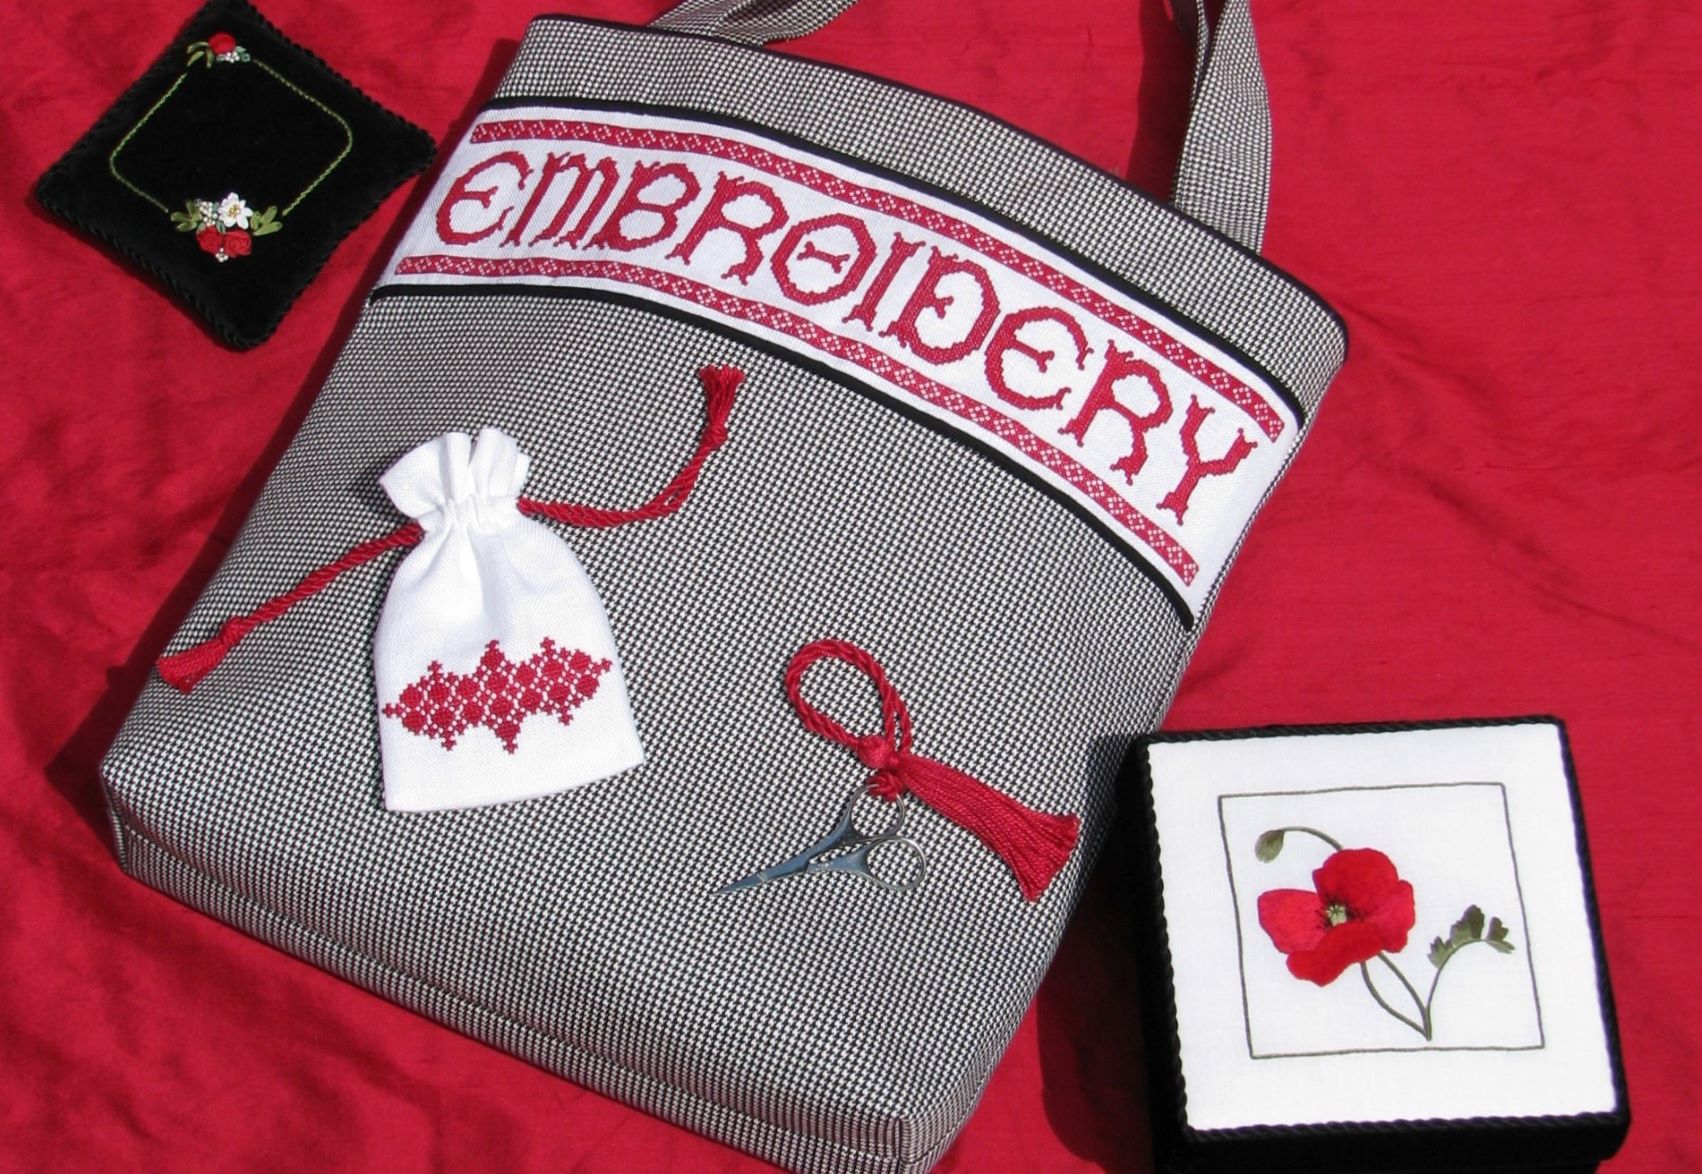
EGA routinely offers helpful finishing classes to guide your finished embroidery projects into functional pieces. Thank Goodness It’s Finished with Kim Sanders teaches a variety of skills to assemble embroidered pieces into a sachet, pin cushion, stitched box, and/or tote bag.
There are several functional ways to incorporate your embroidery projects into your home and daily life. It just requires some thinking outside the hoop! The following outlines ten of our favorite ways to display embroidery projects.
With all of these ideas, it’s important to strategize early about how you’d like to display or use your embroidery after it’s finished. Some projects will require working with larger pieces of fabric in order to later incorporate the embroidery into a finished object.
1. Framed Artwork
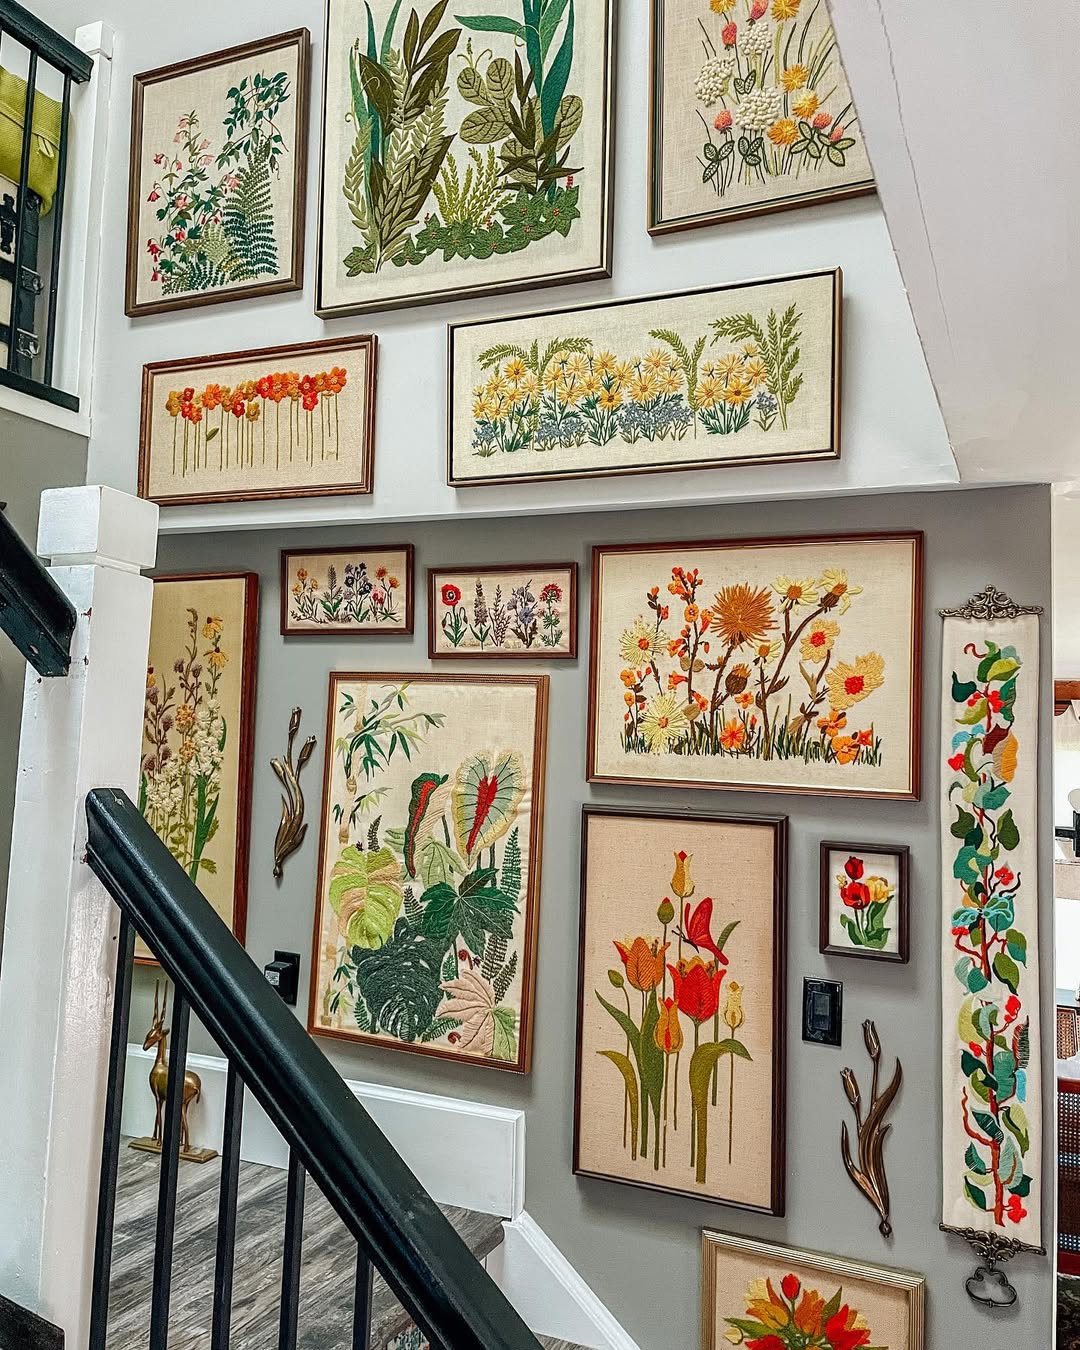
Our first idea is the one most embroiderers turn to—framed embroidered artwork. It’s incredibly easy to transform your embroidery into a piece of art by framing it. Choose a frame that complements your design—be it vintage, modern, or rustic. Ensure the fabric is stretched evenly over a backing board before securing it in the frame. This method not only protects your work but also allows it to blend seamlessly with other artworks in your home.
If you have a lot of embroidered artwork, consider creating a gallery wall in your home to feature all of your work, like the wall above from Kristi Snarsky. This is a great design idea for displaying a large collection that integrates seamlessly into your decór.
2. Ornamental Hoops
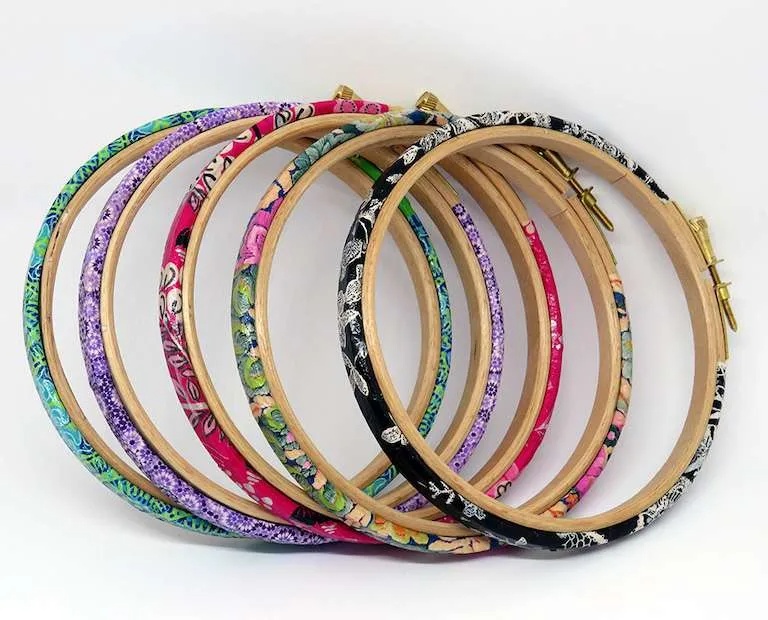
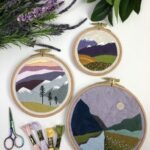
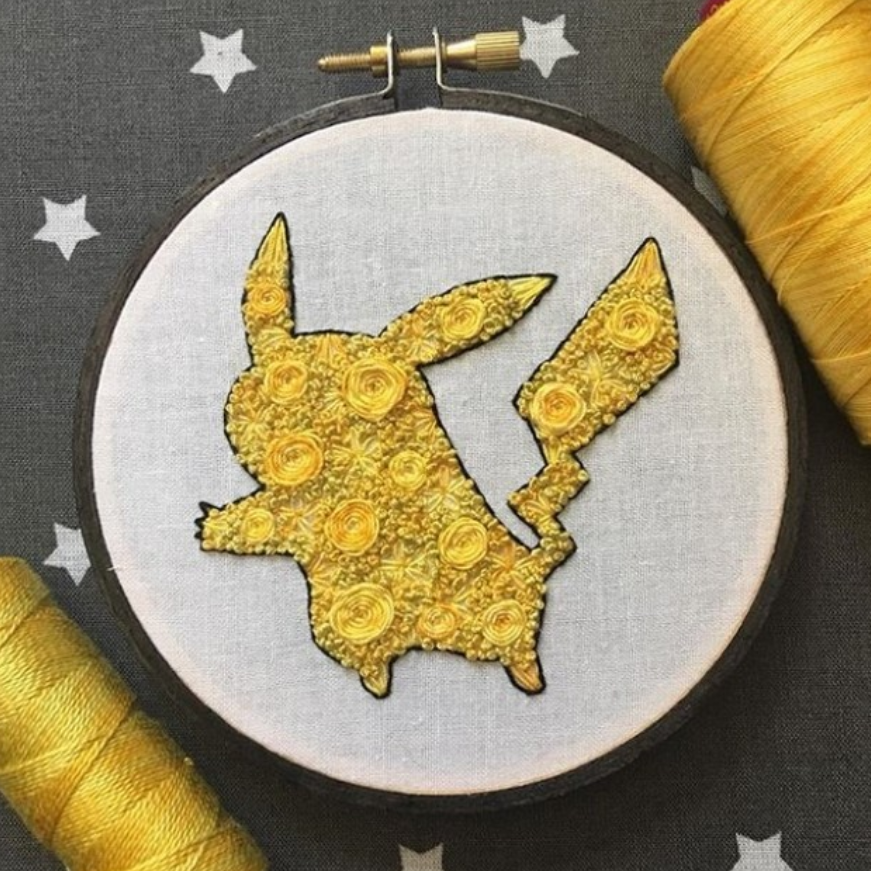
While hoops are traditionally used during the stitching process, they can also serve as minimalist frames. Paint or decorate the hoop to match your design, then hang it directly on the wall. Consider wrapping the hoop frame with colored thread, twine, or fabric, and don’t forget to add a backing fabric to the hoop protect the underside of your work. Display hoops in all shapes and sizes and featuring polished and painted wood, fabric, and other embellishments are available online. This method is simple and keeps the focus on the embroidery itself, and it shouldn’t damage your work so long as you release the tension on the fabric.
3. Embroidered Jar Covers
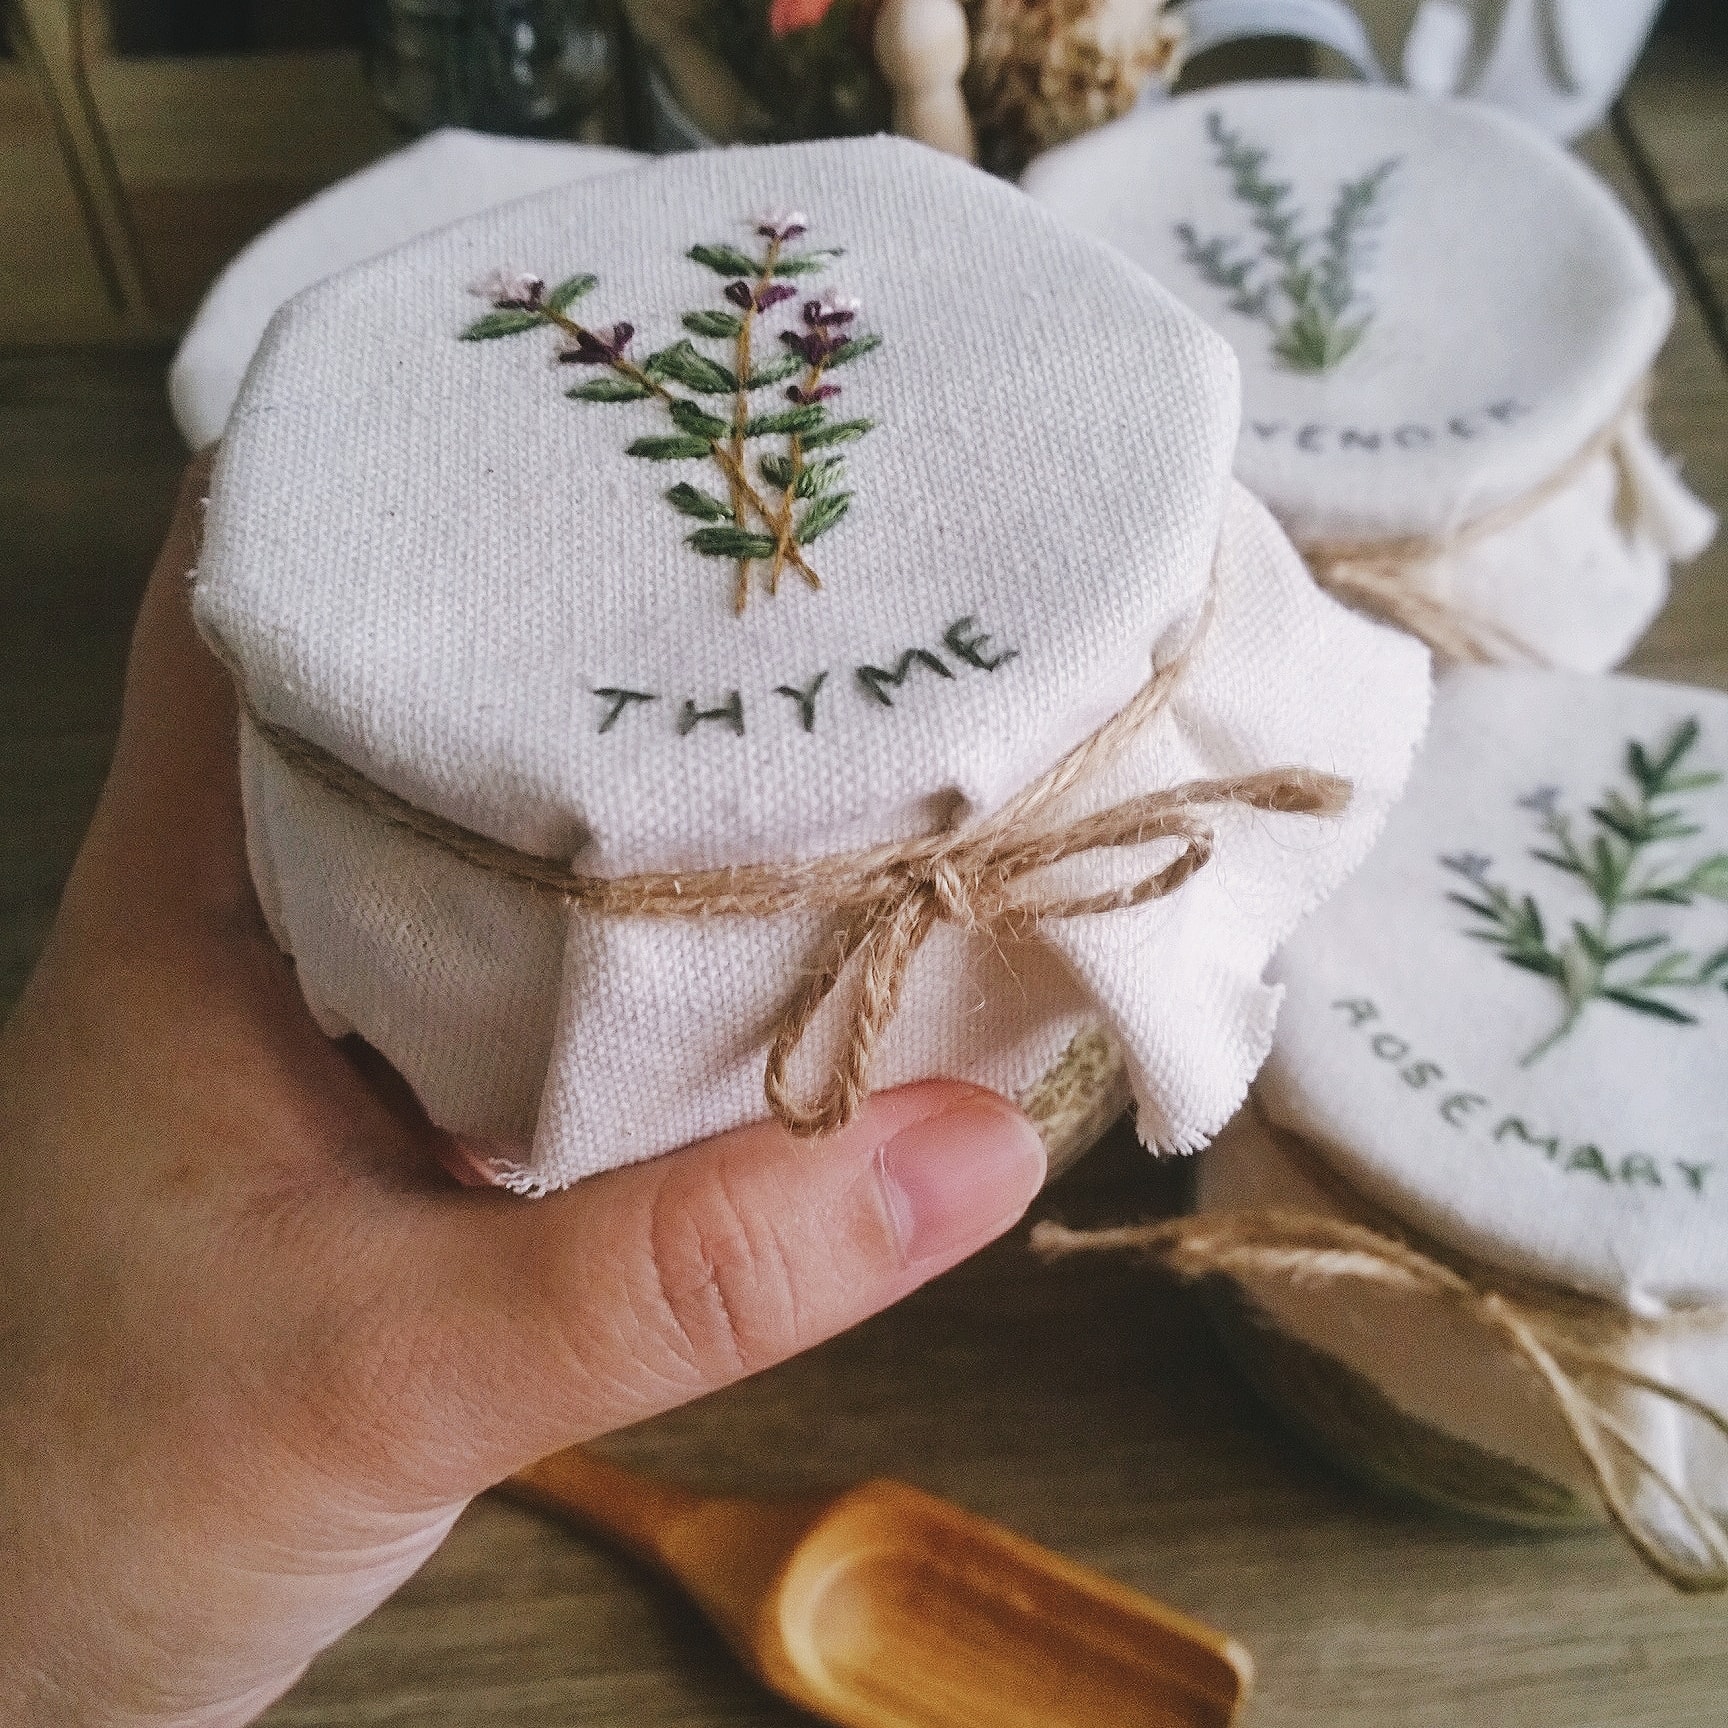
Embroidered jar covers are a simple and delightful way to beautify glass jars—and they’re so easy to make! You can prepare your embroidery fabric beforehand by cutting it into a circle with a wider diameter than your jar, or cut the fabric into a circle once you’re finished stitching. The cover should fit over the top of your jar and be tied with a little ribbon or twine. This is a great way to gift homemade jellies, jams, and pickled goods and a wonderful use for small embroidery pieces. You can also make an embroidered jar cover for a pin cushion jar that holds your pins.
4. Decorative Pillows
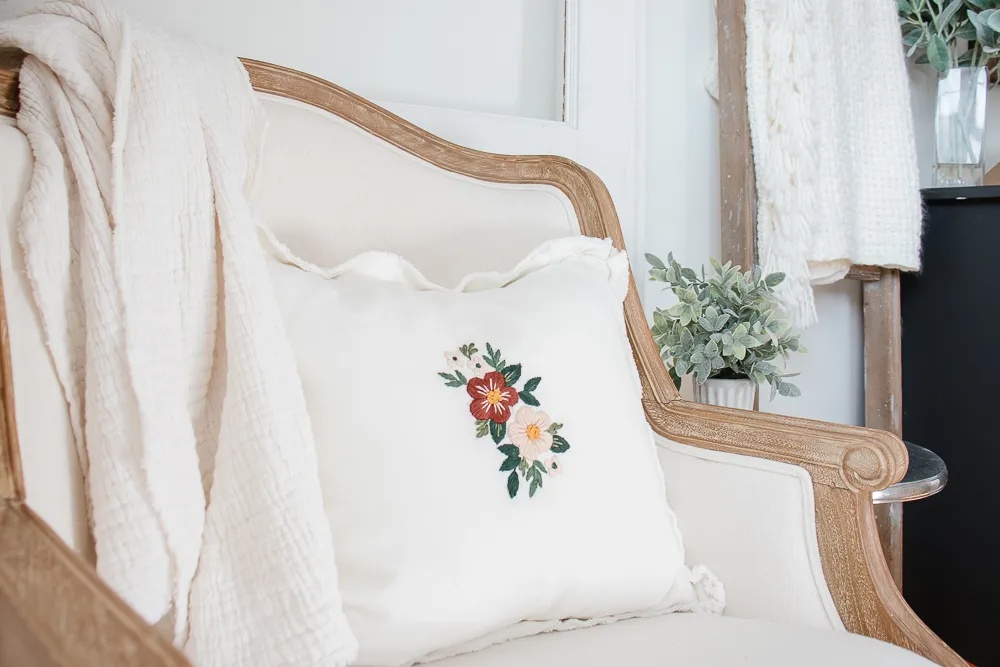
Sew your embroidered fabric into pillowcases or use them as cushion fronts to add a nice textural touch to sofas and beds. Decide before you start stitching whether your finished embroidery will be turned into a pillow and choose a large and durable fabric and threads to withstand regular use and cleaning.
5. Tote Bags and Purses
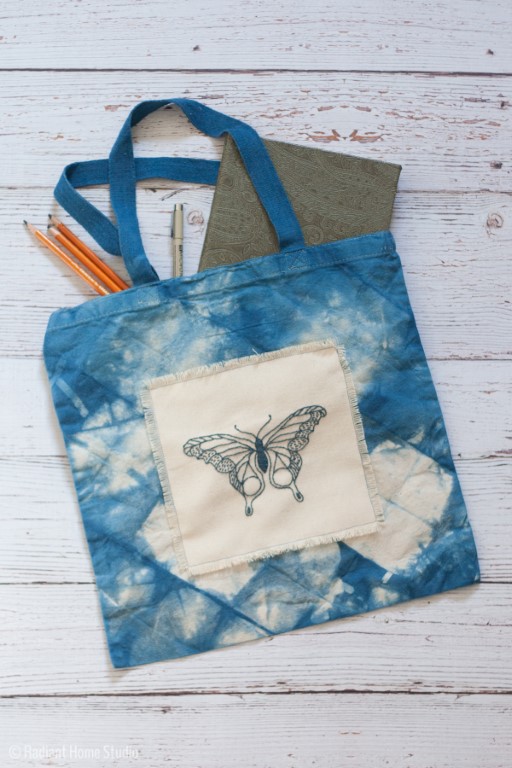
Tote bags and purses offer the perfect shape and size for displaying embroidery. As mentioned at the top, think about the fabric size you will need to cover the front of your tote, unless you plan to stitch a small, framed section directly onto your bag. Featuring embroidery on a bag not only showcases your skills, but also creates a unique accessory. Ensure the embroidery is placed in areas less prone to wear and tear, and consider reinforcing the stitching for added durability.
6. Embroidered Patches
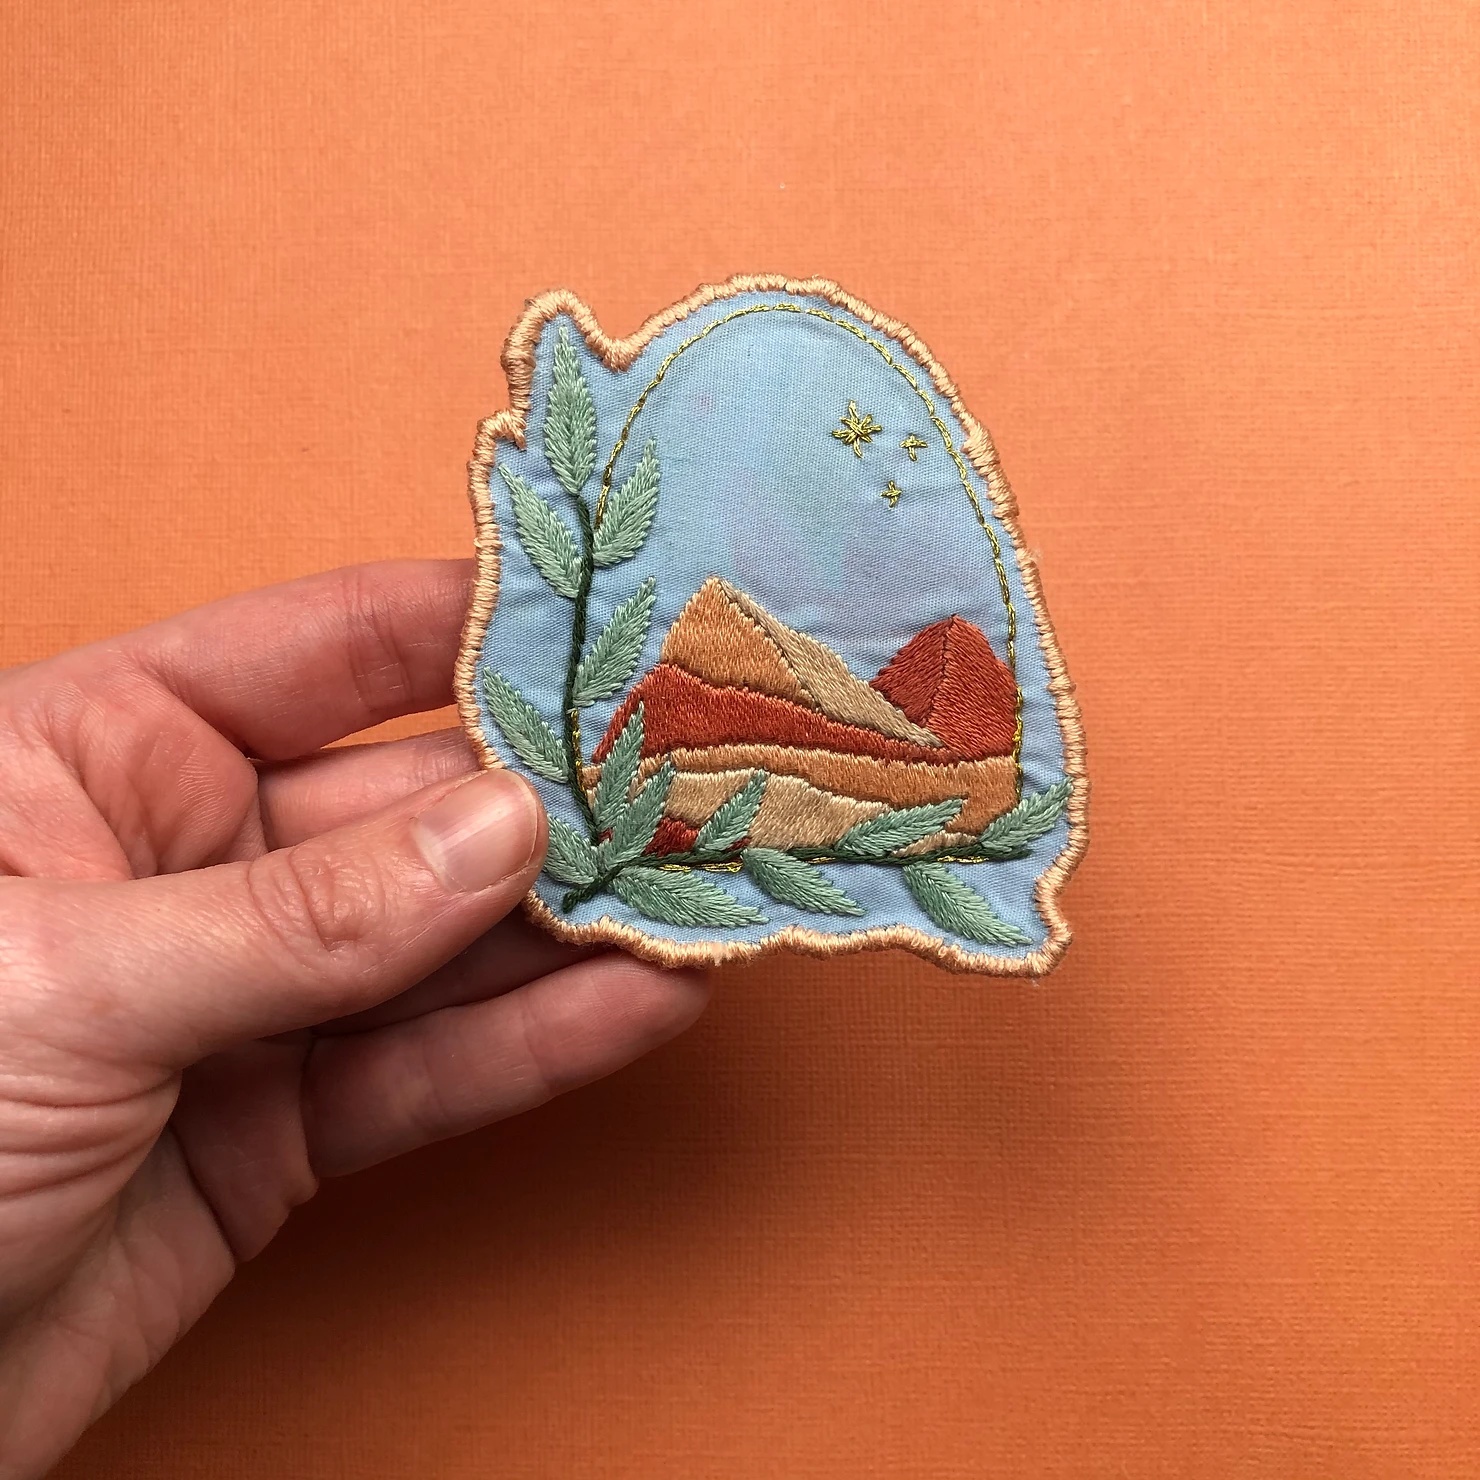
While many embroiderers are now opting to embroider directly onto clothing, small embroidery projects can easily be turned into patches that can then be attached to all sorts of clothing and accessories. Creating an embroidered patch is as easy as sewing another layer of fabric to your embroidered fabric. This extra layer of fabric will cover the back of your work, protecting your stitches and creating an extra layer to stabilize the patch. Cut around these two layers and sew your patch onto hats, bags, shirts, napkins, table cloths, pants, dresses, and anything else that needs a little embroidered flair. You can also use iron-on adhesive for even easier application, as MCreativeJ shows above.
7. Make a Quilt
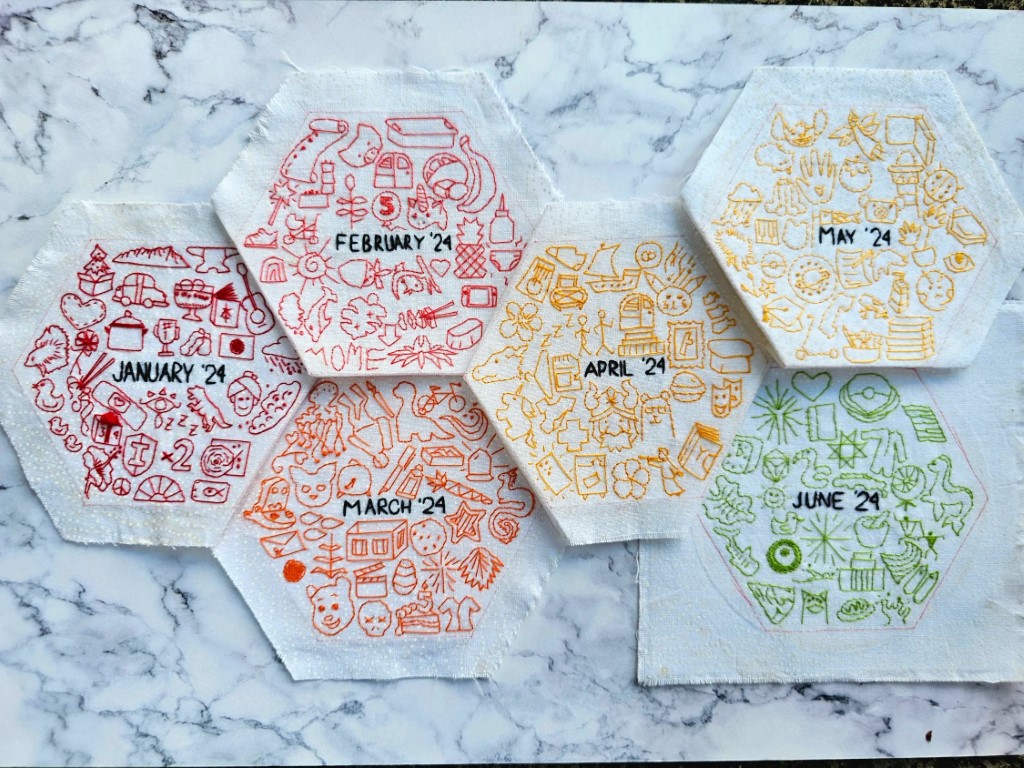
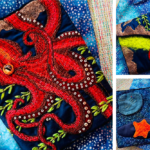
Multiple embroidery squares or other shapes can be incorporated into a larger project like a quilt. This is an excellent way to preserve smaller projects together and create a cohesive, functional heirloom piece. Each embroidered section can serve as a unique quilt block, telling its own story within the larger tapestry. @Thimblechaser has stitched monthly journals to create a quilt to represent her year (above).
8. Home Décor Accents
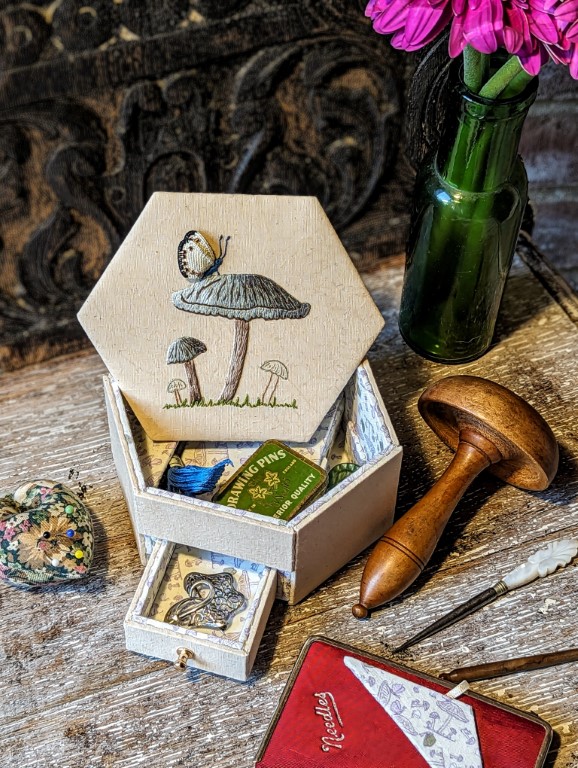
Feature embroidery in your home décor by incorporating into into lampshades, wall hangings, table runners, the tops of footstools, or curtains. Pieces featuring surface embroidery, cross-stitch, goldwork, or stumpwork can embellish the lids of small boxes (keep an eye on EGA’s class roster for classes like our previously offered Mushroom Advanced Box making with Emma Broughton and Box-Making: Parisian Patisserie with Sarah De Roussett-Hall!). This subtle integration adds a handcrafted touch to your interior design.
9. Shadow Boxes
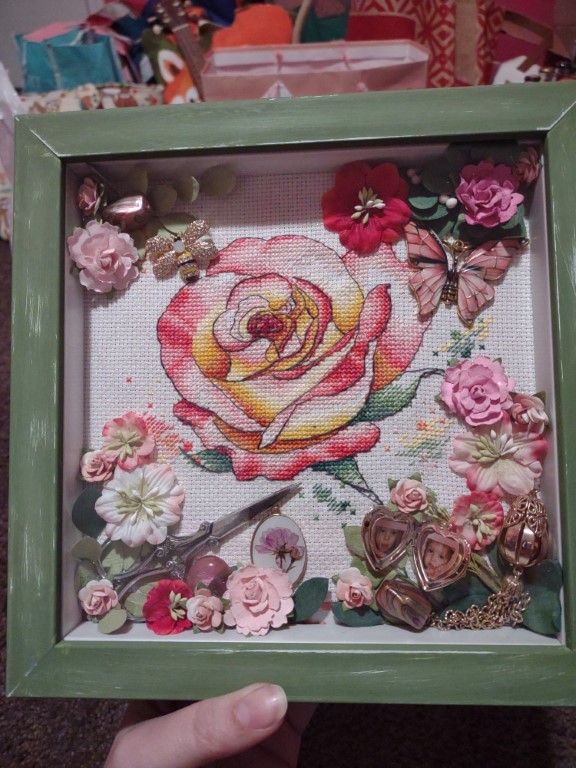
Create a three-dimensional display by placing your embroidery in a shadow box. This method is great for dimensional pieces like stumpwork, and allows you to include related items, like threads or needles, providing context and depth to your piece. It’s also an excellent way to protect delicate or dimensional embroidery from dust and damage.
10. Ornaments
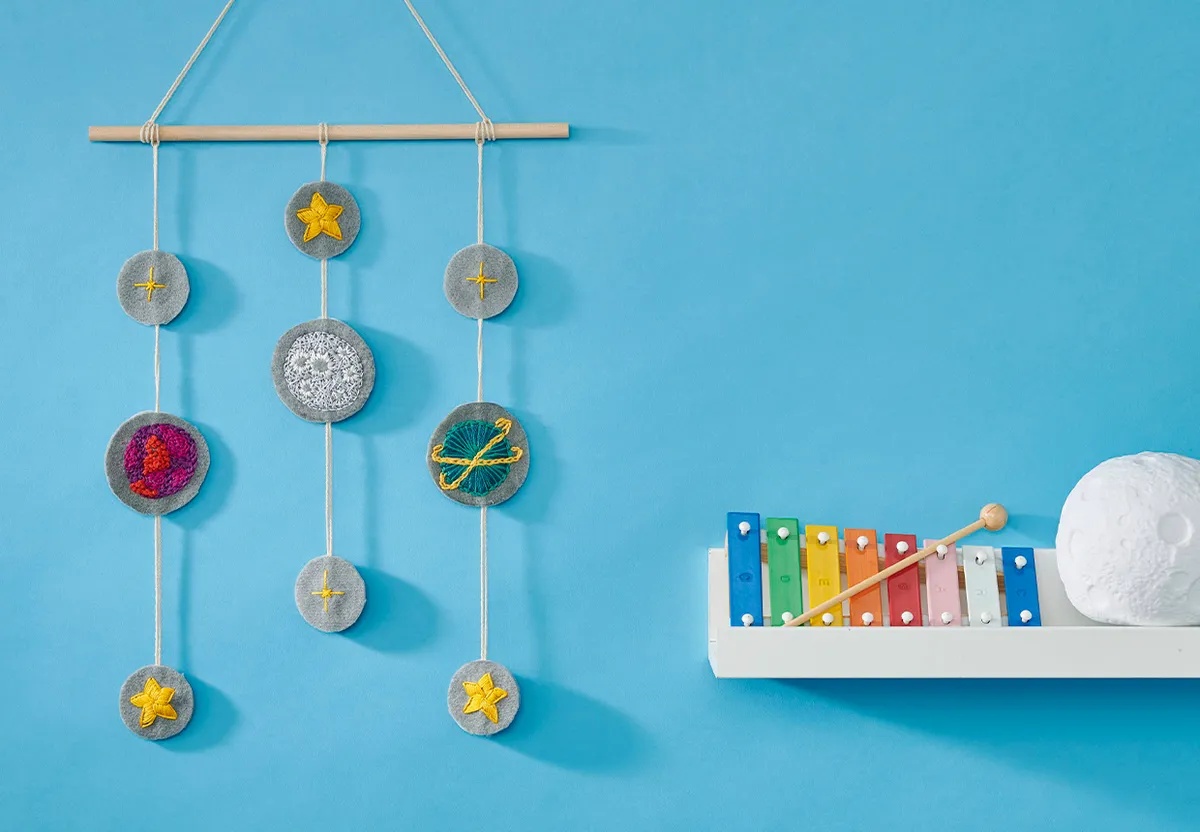
Use your embroidery to craft ornaments for holidays, special occasions, and as general decór. These can be hung on a tree or in windows, used as gift toppers, hung from doorknobs in the home, or grouped together to create charming mobiles or wreaths.
We hope you enjoyed these creative ideas for preserving and displaying your embroidery projects! We’d love to hear the unique ways you display your embroidery. Follow us on Facebook and Instagram and join the EGA Stitch-a-long group to share your thoughts and photos!

