You’ve spent hours stitching a beautiful piece of embroidery only to discover some mistakes in the needlework that you can’t ignore. What now? Removing embroidery stitches and leaving holes in the canvas terrifies many needleworkers. How do you fix an embroidery mistake and remove stitches without ruining your fabric? Today we’re sharing our top 5 tips for removing embroidery stitches—safely, carefully, and so it’s easy to start over if you need to!
The Right Tools
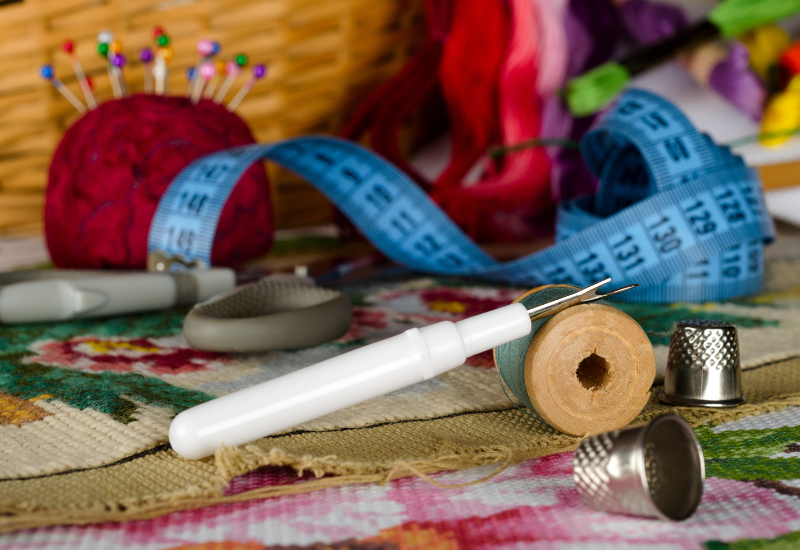
Using the right tools is one of the most important aspects of safely removing embroidery stitches. It’s important to have more than just your embroidery needle when approaching a design that needs to be unpicked. We recommend the following tools to have at the ready when you begin to dismantle a design.
- Magnifying Lens – If you’re working on removing only a single, specific section of embroidery (as opposed to an entire design), you’ll need to be incredibly precise. A magnifying lens comes in handy for pinpointing the exact stitches you want to remove. Consider one with a stand so you can work hands free!
- Seam Ripper – A beloved tool of quilters, seam rippers (like the one shown above) feature a “u” shaped blade. Usually one end of the “u” is sharp and pointed, while the other end is capped with a plastic ball. The blunt end is meant to be protective—it fits under a sewed seam, while the inner curve of the “u” cuts through the seam. When it comes to undoing embroidery stitches, the sharp end of the seam ripper is useful for slipping under tight stitches, while the inner edge slices the thread.
- Embroidery Scissors – Embroidery scissors feature short, fine-tipped blades, which make them easy to maneuver under and around stitchwork. The sharp blades of this embroidery tool ensure clean cut thread and minimal shredding.
- Tweezers – A good pair of tweezers is helpful for removing bits of thread that have already been cut, or loosening cut floss that is still clinging to the canvas. They’re more precise than your fingers when pulling the thread clear.
- Cross Stitch Needle – A cross stitch needle (or other blunt needle) is helpful for unpicking and loosening stitches without damaging the canvas. Slip it under cut stitches to free the floss from the canvas.
- Lint roller – Once you’re done cutting through your thread and unpicking the design, a lint roller will help to cleanly remove any leftover thread and thread fluff. If you don’t have a lint roller handy then some tape may do in a pinch, but be careful of snagging nearby stitches. It’s helpful to use a lint roller as you’re working through undone stitches as it keeps the canvas clear so you can see what you’re doing.
Set the Scene

Dismantling an embroidery design can be taxing, frustrating work. Once you have your tools ready, it’s important to set the scene. Focus on your own comfort and the atmosphere you require to turn an otherwise dispiriting activity into a meditative experience. Here are some aspects to consider as you choose your space:
- Good Lighting: How is the lighting? Are you working with natural light? Do you have the space and ability to supplement your lighting situation with a high powered or more focused lamp?
- Comfortable Seating: You may need to settle in for a bit of time to take apart your embroidery. Do you have a comfortable chair? Create the ideal seating arrangement to ensure you can work comfortably. This might not be the same space you traditionally embroider in, as you may require more tools, better lighting, and different angles.
- A Spacious Surface: As mentioned above, maybe you usually embroider in a comfy chair, with your embroidery in your lap. This likely won’t work in this situation. Make sure you have a table set with all your tools at the ready. We love Sally Mavor’s workstation (shown above), which looks like an ironing board or a big board.
- A Calm Demeanor: Make a cup of tea, turn on some soothing music, and settle in for the task at hand. As mentioned, this can be a frustrating undertaking. You worked really hard on your embroidery, and undoing it can feel like a failure. It is not! Fixing mistakes is an important part of the learning process, and undoing stitches is as much a part of embroidery as laying down stitches. If you approach the work with a negative attitude, you might damage your canvas or, if you’re undoing only a small part of the work, you might damage your other stitches! If you aren’t in the mood to undo your work, walk away and work on something else. You can always come back later.
Slow & Steady
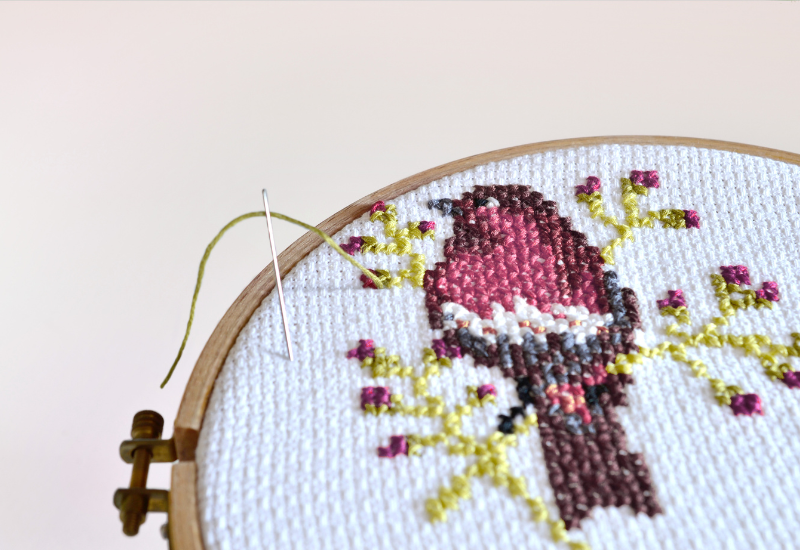
You don’t rush through your stitchwork—don’t rush through ripping out stitches. Move slowly and pull gently when ripping out thread. Remember to take frequent breaks. As we said, sometimes it’s good to walk away from the work and come back to it refreshed. Pay attention to your shoulders. If they start hunching, it’s time to stand up and take a breather. If your hands start cramping, put down your tools and stretch your fingers. The slower you work, the more gently you cut and remove the floss, the more likely your canvas will remain in good condition.
Pay Attention to Both Sides
Part of taking it slow and steady should be frequently flipping your work to review the back of the canvas. If you find yourself trying to loosen a stitch and meeting resistance, it’s time to flip the work over. Some stitches (by virtue of how they are made) are easier to unpick from the back than they are from the front. Constantly flip the canvas to follow the path of least resistance in removing stitchwork. This one simple action will go a long way towards safeguarding your fabric and minimizing holes.
Minimize Holes
We saved this one for last because if you follow all the tips outlined above, you should minimize the holes left in your fabric. But sometimes there’s no getting around it—the likelihood of leaving holes is high when undoing embroidery work. Here are a few ways to remedy any holes you might create.
- Use a Cross Stitch Needle – Remember that cross stitch needle we listed in our tools section? Once you’re finished removing stitches, use the blunt end of the needle to gently rub over the removal areas. This should help realign the weave and balance any holes left in the fabric. This is an easier task depending on the material. Linen is rather responsive to this method; fabrics like silk and fine cotton may be more uncooperative. If your fingernails are fairly short, you can also try rubbing the removal area with the flat edge of your nails. Just make sure your hands are clean!
- Use Steam – Sometimes stiff fabrics refuse to reset with needle or fingernail alone. This is where an iron will come in handy. If your fabric is in a hoop, remove it. Set your iron to the steam setting. Steam your fabric, then gently tug the fabric in opposite directions to help reset the weave.
- Wash the Fabric – This method only works if you’ve removed an entire design and plan to start from scratch. Wash your fabric by hand and lay it flat to dry. Once it’s dry, iron the fabric to remove wrinkles and reset the fabric. The heat from the iron will help equalize the grain and minimize any holes.
We hope these tips will minimize your frustration and help you safely remove embroidery mistakes so you can continue crafting your best work!
Like this post? Pin it!