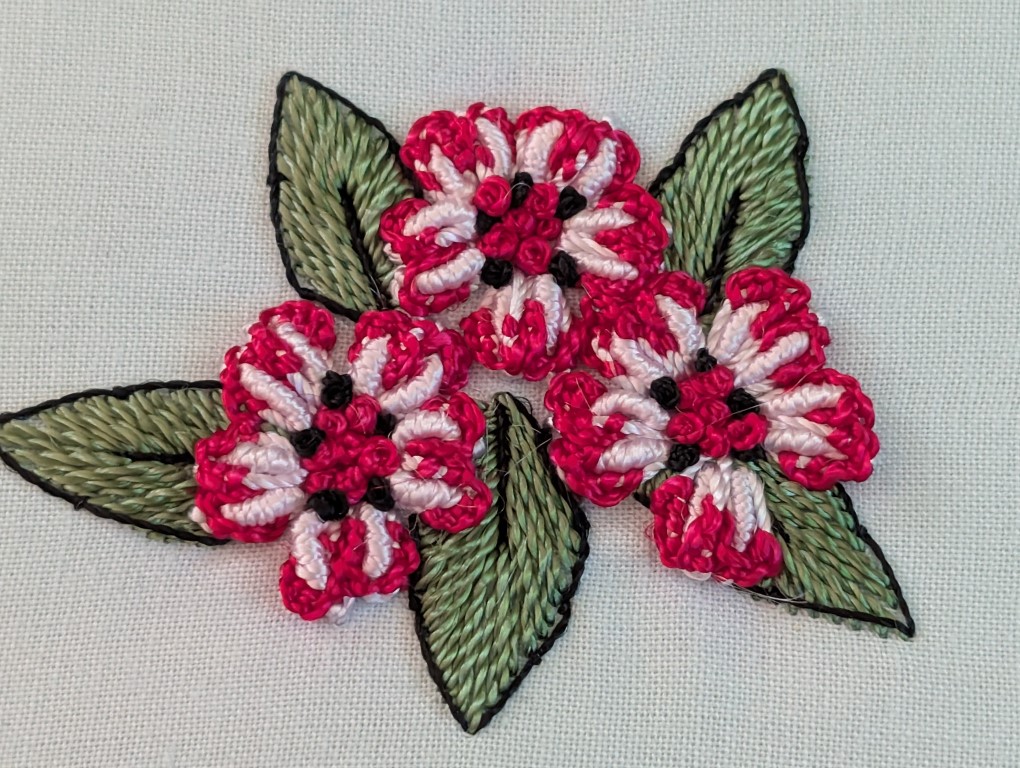
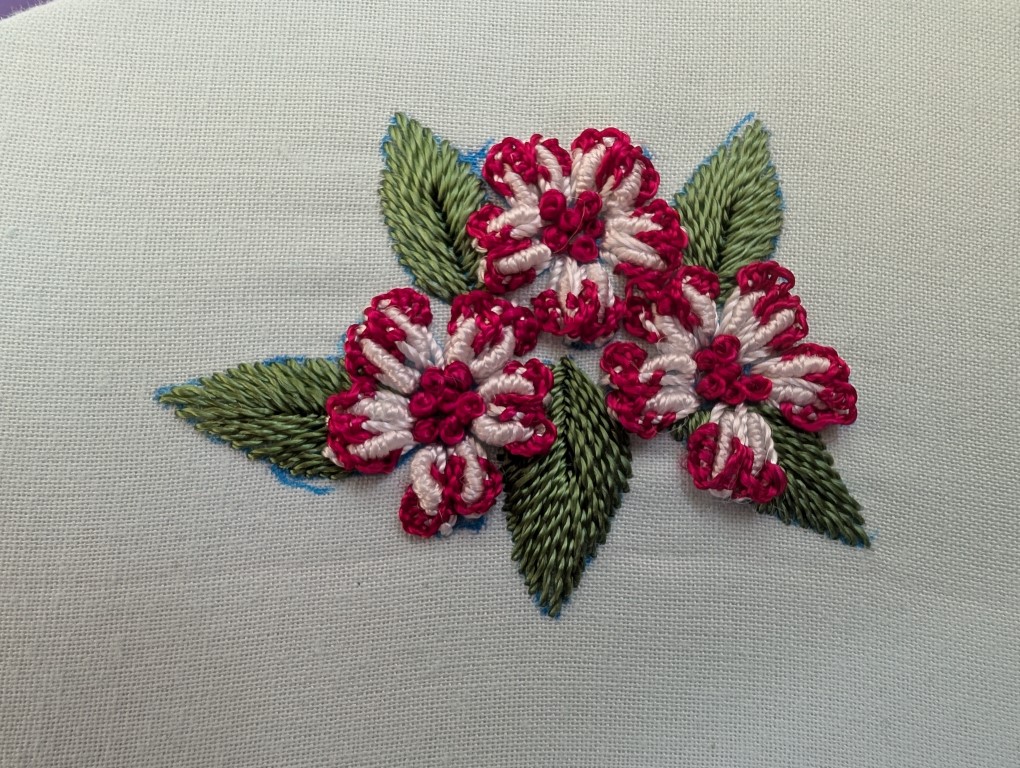
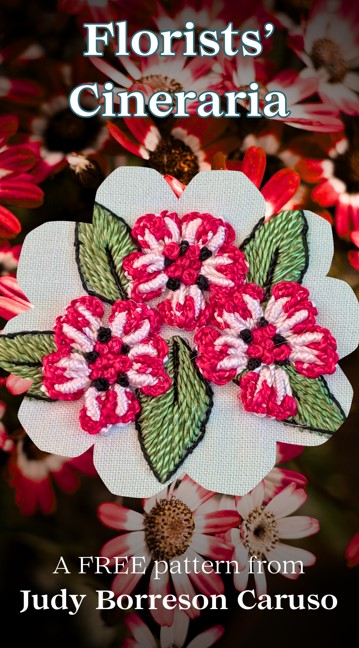
Judy Borreson Caruso’s lovely Florists’ Cineraria invites stitchers to explore stitching with the rayon threads used in Brazilian embroidery. This embroidery discipline uses rayon threads with surface embroidery stitches such as French knot, bullion stitch, and other wrapped and knotted stitches, to create elegant dimensional embroidery. Florists’ Cineraria offers a wonderful introduction to Brazilian embroidery, and Judy has provided step-by-step instructions for all of the featured stitches to make it easy for beginning-level stitchers to follow.
Notes
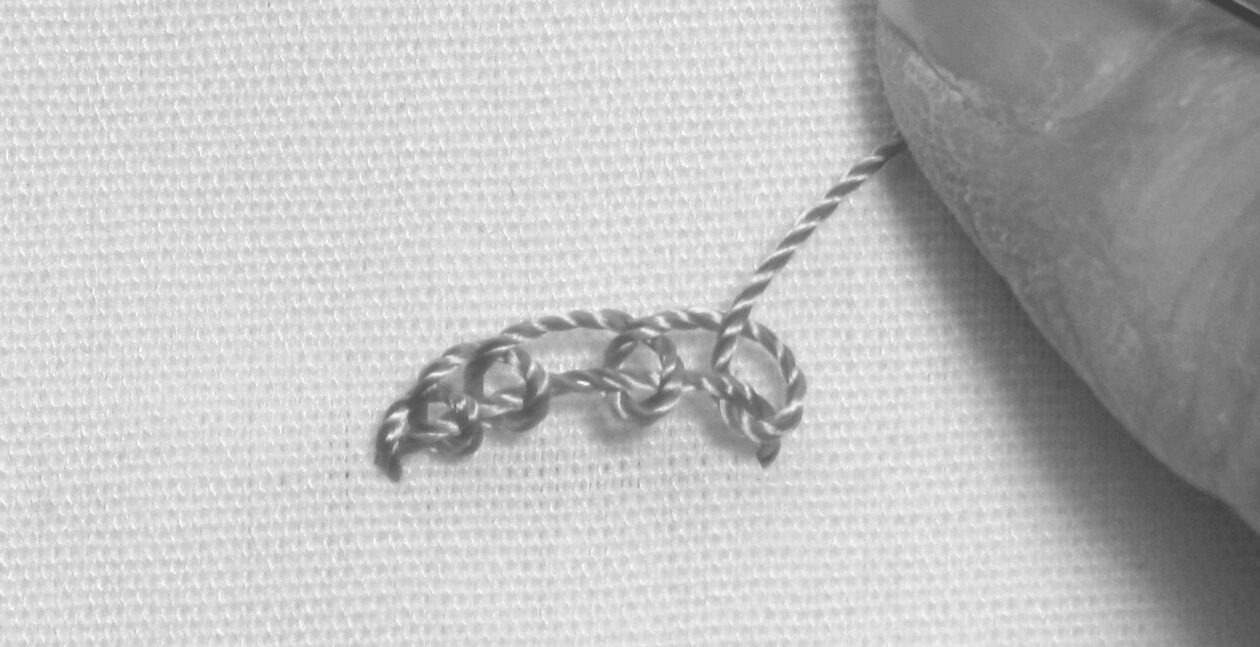
The rayon threads used in Brazilian embroidery are Z-twist. Many threads such as cotton floss are manufactured with an S-twist. The thread twist is important as stitches created with Z-twist threads are often stitched differently than stitches created with S-twist threads. Read the directions for each stitch to ensure you are executing the stitch correctly.
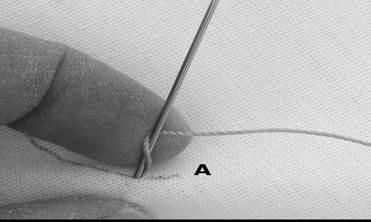
The EdMar™ rayon thread skeins are cut at the knot. Slide thread out from the tag loop and cut the threads that are directly attached at the knot. Slowly untwist the thread. There will be meter-length threads. Stitch with these meter-length threads. A needle-threader may help in getting the thread through the needle eye. Before stitching, one end of the thread is placed through the needle eye, leaving a 4-inch tail, and the other thread end is secured with a quilter’s knot or a double knot with a ¼ inch tail.
When you are done stitching with a thread or there are only 4-5 inches left on the needle, bring the thread to the back. On the backside of the fabric, slide the thread through some existing threads, if available, and secure with a quilter’s knot or two overhand knots. Leave a ¼ inch tail beyond the knot when cutting.
When you are done stitching, place the piece in cool water with mild hand dishwashing soap and soak for a few hours. The blue lines will disappear. Rinse in cool water. Place the piece upside down on a fluffy towel and roll to remove excess water. Then place in a hoop to stretch the piece and dry using a hand air dryer on air-only or low setting. If the threads bleed, soak longer and dry as quickly as you can.
Embroidery Level:
Advanced Beginner
Materials and Instruments
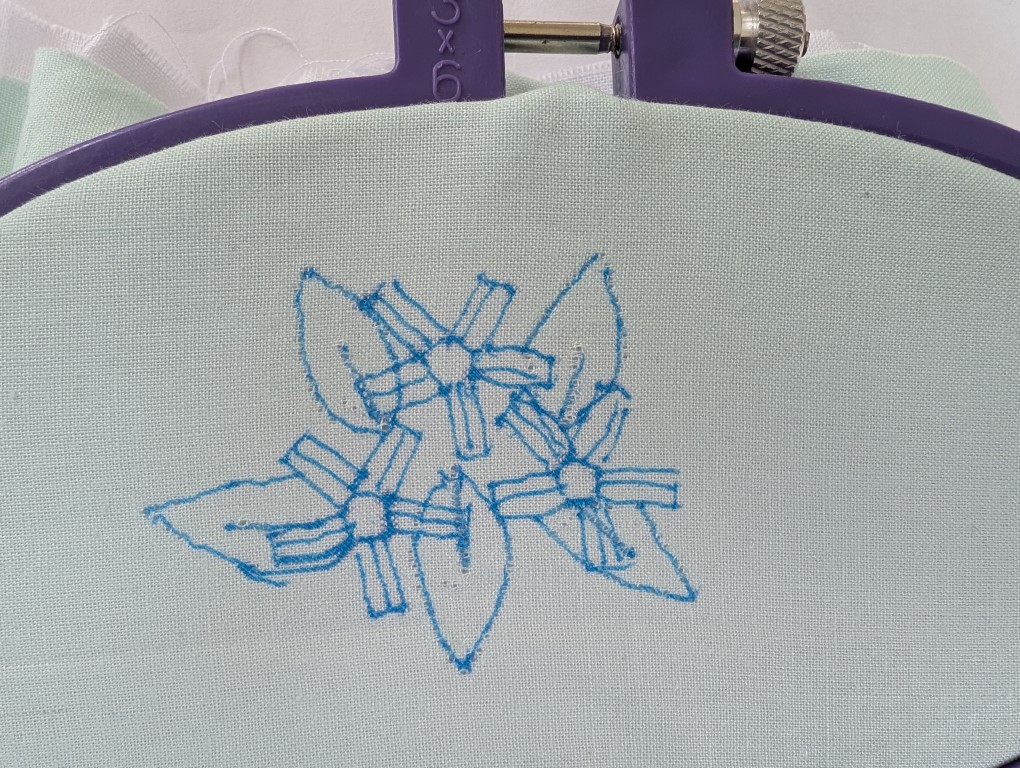
- Cineraria design – Click here to download (Right click on link and select ‘save as’ to download the diagram in its proper size of 2 1/8″ x 1 1/8″)
- 7” x 7” (or larger) high-thread-count fabric such as trigger cloth (lighter cloth such as quilting fabric may be used when lined with muslin)
- Milliners needles in sizes 1, 5, and 7
- Canvas needle, optional
- 6” x 6” embroidery hoop, or hoop size that fits the fabric
- EdMar™ rayon thread: Glory 206, Iris 121, Iris 204, Iris 233, Lola 233 (or colors of your choosing)
- Marvy LePen washout ink pen or medium-colored Crayola Fine Line Washable Marker
- Embroidery scissors
Stitches You Will Use (photo guide included below):
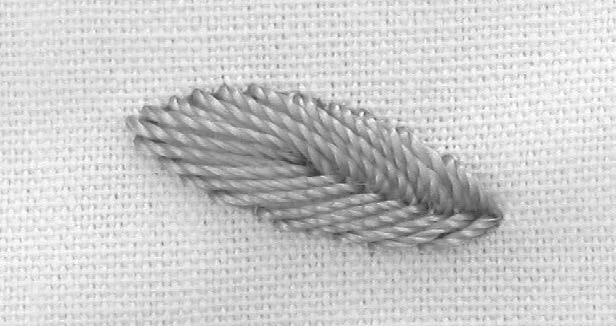
Alternating satin stitch leaf stitch
Lazy daisy stitch
Bullion stitch
Detached buttonhole stitch
French knots
Straight stitch
Couching stitch
Instructions
Transferring Design to the Fabric and Placing in the Hoop
Iron the fabric first, if needed. Tape the paper design to a light board, window, or transparent glass tabletop. Center the fabric on top of the design and secure it with tape. Trace with the washable marker of your choice.
Do not apply heat to the marker lines. They may become permanent. When you are done stitching, you will wash in cool water to remove the lines.
Place fabric (and muslin, if needed) in the hoop. If you are using a plastic hoop with a screw, note that the bottom piece says “this side up” on one edge. The screw piece lies above the fabric and the other hoop piece lies under the fabric.
Stitching the Cineraria
Leaves
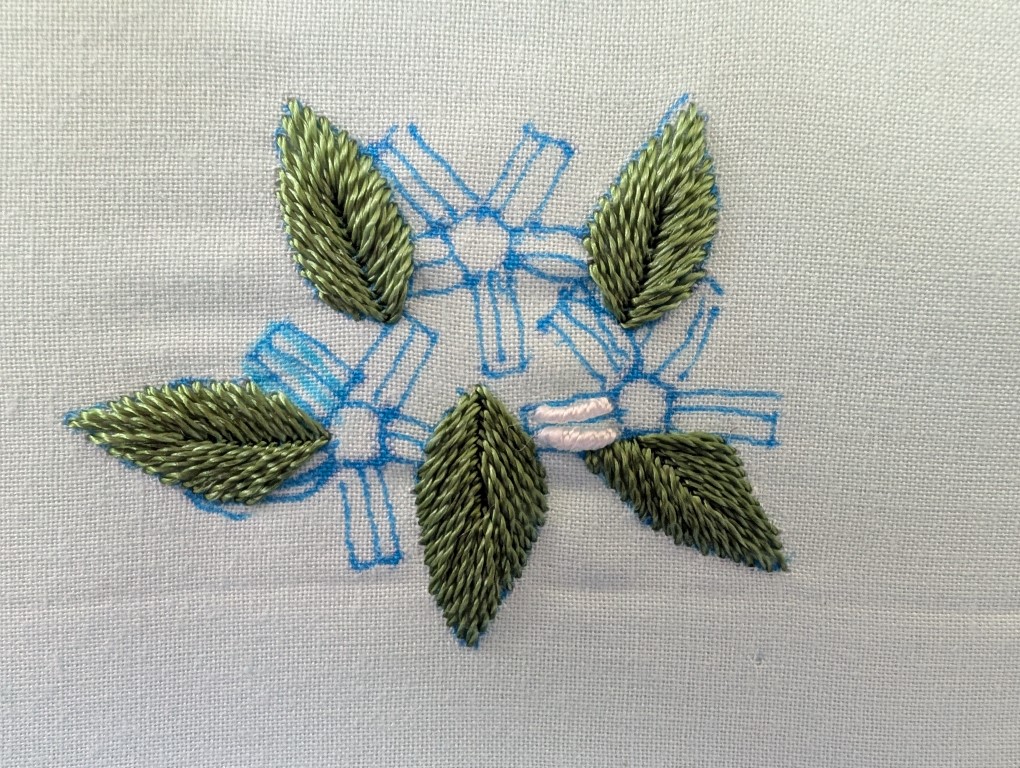
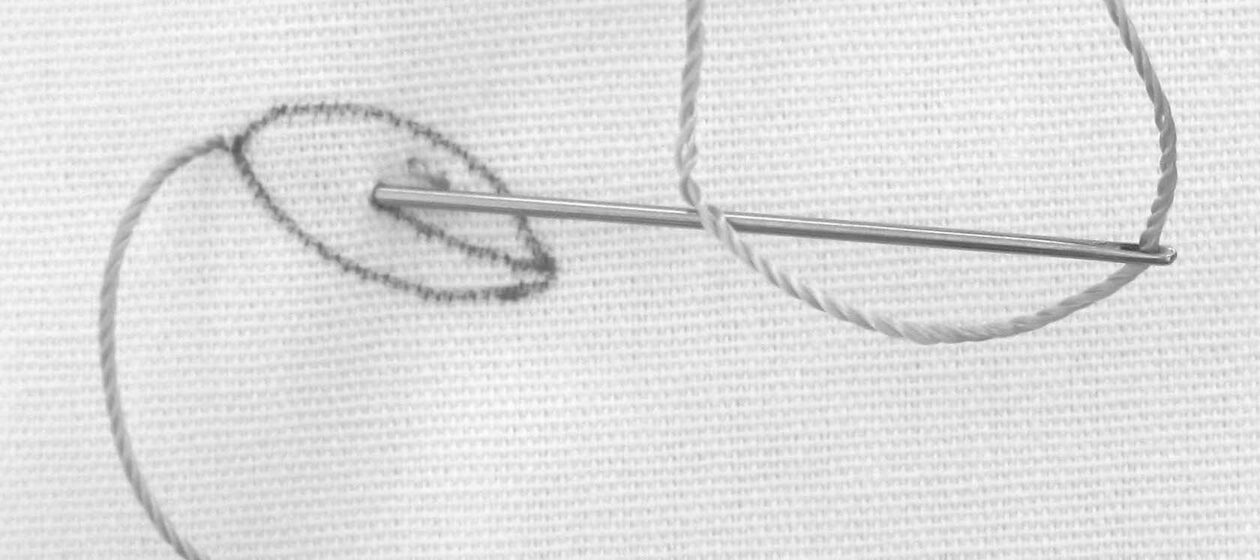
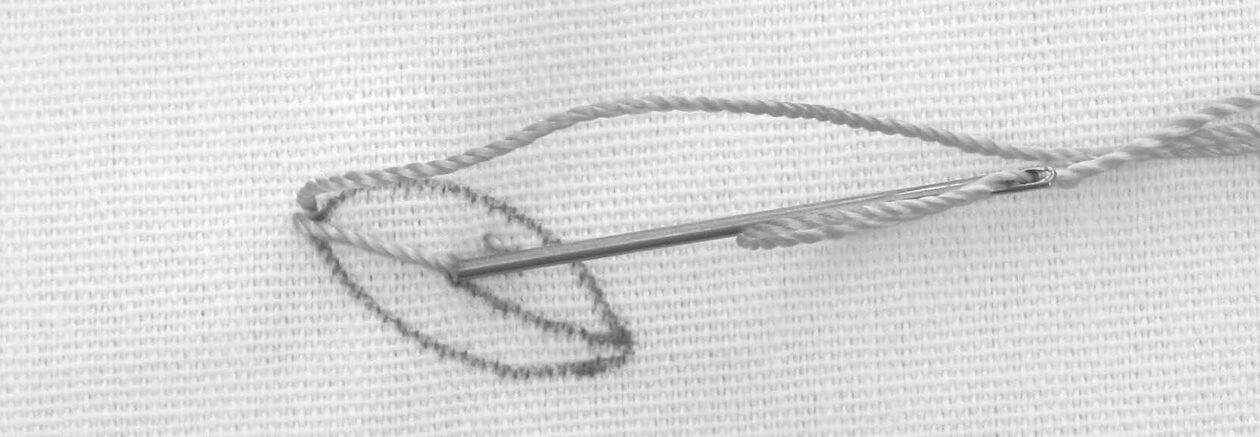
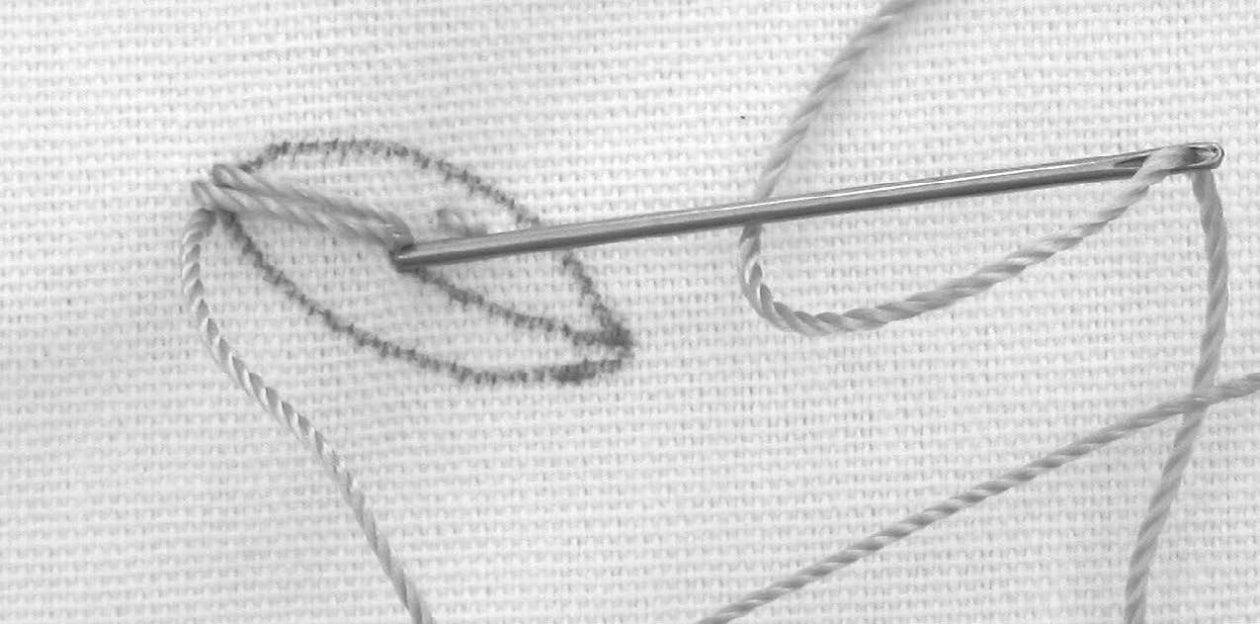
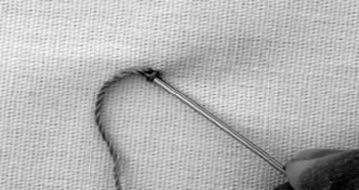
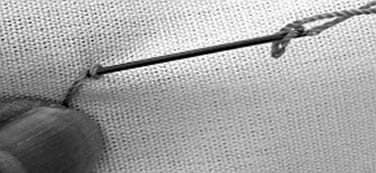
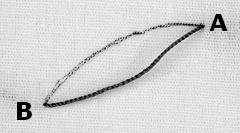
Using Iris 121 and Milliners #5 needle, stitch leaves with alternating satin stitch leaf stitch. After all the stitching is complete, finish the leaves with Glory 206. See leaf finishing information at the end of these directions.
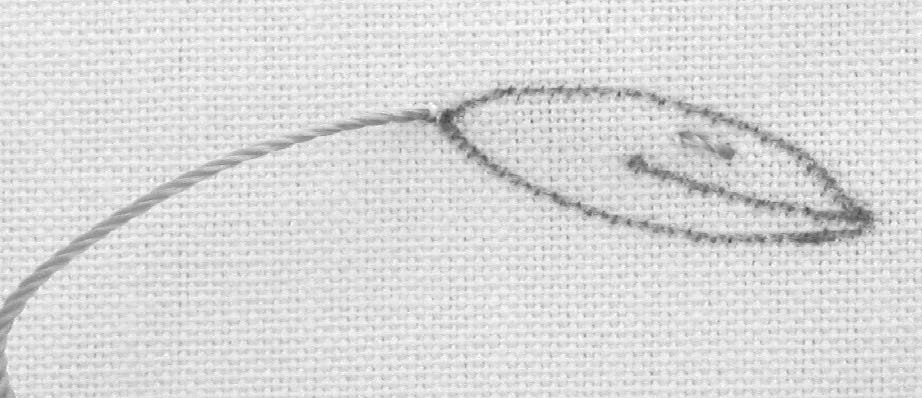
Bring the needle up at the tip of the leaf.
Petals
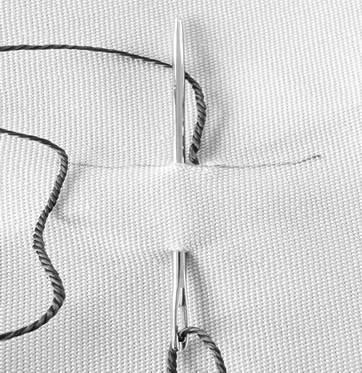
Each flower has 5 double petals. Using Iris 233 and Milliners #5 needle, create a 10-wrap bullion inside each rectangle. Each flower will have 10 bullions. Using Lola 233 and Milliners’ #1 needle, stitch a lazy daisy stitch around each bullion (10 lazy-daisy stitches). For the lazy daisy stitch, bring the threaded needle up at the base of the petal, below the bullion to start the stitch.

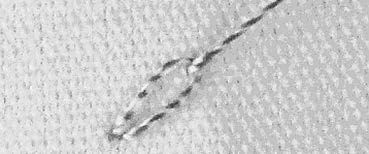
Petal Details
Using Iris 204 and a Milliners #5 needle or a canvas needle, stitch detached buttonhole stitches on the lazy daisy stitches at the tip of each petal. Come up about 3 stitches down from the top of a petal (¼ inch or so) and stitch 3-4 detached buttonhole stitches on one side of the lazy daisy stitch, then come around the tip of the petal and place 3-4 more detached buttonhole stitches going down the other side of the lazy daisy. Bring the thread to the back and then go to the next lazy daisy stitch. The detached buttonhole stitches will abut each other where the lazy daisy stitches meet each other in the middle of the double petal. The buttonhole “loops” should go to the outside of the flower.
If you are right-handed, it may be easier to work from left to right. If you are left-handed, it may be easier to work from right to left.
These stitches are all stitched on top of the fabric.
If using a sharp-pointed needle, use the needle eye when stitching over the lazy daisy thread loop.
Flower Centers
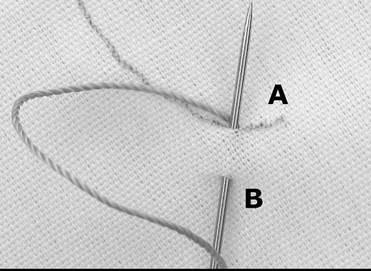
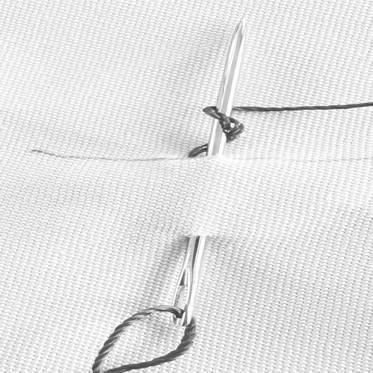
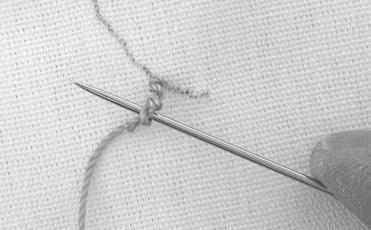
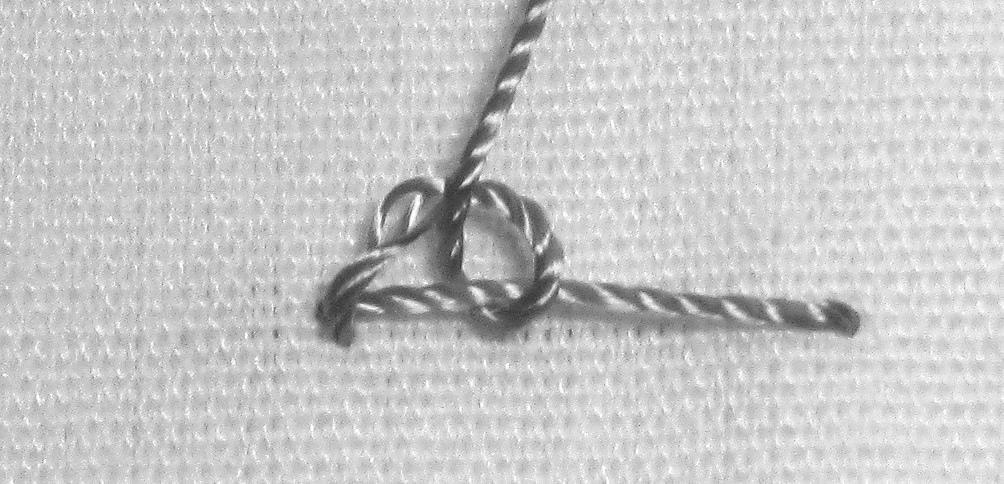
Fill the flower center with 3-wrap French knots with Iris 204 and a Milliners #5 needle. Stitch a total of five 3-wrap French knots with Glory 206 and a Milliners #7 needle. Each knot sits between the double petals where they meet at the center edge. See photograph.
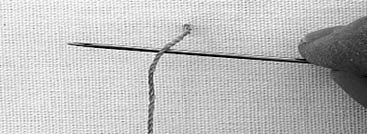
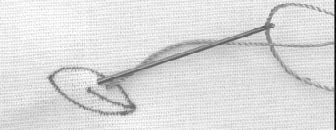
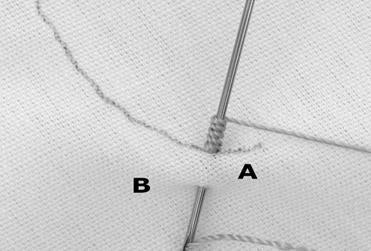
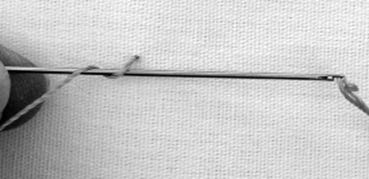
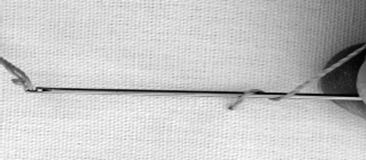
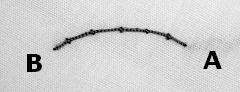
French Knot Figure 1 Left-Handed. Bring the needle up and place the needle parallel to the fabric with thread under the needle. (See right-handed directions, just place the thread under the needle)
Finishing the leaves (optional)
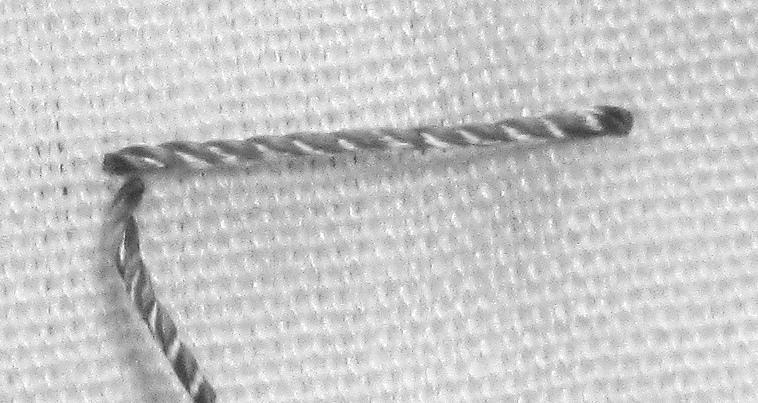
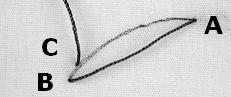
To accent the leaves, stitch a straight stitch on the leaf vein with Glory 206. Also, stitch a border with Glory 206 around the outside of the leaves with a couching stitch. For the couching stitch, come up at the leaf tip and down along the right outside edge of the leaf, placing the needle in at the end (it may be at the bottom of the leaf). Couch the thread down in two or three places. Then stitch the left side edge of the leaf.
© 2025 Judy Borreson Caruso
All rights reserved. Pattern is for personal, non-commercial use only. This pattern or any portion thereof remains the copyrighted work of Judy Borreson Caruso, and may not be reproduced, reused, resold, edited, published, transmitted, or uploaded in any way without express permission.