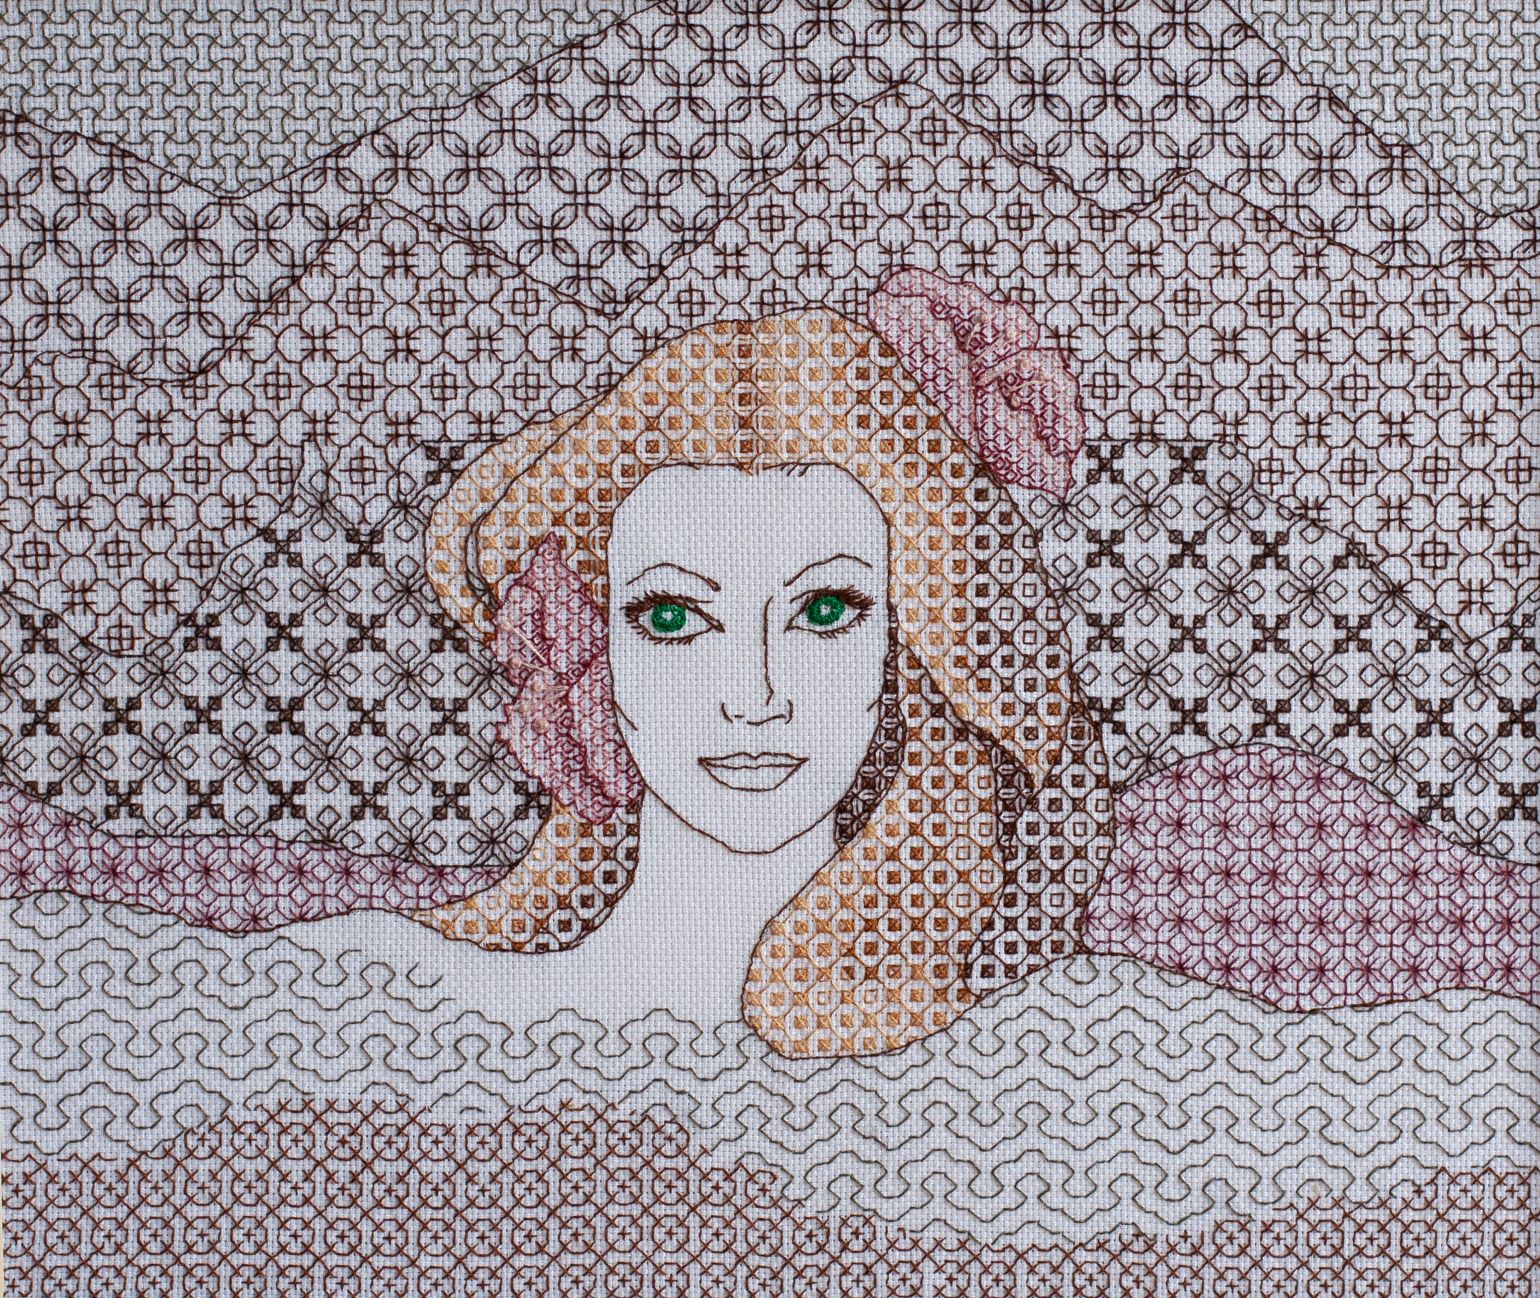
 Most dedicated needleworkers have a large stash of embroidery tools, ranging from a rainbow of threads to various types of fabric, needles, buttons, and other notions. It’s easy to accumulate embroidery treasures over the years, every floss color that “might come in handy,” every fabric scrap saved for “someday.” While a large embroidery stash is a joy, it can quickly become overwhelming without a thoughtful system.
The good news: with a few organizational strategies, your collection can become a source of inspiration instead of stress.
Here are practical, tried-and-true tips to help you bring order to your embroidery supplies.
1. Start with a Stash Audit
Before you buy a single storage box, take stock of what you already have. Lay out your threads, fabrics, and tools, and ask yourself:
- Do I have duplicates of the same color or brand?
- Are there supplies I’ll never realistically use?
- What condition are my fabrics and threads in: are they clean, dry, undamaged and untangled?
Create three piles: keep, donate, and discard. Friends in your guild or local stitching groups will often welcome your extras, and donating to schools or community art programs ensures nothing goes to waste.
2. Sort with Purpose
Once you know what you plan to keep, group your stash in a way that matches your stitching habits. Some embroiderers prefer to sort threads by color families; others like to group by brand or number. Fabrics can be sorted by size (large cuts vs. small scraps), or by weight and fiber type. Some embroiderers gather all of the elements of a project together (thread, fabric, pattern) into a single container (like a box or plastic bag) so that they have everything they need in one place when they’re ready to start stitching.
Choose a system that feels intuitive to you: if you naturally think “I need DMC 321,” then numerical order works best. If you often think “I want a deep red,” color families will save you time.
3. Create a Storage Solution That Works
There’s no single “perfect” system for everyone, but here are some options to consider:
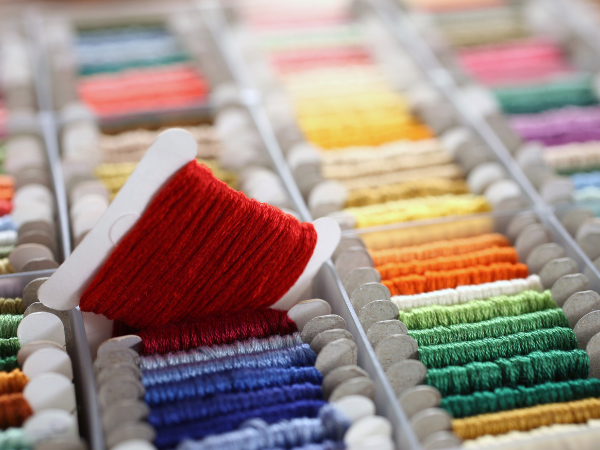
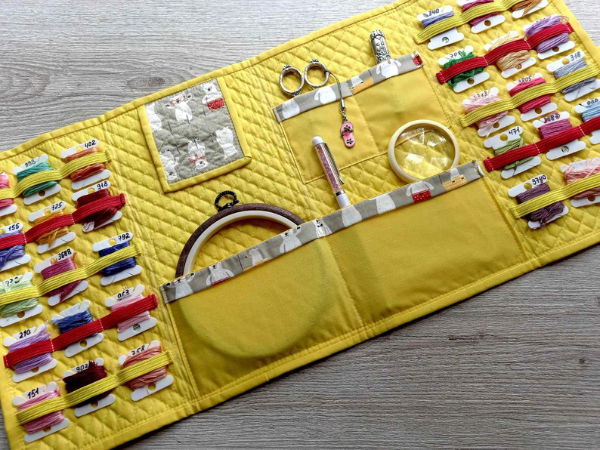
- Thread Cards & Bobbins: Winding skeins onto bobbins keeps floss neat and easy to label. Plastic or cardboard bobbins fit well in compartment boxes. Some stitchers avoid plastic bobbins because they can stress and damage the thread. In that case, an option can be using small resealable bags per color or color family.
- Bags & Pouches: Resealable bags or mesh zipper pouches are ideal for partial skeins and project-specific sets.
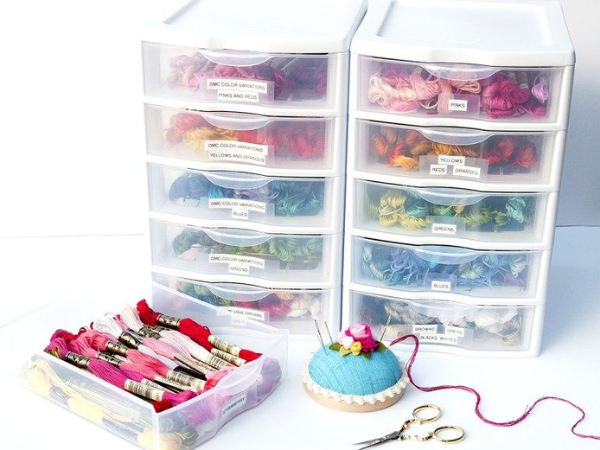
- Boxes & Drawers: Clear, shallow bins or drawer organizers make it simple to see your colors at a glance.
- Wall Displays & Pegboards: If you like seeing your threads on display, hanging systems can double as decoration and motivation. Be mindful of light exposure, which will bleach colors.
- Fabric Filing: Store folded fabrics upright in bins or magazine files so you can “flip through” them like records instead of digging through a pile.
Here are unique & creative storage suggestions:
- Embroidery Floss “Library” Jars: Place wound bobbins or floss bags in tall clear jars by color family like a candy jar display. It looks beautiful on a shelf and keeps threads dust-free.
- Photo Albums with Clear Sleeves: Slip skeins or floss bags into photo album sleeves. Each page becomes a color collection, easy to flip through.
- Repurposed Spice Racks or Nail Polish Racks: Perfect for storing small bottles of beads, metallic threads, or silk floss skeins, plus they mount neatly on a wall.
- Hanging Shoe Organizers: Use the clear pockets for hoops, thread packs, or small project kits. Hang them behind a door for space-saving storage.
- Binder Ring Systems: Punch holes in thread cards and group them on binder rings by project or color family. Easy to grab and portable.
- Magnetic Boards with Clips: Attach small magnetic clips to a board and hang skeins, cards, or even scissors and needle cases, keeping essentials in plain sight.
- Rolled Fabric Bolts: Wrap larger fabric cuts around comic-book backing boards or foam core, then store upright like bolts in a quilt shop. It prevents deep creases and makes fabrics easy to browse.
- Suitcase or Vintage Trunk Stash: If you want something decorative, an old suitcase can become a mobile embroidery station, store threads in trays, fabrics in folders, and tuck tools in side pockets.
Whatever method you choose, consistency is key. Every skein, hoop, and scrap should have a “home” to return to when you’re done.
If you’d like a structured learning path on how to tame a growing stash, Taming the Stash Monster with Laura Smith has excellent strategies for making your stash work for you and preventing double purchases.
4. Label Everything
A large stash without labels quickly turns into a guessing game. Use small stickers, tags, or permanent markers to note brand, number, and color name on bobbins or bags. For fabrics, pin a tag that lists fiber content and/or count size.
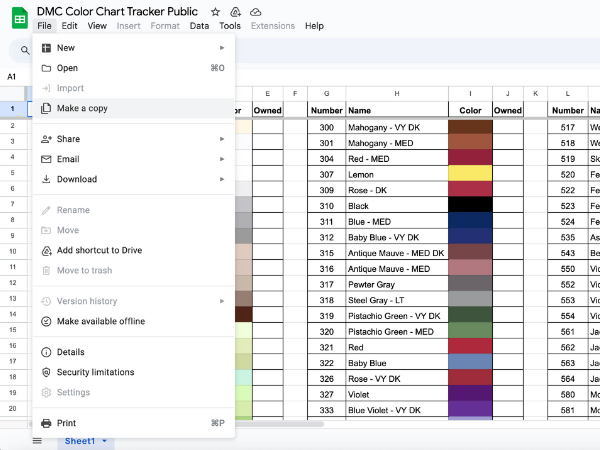
For those who love digital tools, consider keeping a spreadsheet or mobile app inventory. This helps prevent duplicate purchases and makes planning projects easier. Several crafters have created publicly-shared interactive spreadsheets for inventorying DMC thread so embroiderers can see the exact colors they have at a glance. Check out DMC Color Chart Tracker, PDXStitches’ DMC Thread Inventory Template, and DMC Threads. These Google spreadsheets can be personalized for your own inventory by clicking File > Make a copy.
5. Manage Leftovers Wisely
Half-used skeins and random scraps can become the most chaotic part of your collection. Dedicate a small container or pouch just for leftovers. At the end of each season, review your leftovers container and either reintegrate usable pieces into your main stash or let go of what you’ll never use.
6. Organize Projects Separately
If you have multiple works in progress, keep their materials together. Small project bags or boxes labeled with the project name will save you from rummaging through your main stash every time you sit down to stitch. When the project is complete, return the unused materials to your main system immediately.
7. Protect Your Treasures
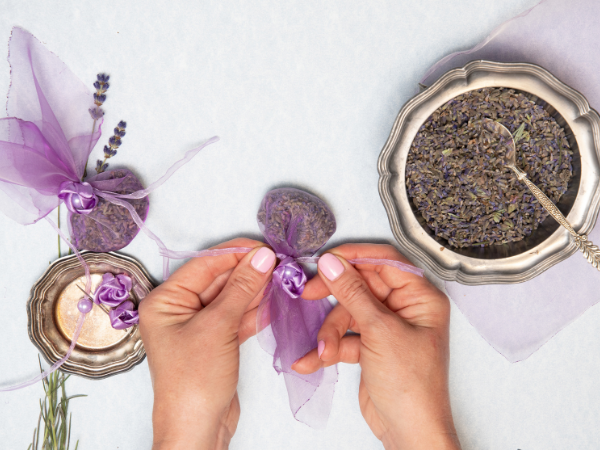
Threads and fabrics are sensitive to light, humidity, and pests. Store them in a cool, dry place, ideally away from direct sunlight. Airtight bins or containers with silica packets help prevent moisture damage, and lavender sachets can deter moths while adding a pleasant scent.
8. Keep It a Living System
Our final tip circles back on our first tip: the stash audit. The most successful organization systems aren’t static. They evolve as your stash grows and your stitching style changes. Schedule a “stash refresh” once or twice a year:
- Review what you haven’t touched in months.
- Swap or donate items that no longer fit your stitching goals.
- Re-label or reorganize areas that have become messy.
As an additional resource, revisit the Taming the Stash Monster course periodically to refresh strategies and get ideas for evolving your system.
A large embroidery stash is a reflection of creativity, history, and possibility. When it’s well-organized, it becomes a source of joy rather than frustration. The key is to choose a system that works for you, commit to consistency, and revisit it regularly.
So, pour a cup of tea, set aside an afternoon, and give your threads, fabrics, and tools the attention they deserve. The reward is more than a tidy space. You’ll rediscover forgotten treasures and feel inspired every time you sit down to stitch.
Chapter Challenge: After organizing, take a photo of your new stash setup and share it with the EGA Stitch-a-Long group, fellow chapter members, or consider inviting someone to join you in exploring Taming the Stash Monster together as a learning session. We’d love to learn your organization tips and see how you organize your embroidery stash