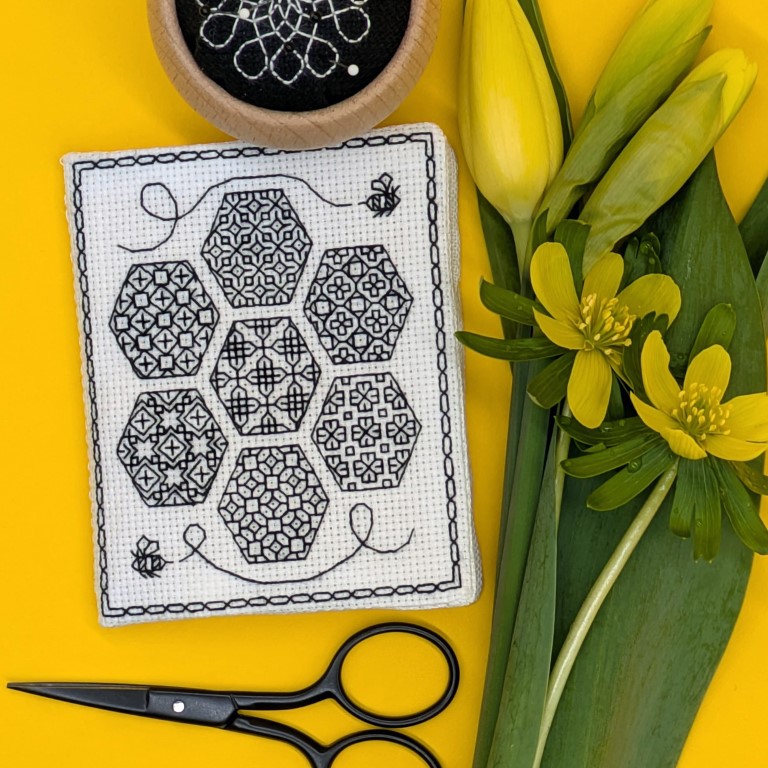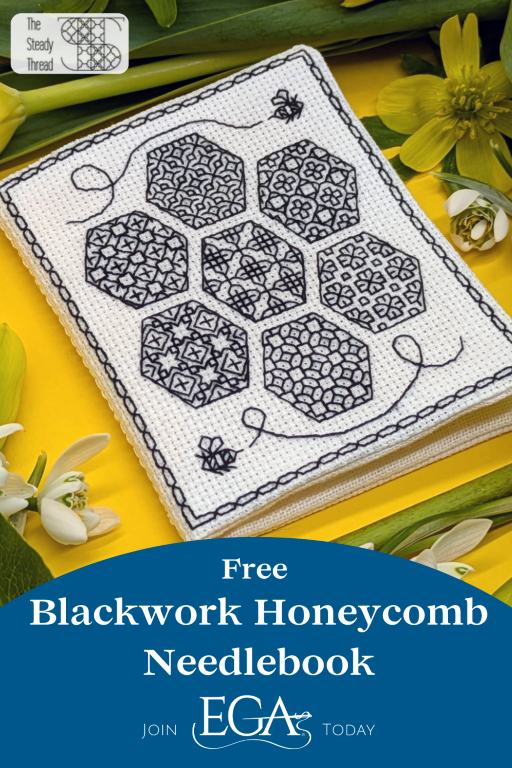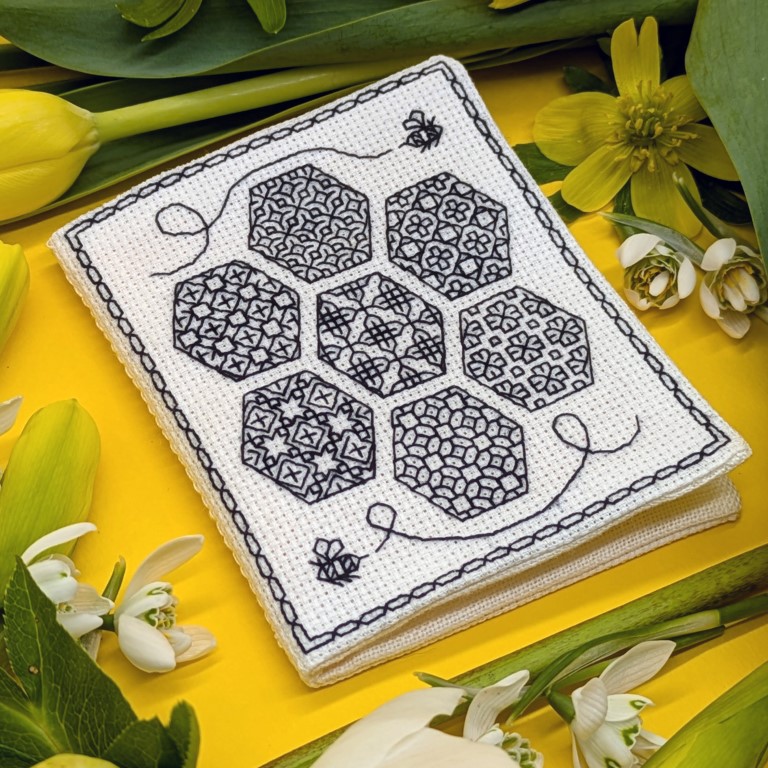
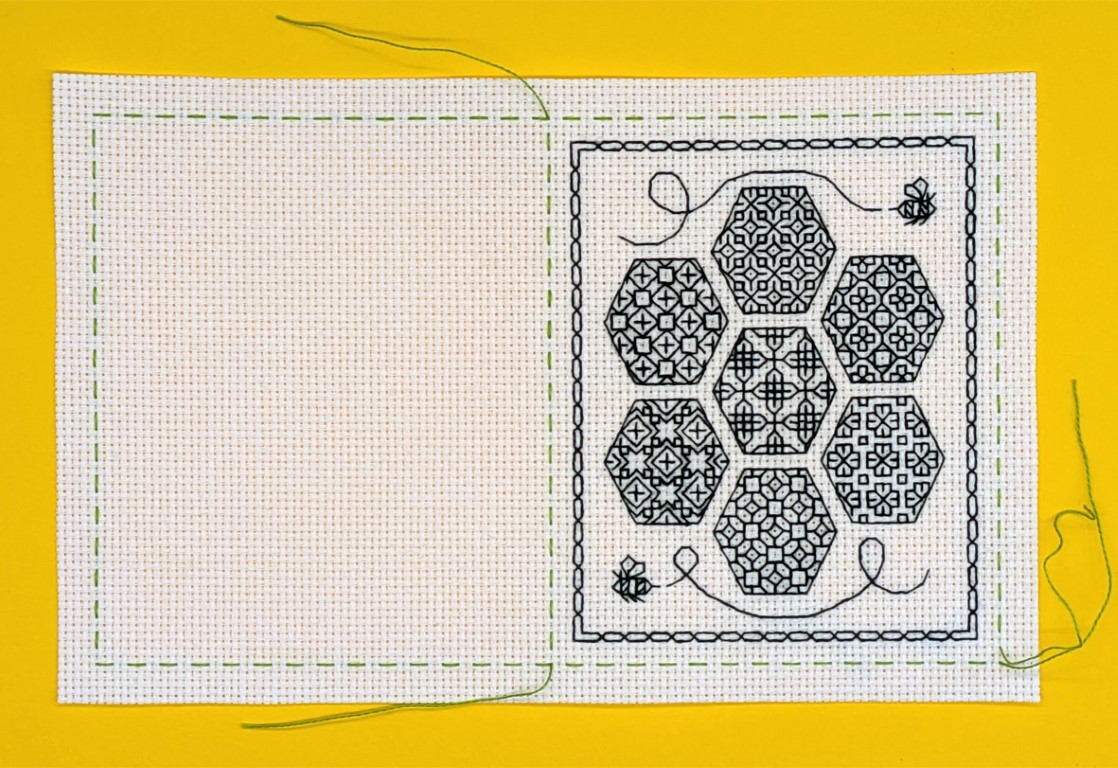
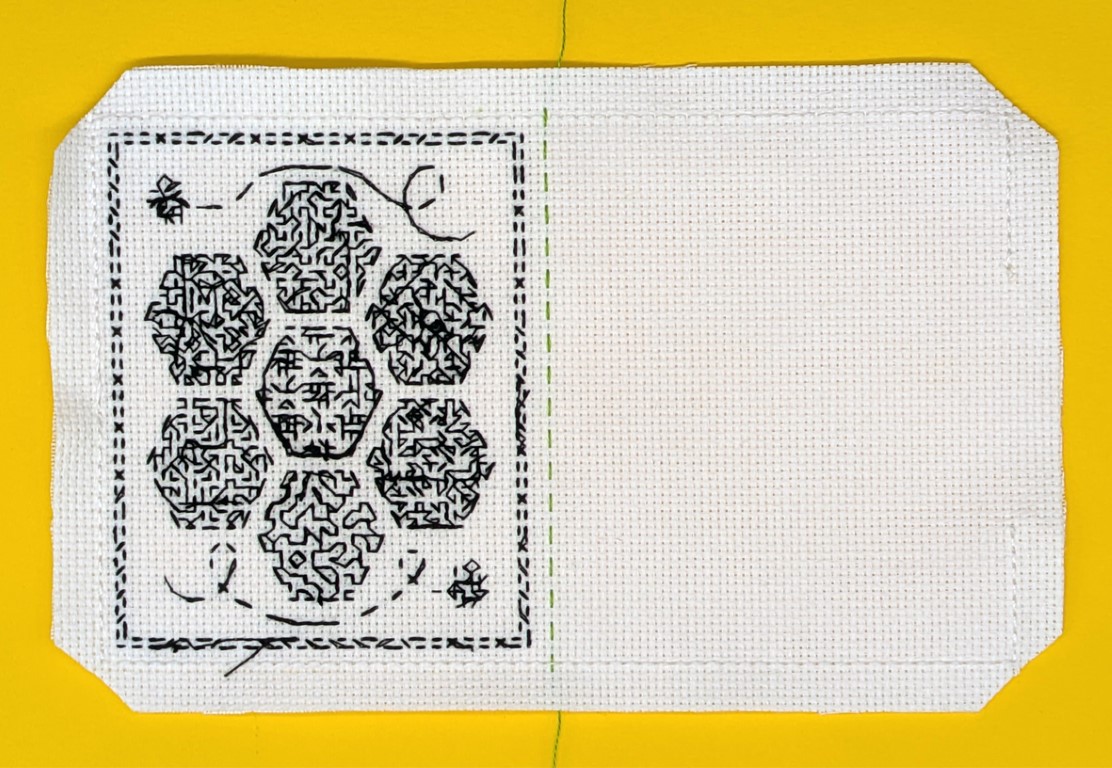
EGA is excited to share a new Blackwork project courtesy of Clare Bradshaw from The Steady Thread! The Blackwork Honeycomb Needlebook is perfect for both Blackwork lovers and those who are just starting their Blackwork journey. This fun project features seven separate honeycombs to showcase a variety of modern Blackwork designs with two bumblebees framing the design. Check out Clare’s tutorials for step-by-step instructions for making Blackwork stitches. Learn more at thesteadythread.com and follow The Steady Thread on Instagram and Facebook. Clare also hosts a free, year-long stitch-a-long on Facebook here!
Notes
Design size in stitches: 116 x 70
On 18 count your needlebook will be approx 3.25 x 4 inch (8 x 10 cm)
On 16 count your needle book will be approx 3.75 x 4.5 inch (9.25 x 11.5 cm)
On 14 count your needlebook will be approx 4.25 x 5 inch (10.5 x 13 cm)
My sample was stitched on 18 count white Zweigart aida using 30wt black Sulky thread.
Embroidery Level
Advanced Beginner (Blackwork)
Materials and Instruments
- Small piece of aida or evenweave
- On 18 count 7 x 4.5 inch (18 x 12 cm)
- On 16 count 8 x 5 inch (20 x 13 cm)
- On 14 count 9 x 5.5 inch (23 x 14 cm)
- A piece of scrap fabric for the lining of your book, this needs to be just a little bit bigger than the piece of aida/evenweave you are using.
- A small piece of felt for your ‘pages’ measuring:
- 5.5 x 3 inch (14 x 8 cm) if you are using 18 count fabric to stitch your design on
- 6.5 x 3.5 inch (16 x 9.5 cm) if you are using 16 count
- 7.5 x 4 inch (19 x 10.5 cm) if you are using 14 count.
- Blackwork Honeycomb pattern – register for the EGA newsletter to download! (Members can download the pattern from the Member Publications page)
- Embroidery thread
- Sewing thread to match the colour of your aida/evenweave
- Sewing thread in a contrasting colour
- Tapestry needle
- Sharp sewing needle
- Scissors
- Pins
Stitches You Will Use (Stitch tutorials from The Steady Thread linked below)
The blackwork design will require you to use backstitch or double running stitch. If you are new to blackwork embroidery you can find instructions to help you get started HERE.
When making up our needlebook you will need to use backstitch, invisible stitch, and double running stitch.
Instructions
Stitch up your piece, then cut it out leaving a small seam allowance of about 1/4 inch/ 6mm all round.
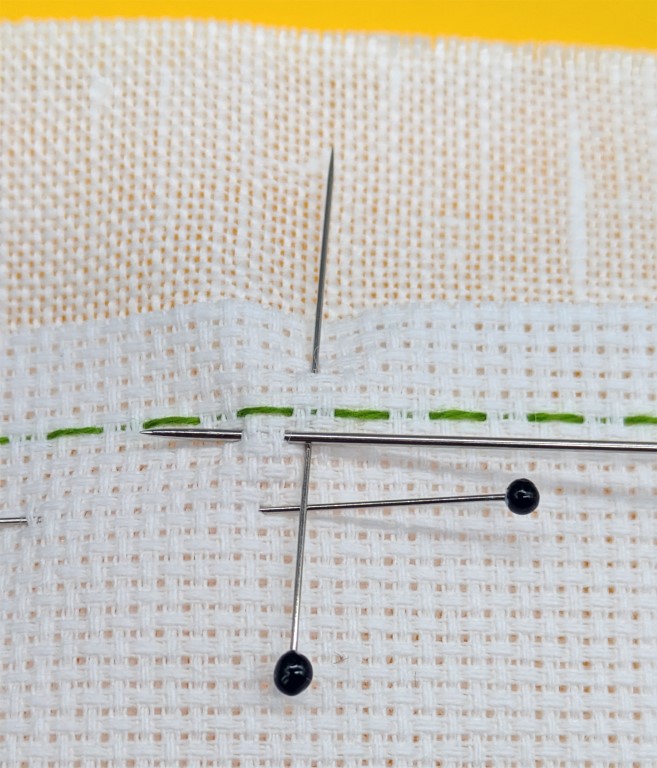
With right sides together, pin your backing fabric and your embroidered piece together, marking a position for a gap to turn through of about 1.5 inch (40mm) with pins as shown below.
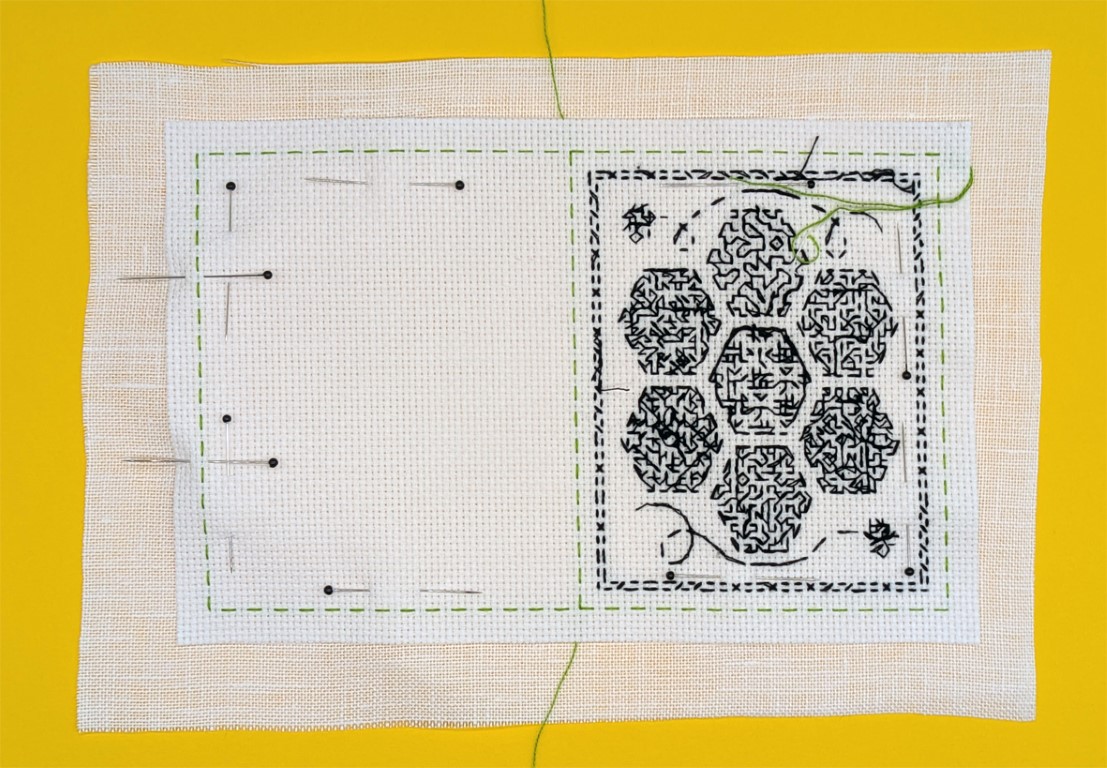
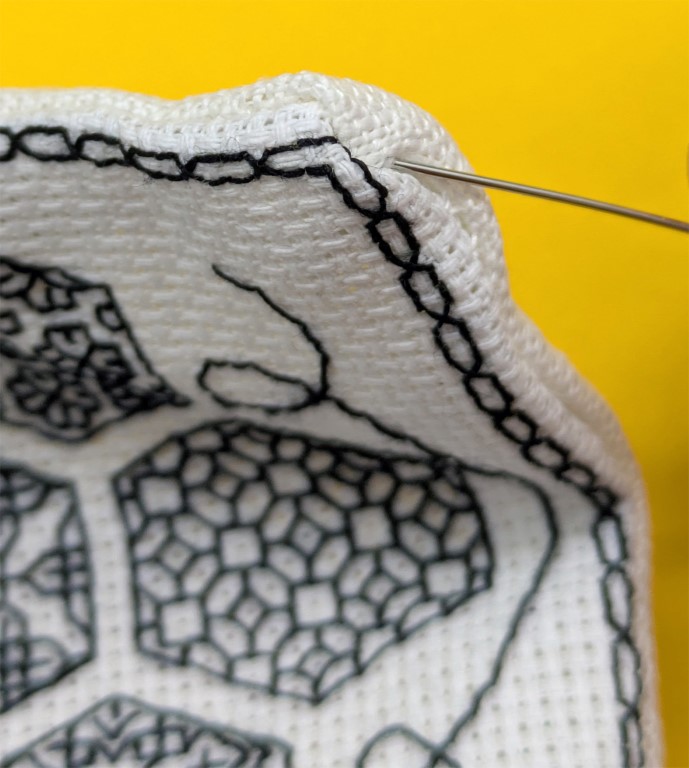
Working 1 square in from the external running stitches, backstitch all sides (apart from the gap you marked out with the pins). Keep lines straight by using holes in the aida as a guide.
Trim your backing fabric to the same size as your aida.

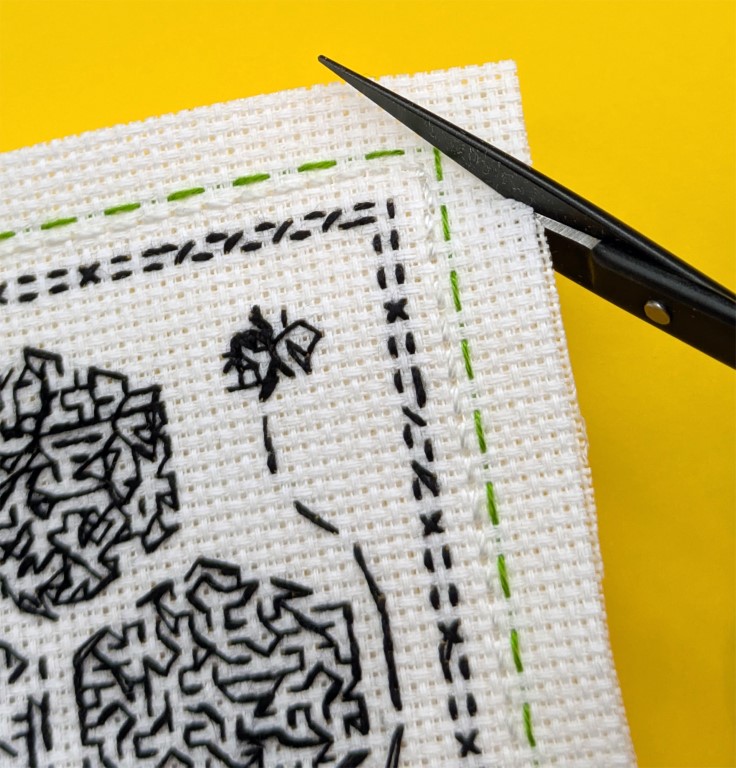
Trim the corners, being careful not to go too close and snip your backstitching.
Your work should now look like this, remove the basting stitches around the edges, but leave the line in the middle.
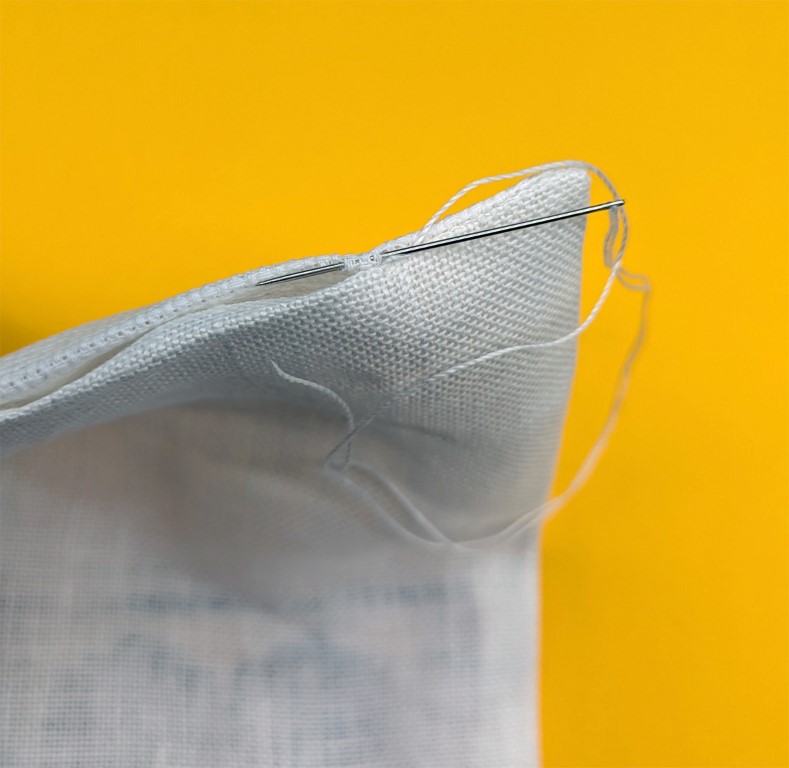
Turn right side out through the gap you left, sometimes it helps to use a pin to coax the corners out!
Now you can stitch up the gap.
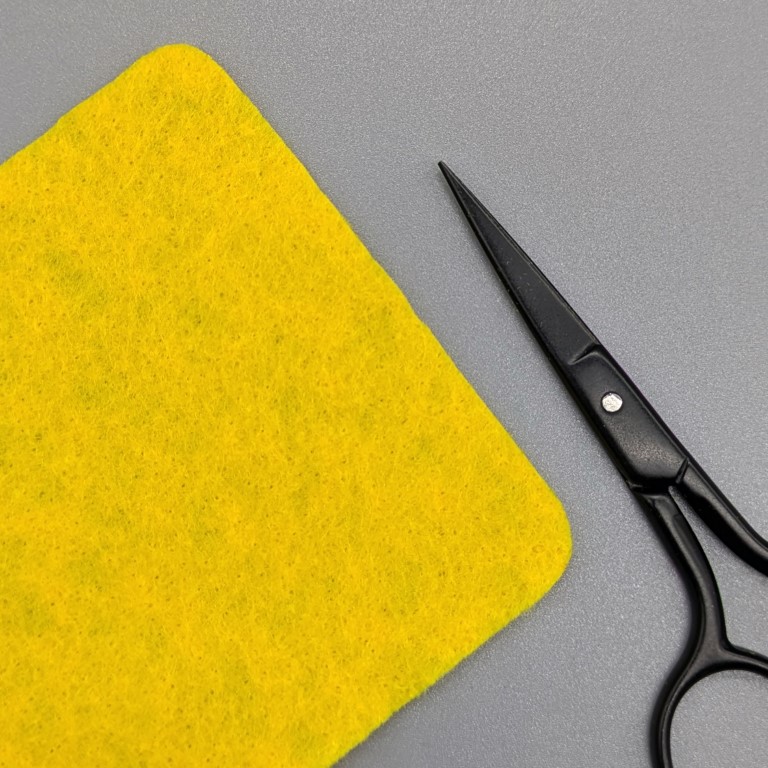
You now need to cut your felt to size. I used a template cut from paper to mark out the size.
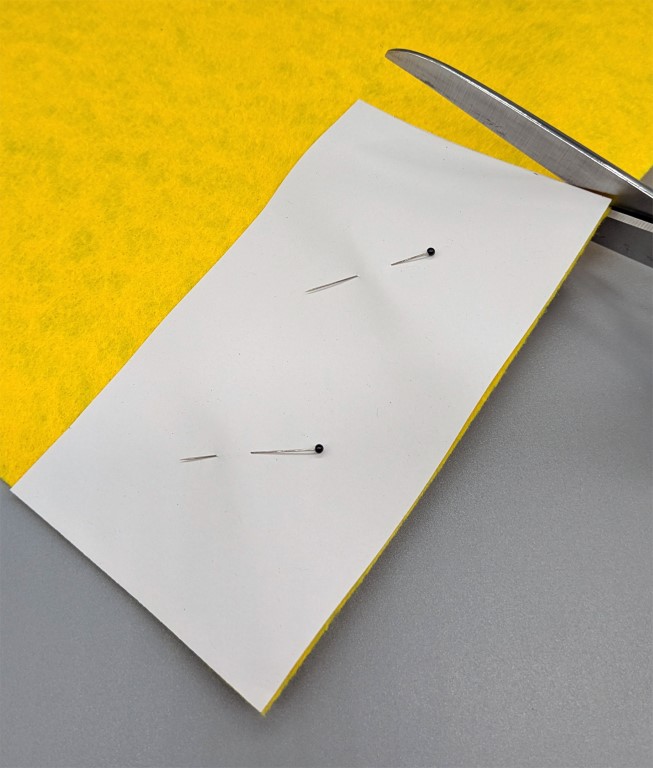
You can round the corners of your felt if you like.
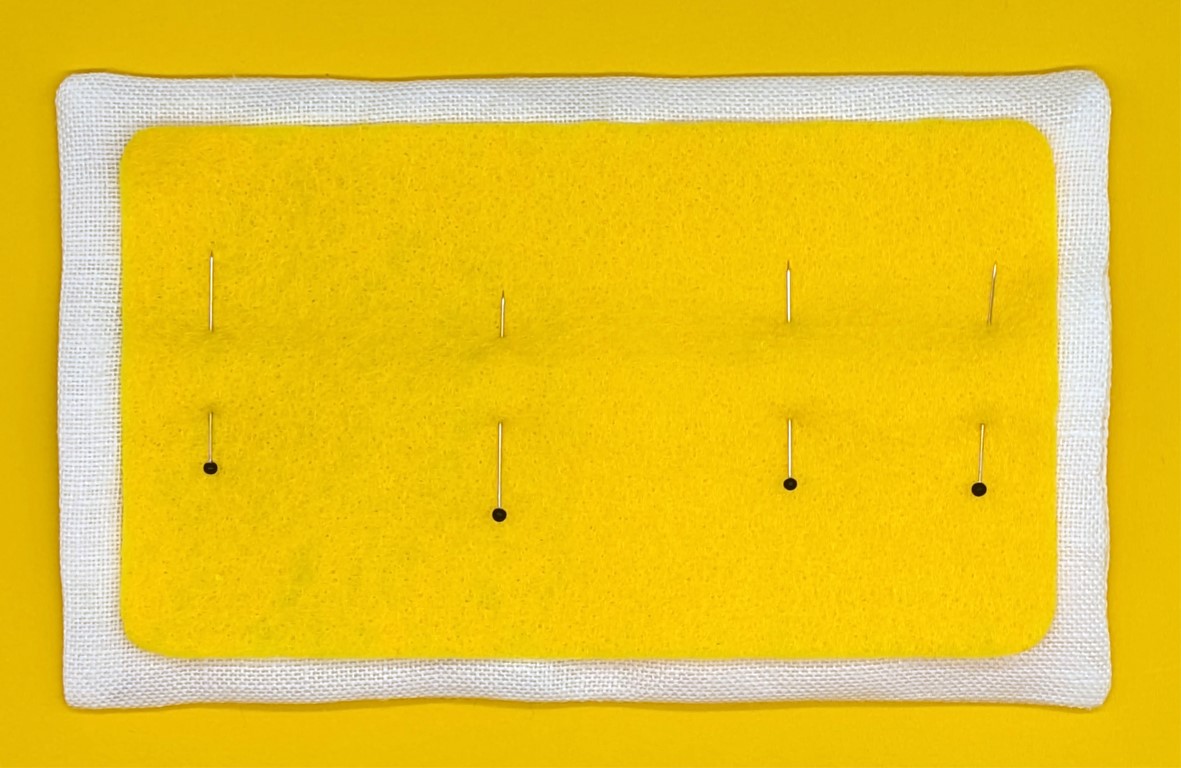
Pin the felt ‘pages’ in place.
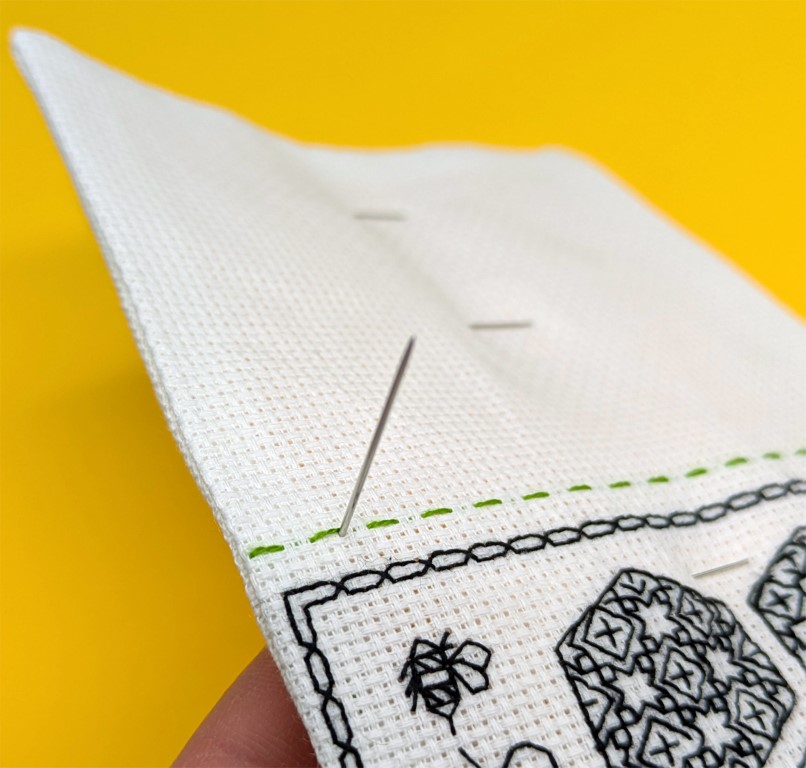
Secure your thread in a discreet spot behind your felt on the center line (so, where your ‘pages’ will fold).

Pass your needle up through the aida, making sure you emerge on the line of running stitches.
You can now remove these basting stitches.
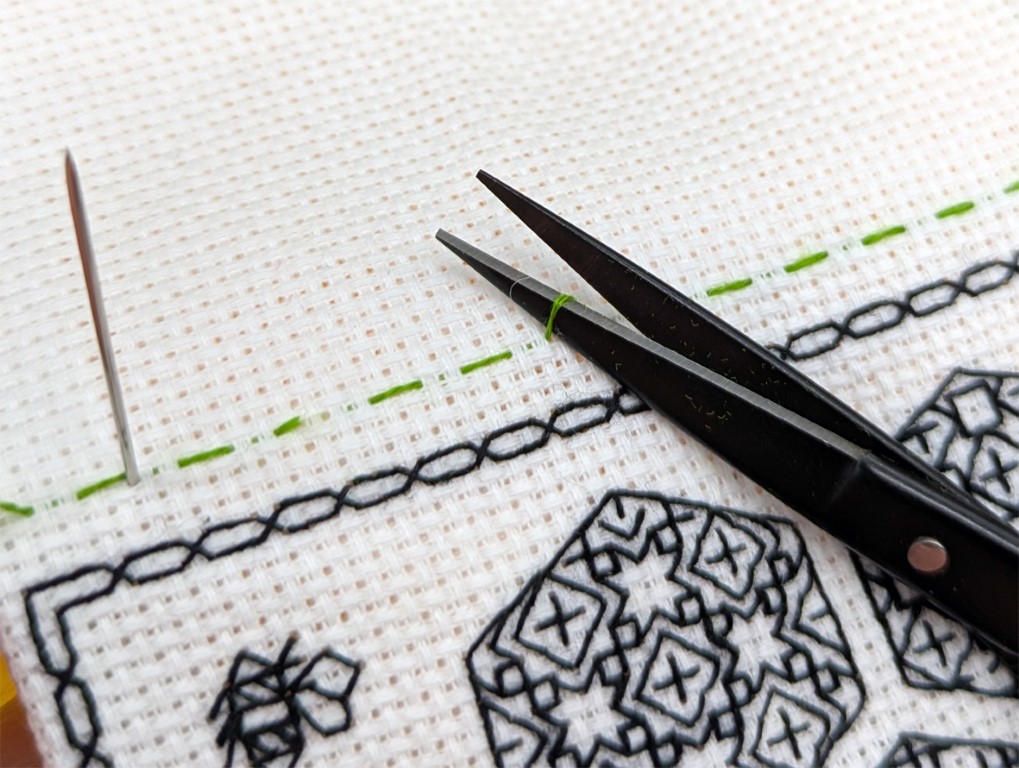
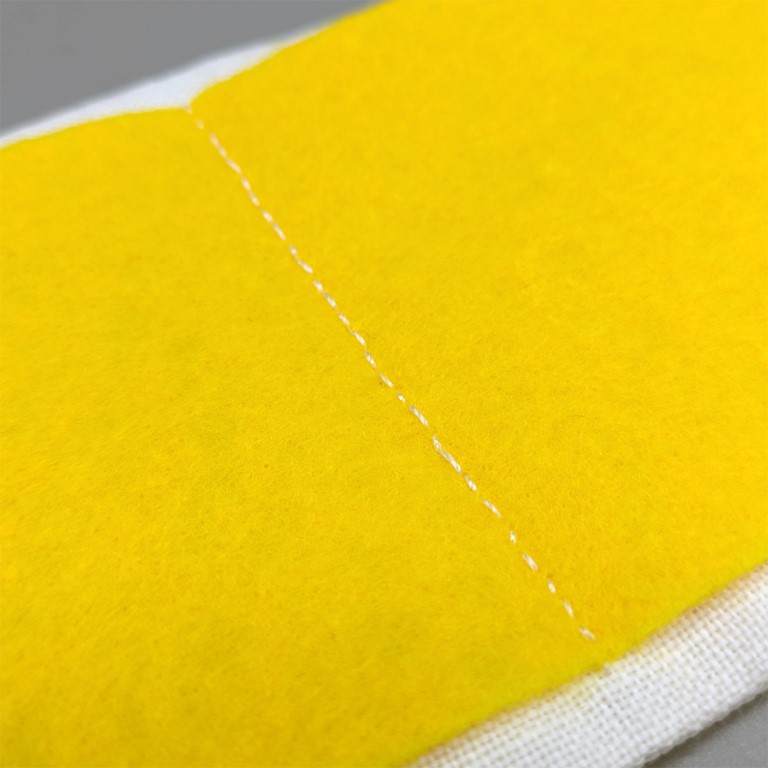
Next, do a double running stitch along this line, securing the felt in place on the inside.

It should look like this on the inside.
And bingo! Your little book is finished!