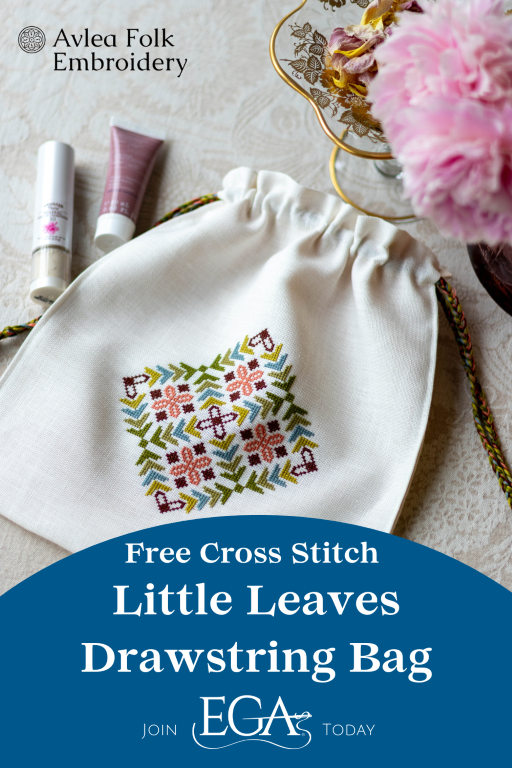
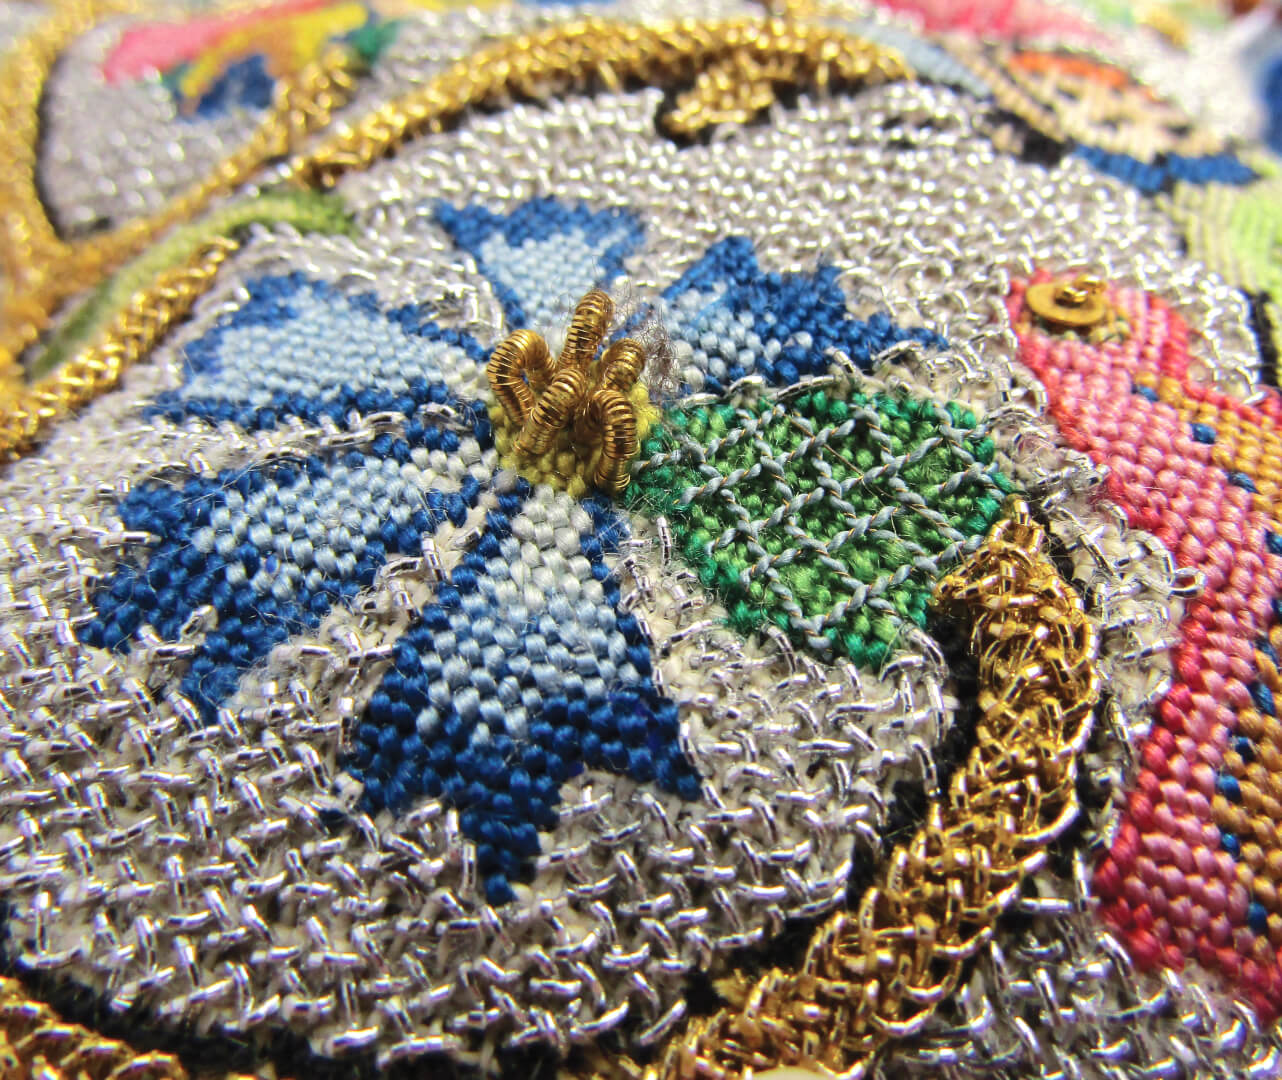
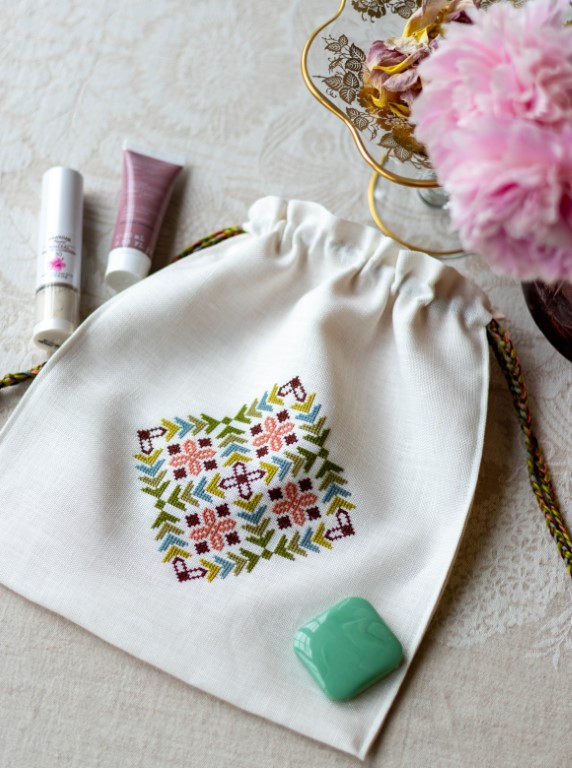
EGA was delighted when Krista West of Avlea Folk Embroidery offered to share a cross stitch design from her upcoming book, Everyday Folk: Over 175 folk embroidery designs for the home, inspired by traditional textiles. Releasing later this year, Everyday Folk includes a wealth of information, inspiration, and cross stitch projects. Krista has graciously created the Little Leaves Drawstring Bag just for the EGA using one of the charts from her book’s Design Library. To brush up on your cross stitch skills, be sure to visit her online tutorials! The Little Leaves Drawstring Bag is a wonderful cross stitch design for beginners and can be machine or hand sewn once the stitching is completed.
Are you interested in learning more about folk embroidery? Check out the recording of Krista West’s recent EGA virtual lecture, Mediterranean Folk Embroidery: A Brief History of a Vibrant World.
Embroidery Level
Intermediate
Materials and Instruments
- Little Leaves cross stitch chart (sign up for EGA’s Needlework Network newsletter to download! EGA members can download this chart from the Publications page here.)
- One 11×24” piece of 30ct counted thread linen (photos show 30ct linen in Vanilla)
- One 11×24” piece of cotton fabric for the lining (photos show Kona cotton in Sand)
- DMC 100% cotton embroidery floss: 6 yds each–733 olive green med, 21 light alizarin, 3857 rosewood dk, 469 avocado green, 3012 khaki green med, 926 grey green med
- John James size 24 tapestry needle
- Hoop of your choice for stitching design
- Scissors
- Seam ripper
- Sewing tools: sharp needle and sewing thread if finishing by hand; sewing machine if finishing by machine
- Safety pin (for threading cord through casing)
Stitches You Will Use
For this design, you will use cross stitches. Find cross stitch tutorials from Avlea Embroidery here.
Instructions
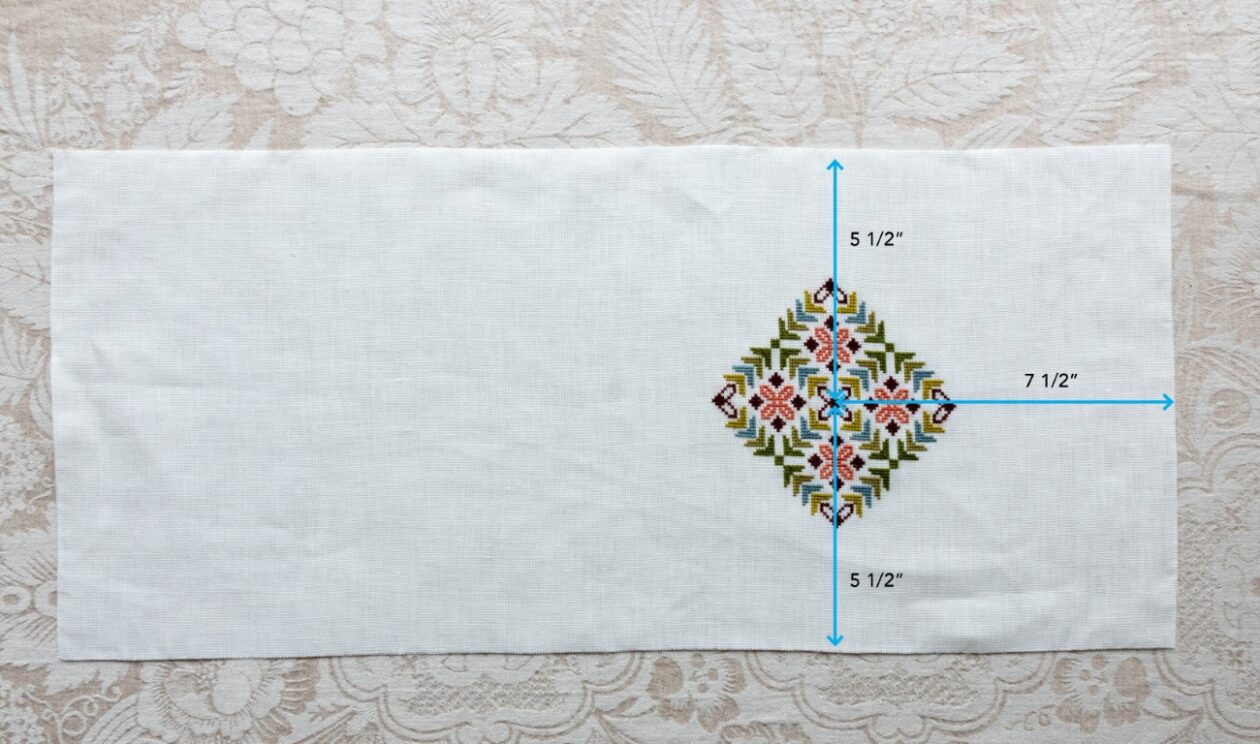
For this design, you will use 2 strands of embroidery floss and stitch over two threads for all cross stitches. Stitch the design from the center outwards, placing the center of your stitching according to the measurements in the photo:
To finish your bag, we’ll use a nifty lining technique I learned in Greece. While this goes fastest with a sewing machine, you can also stitch this method by hand.
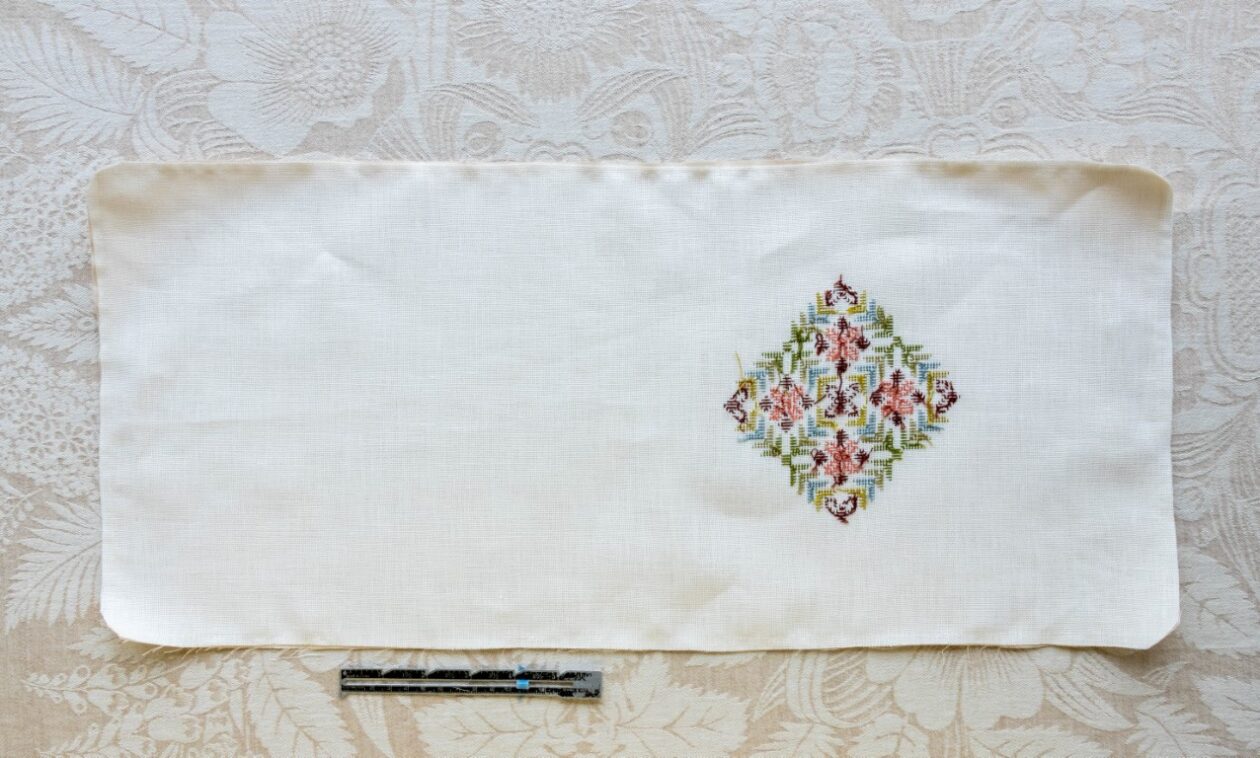
Once you have completed stitching your design, lightly iron your embroidered linen and place it right sides together with a piece of lining fabric cut to the same size. Sew around the entire perimeter with a ¼” seam allowance, leaving a 4-inch opening along one of the long edges as shown in the photo:
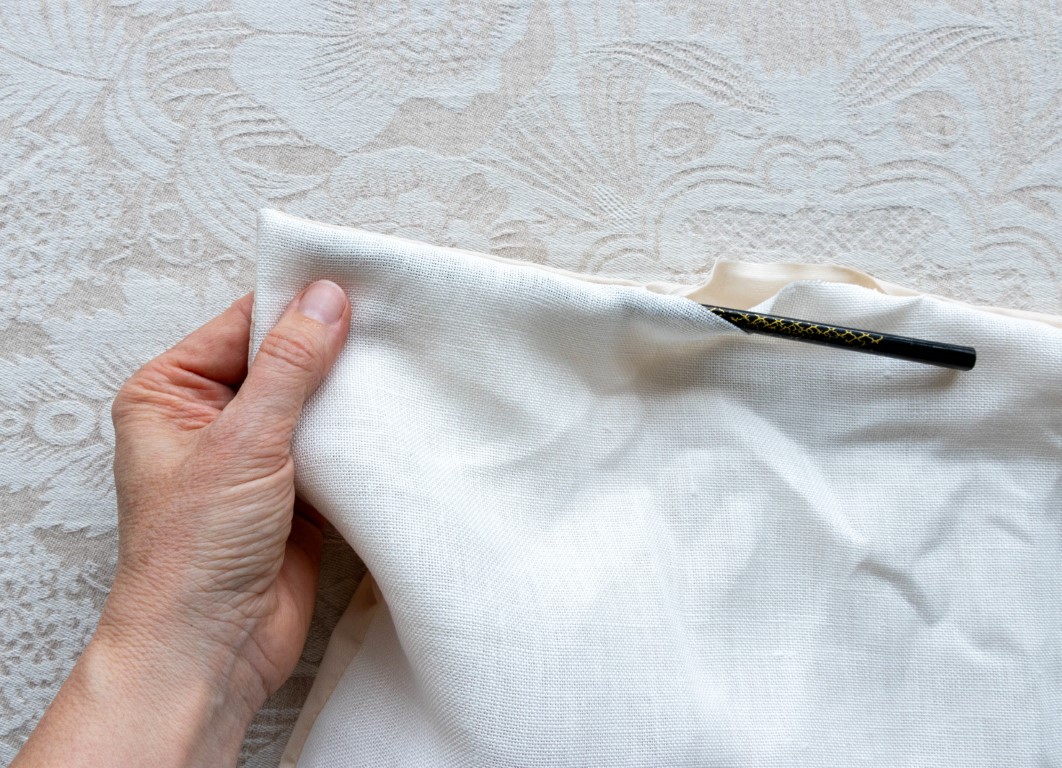
Trim corners to reduce bulk and then turn right side out, using a chopstick to gently ease out the corners.
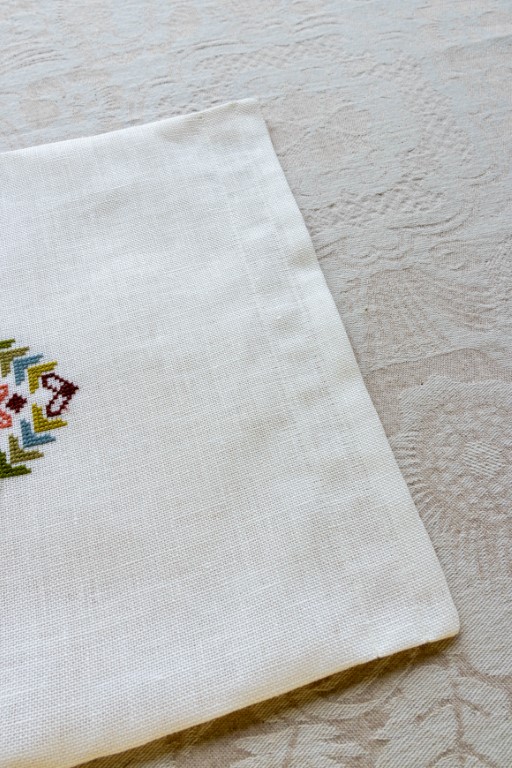
 Press from the lining side, making sure the lining does not go beyond the linen edge.

Now, we’ll sew the casing for the drawstring closure: Stitch two lines for the casing on each end of the bag, spacing the first line ½” from the edge of the bag and the second line ¾” of an inch from the first stitching line (1-1/4” from the edge of the bag).
Using a seam ripper, carefully slit the stitches between the stitching lines you’ve just made for the casing. This opens up the casing channel. Do at both ends of the bag.
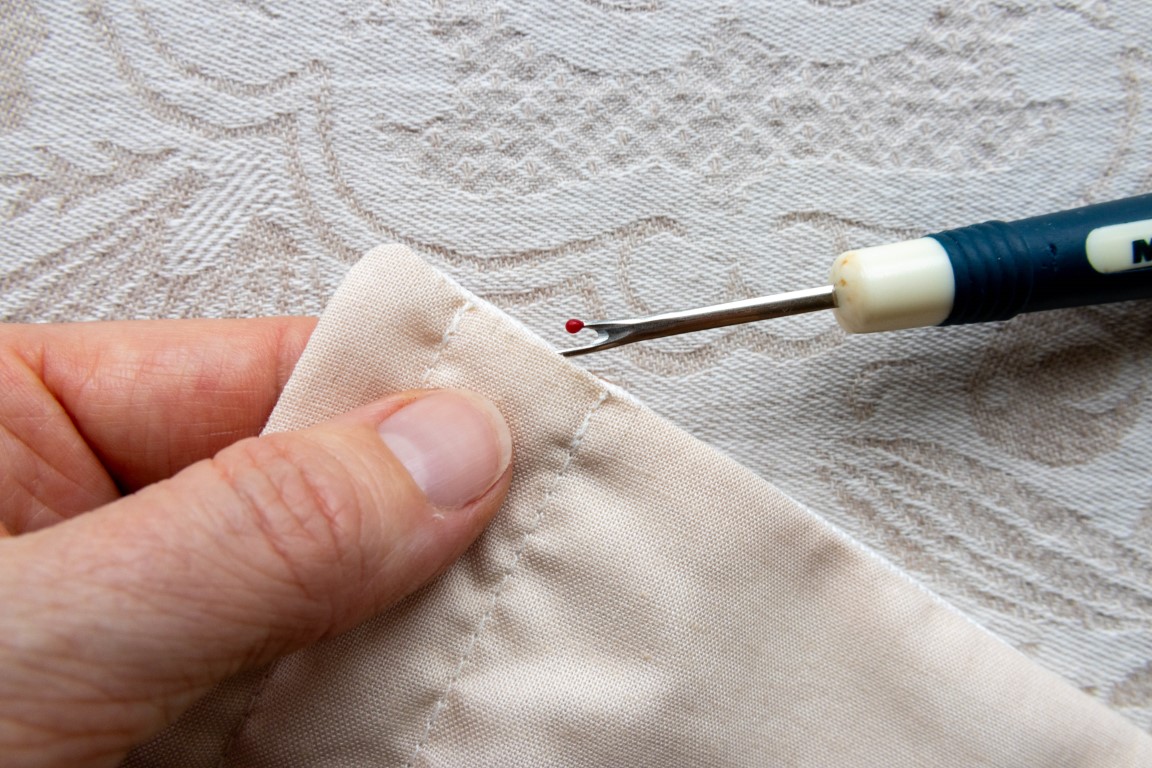
Now that your casing is made, simply fold the bag in half, lining sides together, and stitch with a 1/8” seam allowance from the bottom edge of the casing to the bottom edge of the bag to create your side seams. Note: you’ll catch the opening that you used to turn the bag right side out in this seam, so there is no need to blind stitch it closed.
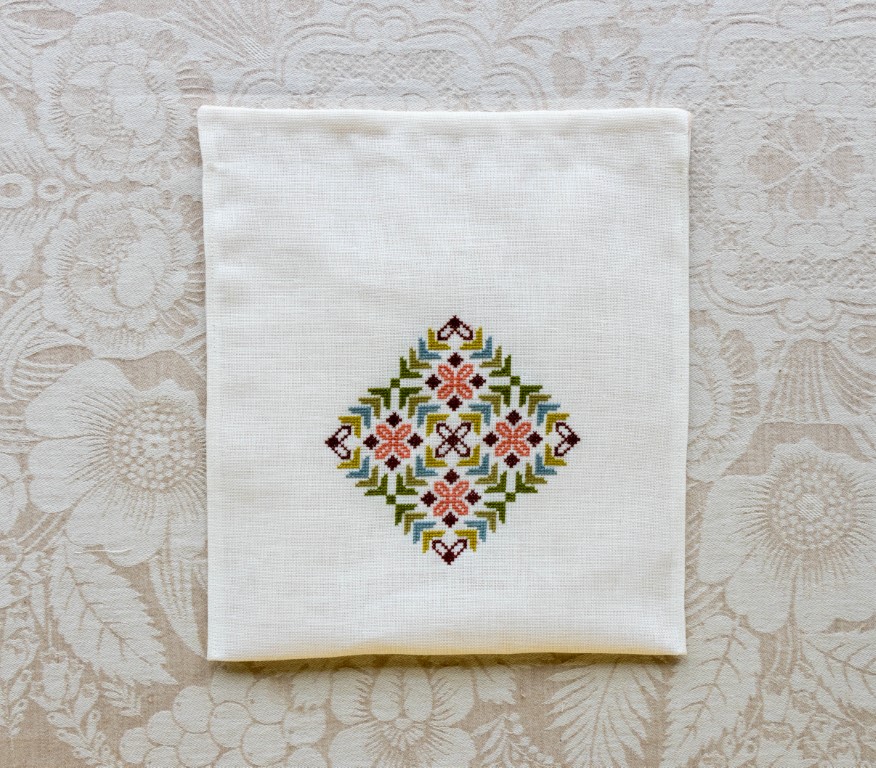
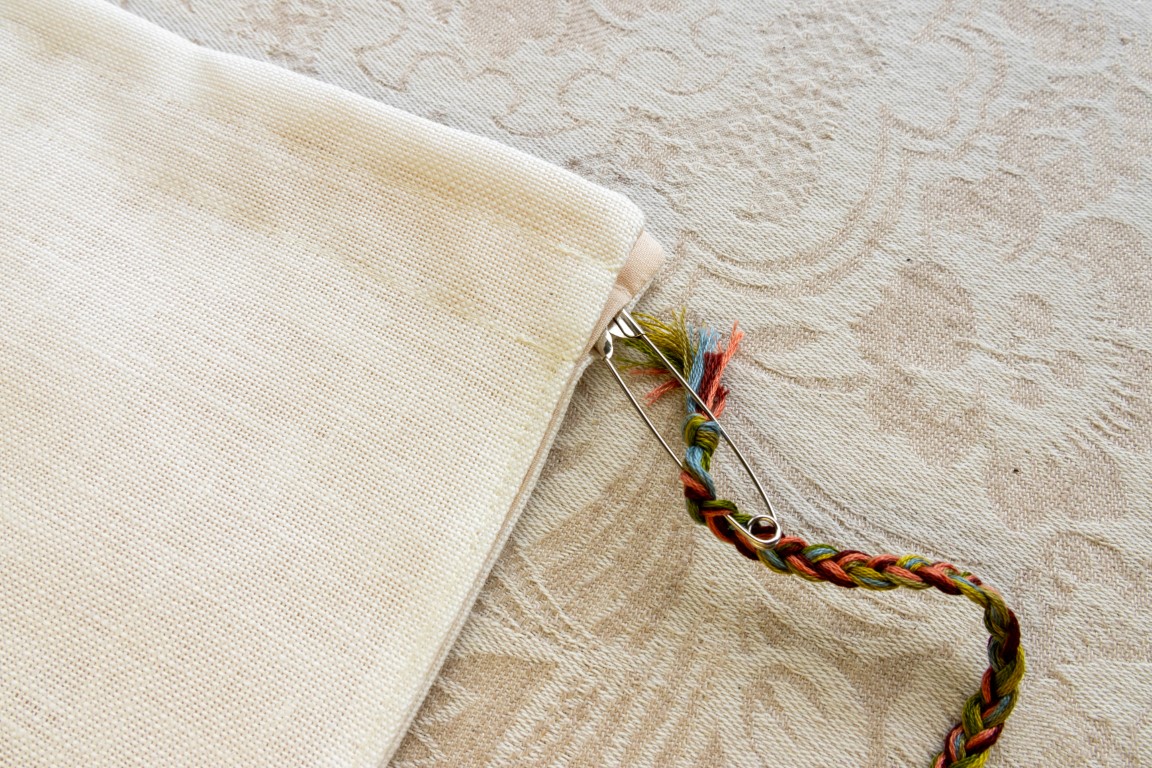
Using your leftover floss, cut 12 strands 36” long for each braided cord. Braid the cord and knot at each end. Thread the first braided cord through the casings, using a safety pin and feeding it from right to left through the back casing and then left to right through the front casing (you will have the knots from each end of the braided cord on the same side of the bag at this point). Repeat with the remaining braided cord but start on the opposite side of the bag so that the second braided cord knotted ends are on the opposite side of the bag.
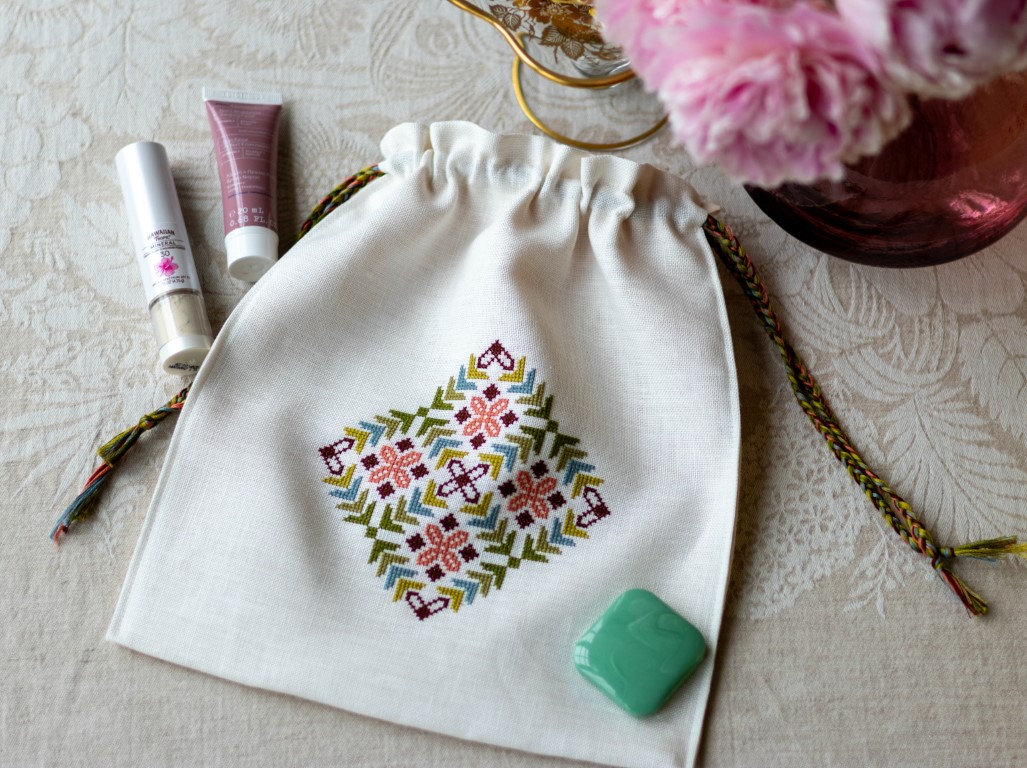
Fill your bag with lovely things and gently pull your braided cords to snug up your drawstring bag. I like to use these bags when I travel or for giving as gifts.
About Krista
Krista West is the designer and owner of Avlea Folk Embroidery. She delights in bringing ancient beauty to the modern world with designs inspired by traditional Mediterranean folk textiles. She worked as an ecclesiastical tailor for Greek Orthodox communities for 28 years and was introduced to folk embroidery on one of her trips to Greece. She fell instantly in love with its vibrant colors and geometric motifs, started stitching on the plane ride home, and has been immersed in the wonderful world of folk embroidery ever since.
She happily spends her days in the workshop of her 1923 home in Salem, Oregon designing for customers and shops around the world. You can find her designs and how-to videos at www.avleaembroidery.com along with her upcoming book Everyday Folk: Over 175 folk embroidery designs for the home, inspired by traditional textiles.
Like this? Pin it!
